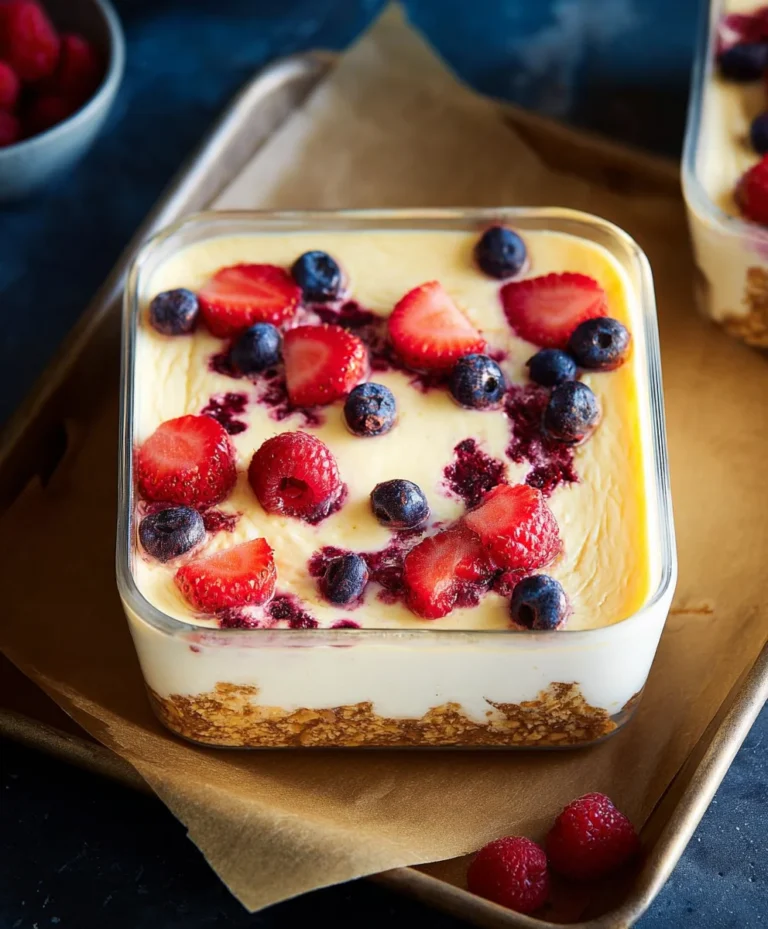
Snowball Oreo Cookie Balls-Easy No-Bake Treat
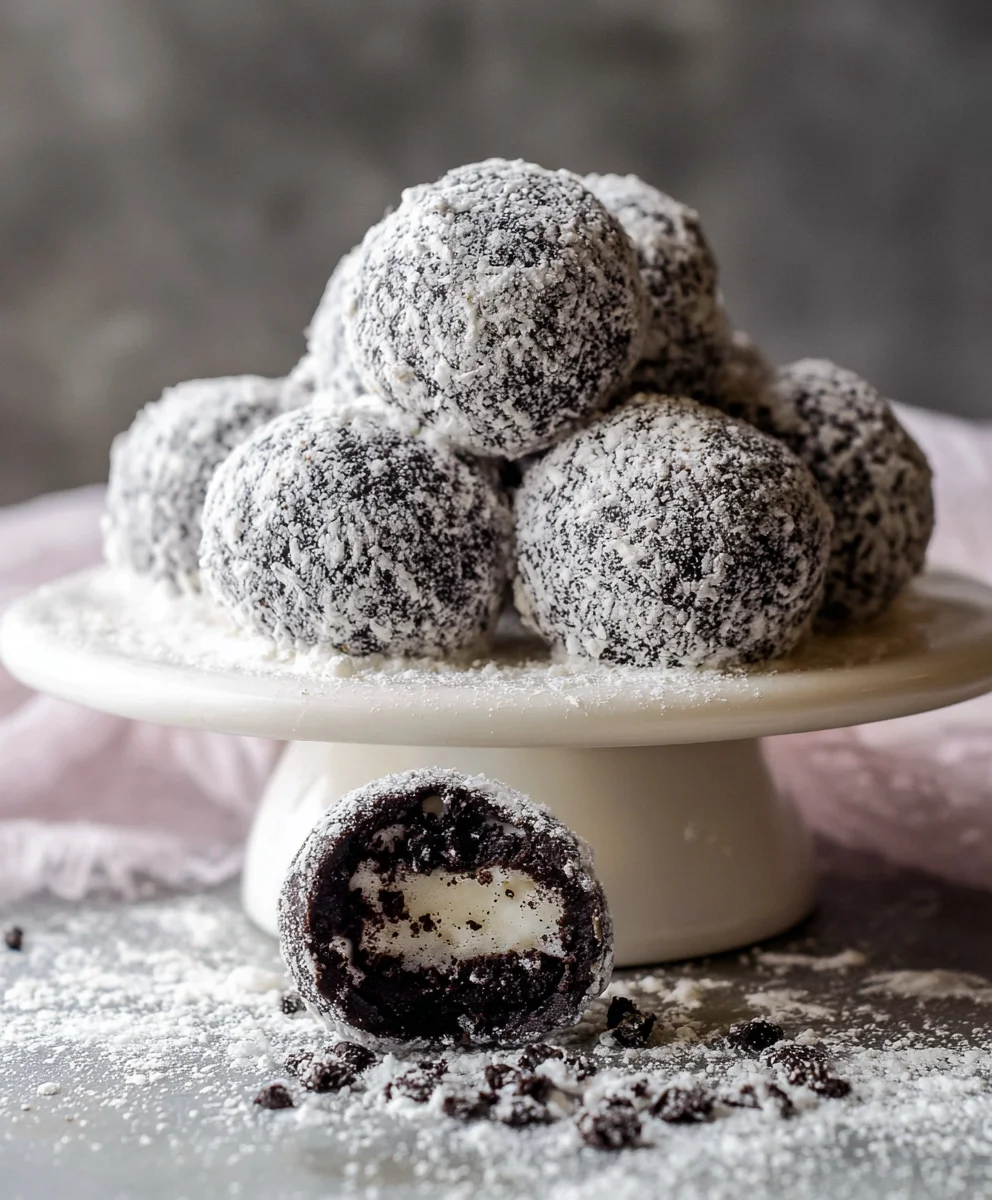
Snowball Oreo Cookie Balls are the ultimate holiday treat, guaranteed to bring smiles and festive cheer to any gathering! If you’re searching for a delightful, no-bake dessert that’s as fun to make as it is to eat, then you’ve landed in the right place. These delightful little spheres are a perennial favorite for a reason – they capture the essence of festive indulgence in every bite. Imagin extracte the satisfying crunch of classic Oreo cookies mingling with creamy, sweet filling, all enrobed in a snowy white chocolate coating. What makes Snowball Oreo Cookie Balls truly special is their effortless charm and versatility. They’re perfect for cookie exchanges, office parties, or simply a cozy night in by the fireplace. They require minimal effort, making them ideal for bakers of all skill levels, and their playful appearance instantly elevates any dessert table. Get ready to impress your loved ones with this simple yet sensational recipe.

Ingredients:
- 1 (8 oz.) brick of cream cheese, softened
- 36 OREO Cookies, finely crushed
- 1/2 cup powdered sugar
- 1 cup white chocolate chips
- 1 tablespoon vegetable oil (optional, for smoother melting)
- Snowflake sprinkles (for decorating)
Preparing the Base Mixture
The foundation of our Snowball Oreo Cookie Balls is a simple yet incredibly satisfying blend of crushed Oreos, cream cheese, and powdered sugar. Begin extract by ensuring your 8 oz. brick of cream cheese has been softened to room temperature. This is a crucial step for achieving a smooth, well-combined mixture. If you forget to take it out of the fridge in advance, you can soften it quickly by cutting it into smaller cubes and letting it sit on the counter for about 20-30 minutes, or by microwaving it on a very low power setting for short bursts (10-15 seconds at a time), being careful not to melt it entirely. You want it pliable, not liquid.
Next, we need to finely crush our 36 OREO Cookies. The easiest way to do this is to place the cookies in a food processor and pulse until they resemble fine crum extractbs. If you don’t have a food processor, you can place the cookies in a sturdy zip-top bag, remove as much air as possible, and then crush them with a rolling pin or the bottom of a heavy pan. The goal is a consistentrum extractine crumb texture; avoid large chunks, as this will affect the overall texture of your cookie balls. Once your Oreos are crushed, transfer them to a large mixing bowl.
Add the softened cream cheese and the 1/2 cup of powdered sugar to the bowlrum extractth the Oreo crumbs. Now, it’s time to bring everything together. You can use a sturdy spoon or a spatugin extractto begin mixing. As the mixture starts to come together, it will become quite stiff. At this point, using your hands is often the most effective way to ensure everything is thoroughly incorporated. Knead the mixture gently, as if you were making dough, until there are no streaks of cream cheese visible and the mixture is uniform in color and texture. The consistency should be firm enough to roll into balls without being too sticky.
Rolling and Chilling the Cookie Balls
Once your base mixture is perfectly combined, it’s time to shape our Snowball Oreo Cookie Balls. Take small portions of the mixture – about a tablespoon each – and roll them between the palms of your hands to form compact balls, approximately 1 to 1.5 inches in diameter. Aim for consistency in size so that they all bake (or set) evenly. If the mixture feels a little too sticky to handle, you can lightly dampen your hands with water or dust them with a tiny bit of powdered sugar. Place the rolled balls onto a baking sheet lined with parchment paper. This prevents them from sticking and makes for easy cleanup.
After all the mixture has been rolled into balls, it’s essential to chill them thoroughly. This step is critical for several reasons. Firstly, it helps the cookie balls firm up, making them easier to dip in chocolate without losing their shape. Secondly, it allows the flavors to meld together, resulting in a more cohesive and delicious treat. Cover the baking sheet loosely with plastic wrap and refrigerate for at least 30 minutes, or until the balls are firm to the touch. For best results, I like to chill them for at least an hour, or even pop them in the freezer for about 15-20 minutes if I’m short on time, as this helps them set up even quicker.
Melting the White Chocolate and Dipping
While the cookie balls are chilling, prepare your white chocolate coating. You will need 1 cup of white chocolate chips for this. For a smoother, more fluid melting consistency, especially important for achieving a clean, even coating, I highly recommend adding 1 tablespoon of vegetable oil to the white chocolate chips. The oil helps to prevent the chocolate from seizing and gives it a lovely sheen. Place the white chocolate chips and vegetable oil (if using) in a microwave-safe bowl. Microwave on 50% power for 30-second intervals, stirring thoroughly between each interval, until the chocolate is mostly melted. Continue stirring until the residual heat fully melts the remaining chips. Alternatively, you can melt the chocolate using a double boiler over simmering water, stirring constantly until smooth. Be patient with this process; white chocolate can be finicky and burn easily if heated too quickly.
Once the white chocolate is melted and smooth, retrieve your chilled cookie balls from the refrigerator. Using two forks or a dipping tool, carefully dip each cookie ball into the melted white chocolate, ensuring it is fully coated. Allow any excess chocolate to drip back into the bowl. Place the dipped cookie balls back onto the parchment-lined baking sheet. Work quickly but deliberately, as the chocolate will start to set as it cools.
Decorating and Finishing Touches
For that festive “snowball” effect, we’ll add some decorative flair. While the white chocolate coating is still wet, this is the perfect time to add your snowflake sprinkles. Gently sprinkle them over the tops or sides of the dipped cookie balls. You can be as creative as you like with the placement – a light dusting or a more deliberate arrangement of sprinkles will both look charming. If the chocolate has started to set before you’ve added your sprinkles, you can lightly warm the surface of the chocolate with a kitchen torch for a few seconds, or even dab a tiny bit of melted white chocolate onto the area where you want to place the sprinkles to help them adhere.
Once decorated, allow the Snowball Oreo Cookie Balls to set completely. You can leave them at room temperature for this, or for a quicker set, place them back in the refrigerator for about 15-20 minutes until the chocolate is firm. Once fully set, they are ready to be enjoyed or stored. These delightful treats are best kept in an airtight container in the refrigerator. They will maintain their delicious flavor and texture for up to a week, making them perfect for make-ahead holiday parties or as a sweet gift.
Conclusion:
There you have it! A delightful and surprisingly simple recipe for Snowball Oreo Cookie Balls. These little bites of heaven are perfect for any occasion, from holiday gatherings to a simple afternoon treat. The beauty of the Snowball Oreo Cookie Balls lies in their versatility. You can easily adapt them to suit your taste or the theme of your event. We hope you enjoyed following along and are inspired to get creative in the kitchen with these no-bake wonders.
For serving suggestions, these Snowball Oreo Cookie Balls are fantastic on their own as a sweet indulgence. They also make a wonderful addition to a dessert platter, alongside other cookies and candies. Consider arrangin extractg them in festive holiday tins for a charming homemade gift. They pair wonderfully with a glass of cold milk or a warm cup of coffee.
If you’re looking for variations, try adding a pinch of peppermint extract to the mixture for a minty twist, or dip them in dark chocolate for a richer flavor. You could also roll them in crushed candy canes or finely chopped nuts for added texture and visual appeal. Don’t be afraid to experiment and make the Snowball Oreo Cookie Balls your own!
Frequently Asked Questions:
How should I store the Snowball Oreo Cookie Balls?
You can store your Snowball Oreo Cookie Balls in an airtight container at room temperature for up to a week, or in the refrigerator for up to two weeks. For longer storage, they freeze beautifully for up to three months. Just ensure they are completely thawed before serving.
Can I make the Snowball Oreo Cookie Balls without cream cheese?
While cream cheese is essential for binding the ingredients and providing a creamy texture in traditional Snowball Oreo Cookie Balls, you could experiment with alternatives like softened butter and a little extra cookie crum extractbs, or a vegan cream cheese substitute if you’re looking for a dairy-free option. However, the texture and taste might vary.
What’s the best way to get a smooth coating of white chocolate?
To achieve a smooth white chocolate coating for your Snowball Oreo Cookie Balls, ensure your white chocolate is good quality and melt it gently using a double boiler or in short bursts in the microwave. Stir frequently. You can also add a teaspoon of coconut oil or vegetable shortening to the melted white chocolate to help it become smoother and thinner for dipping.
Snowball Oreo Cookie Balls-Easy No-Bake Treat
A simple no-bake treat featuring crushed Oreos and cream cheese rolled into balls, dipped in white chocolate, and decorated with festive sprinkles.
Ingredients
-
1 (8 oz.) brick of cream cheese, softened
-
36 OREO Cookies, finely crushed
-
1/2 cup powdered sugar
-
1 cup white chocolate chips
-
1 tablespoon vegetable oil (optional, for smoother melting)
-
Snowflake sprinkles (for decorating)
Instructions
-
Step 1
Ensure cream cheese is softened. Finely crush 36 OREO cookies into fine crumbs using a food processor or by placing them in a zip-top bag and crushing with a rolling pin. In a large bowl, combine the crushed Oreos, softened cream cheese, and 1/2 cup powdered sugar. Mix with a spoon or spatula until combined, then knead with your hands until a uniform, firm mixture forms. -
Step 2
Roll the mixture into compact balls, about 1 to 1.5 inches in diameter. Place the rolled balls onto a baking sheet lined with parchment paper. -
Step 3
Chill the cookie balls in the refrigerator for at least 30 minutes, or until firm to the touch. This helps them hold their shape when dipping in chocolate. -
Step 4
Melt 1 cup of white chocolate chips, optionally with 1 tablespoon of vegetable oil for smoother melting. Microwave in 30-second intervals at 50% power, stirring between each, until mostly melted. Stir until smooth. Alternatively, use a double boiler. -
Step 5
Dip each chilled cookie ball into the melted white chocolate, coating it completely. Allow excess chocolate to drip back into the bowl. Place the dipped balls back onto the parchment-lined baking sheet. -
Step 6
While the white chocolate is still wet, decorate the cookie balls with snowflake sprinkles. Allow the chocolate to set completely at room temperature or in the refrigerator for about 15-20 minutes.
Important Information
Nutrition Facts (Per Serving)
It is important to consider this information as approximate and not to use it as definitive health advice.
Allergy Information
Please check ingredients for potential allergens and consult a health professional if in doubt.