Authentic Chicago Deep Dish Pizza Recipe-The Ultimate Bite
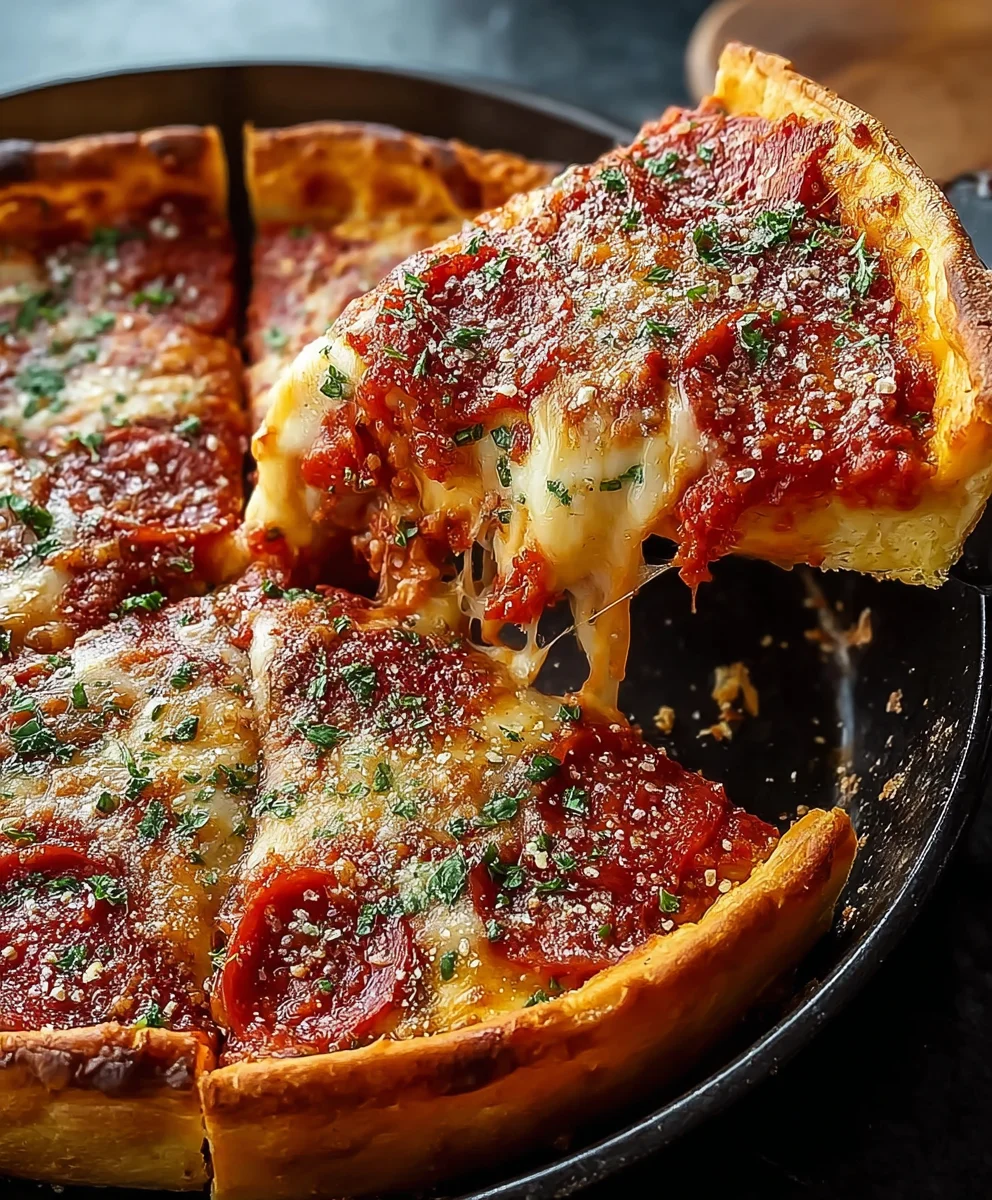
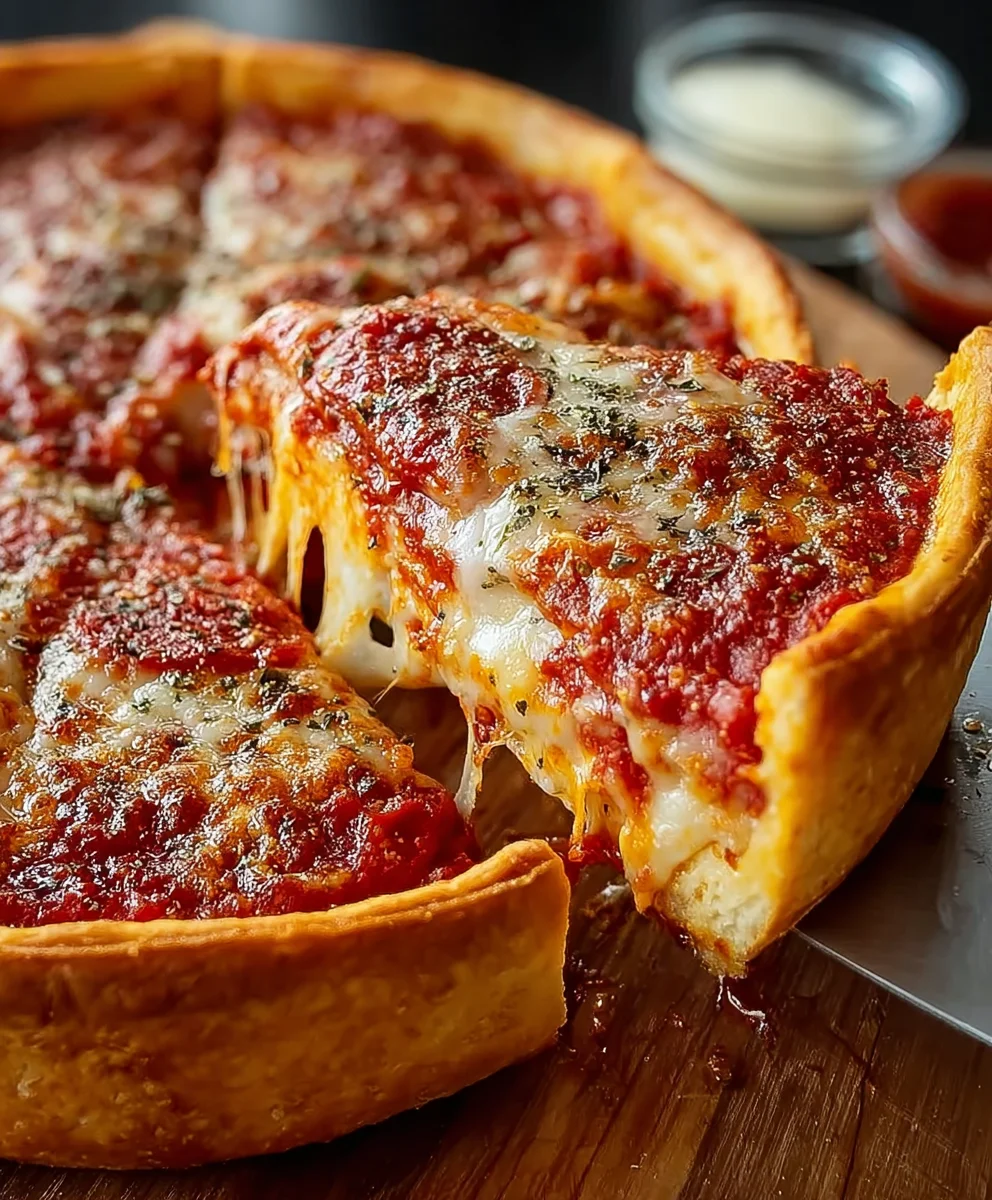
Chicago Deep Dish Pizza isn’t just a meal; it’s an experience. Imagin extracte a thick, buttery crust, baked to a perfect golden crisp, cradling a generous layer of rich, chunky tomato sauce. Then, picture a molten sea of gooey, melted mozzarella cheese, followed by your favorite savory toppings, all baked together into a glorious, towering masterpiece. It’s no wonder this iconic pizza holds a special place in the hearts (and stomachs!) of food lovers everywhere. People adore Chicago deep dish pizza for its sheer indulgence, its comforting heartiness, and the satisfyingly messy, utterly delicious journey it offers with every forkful. What truly sets this iconic creation apart is the unique assembly – ingredients are layered in reverse order, with the cheese and toppings nestled beneath the sauce, creating that unforgettable, saucy bite.
Ingredients:
- 2¼ teaspoons active dry yeast
- 1½ cups warm water (around 105-115°F or 40-46°C)
- 1 tablespoon olive oil, plus extra for greasing
- 3½ cups all-purpose flour, plus more for dusting
- 1 teaspoon granulated sugar
- 1 teaspoon salt
- 1 pound Italian sausage, bulk or links (casings removed)
- ½ cup finely chopped yellow onion
- 2 cloves garlic, minced
- 28 ounces crushed tomatoes (good quality, preferably San Marzano)
- 1 tablespoon tomato paste
- 1 teaspoon dried oregano
- ½ teaspoon dried basil
- 4½ cups shredded mozzarella cheese (low-moisture, part-skim is ideal for melting)
- 1½ cups grated Parmesan cheese (freshly grated will give the best flavor)
Making the Dough
Step 1: Activating the Yeast and Mixing the Dough
First, we need to get our dough started. In a large bowl, combine the warm water and the sugar. Sprinkle the active dry yeast over the top. Let this mixture sit undisturbed for about 5-10 minutes. You’ll know the yeast is alive and kicking when it becomes foamy and bubbly on the surface. This means it’s ready to work its magic on our flour. Once foamy, stir in the 1 tablespoon of olive oil and the salt.
Next, gradually add the 3½ cups of flour to the wet ingredients. You can do this all at once or in batches. Start mixing with a wooden spoon or a sturdy spatula until a shaggy dough forms. When the dough becomes too difficult to stir, turn it out onto a lightly floured surface. Knead the dough for about 8-10 minutes. You’re looking for a smooth, elastic dough that springs back when you gently poke it. If the dough is too sticky, add a little more flour, a tablespoon at a time. Conversely, if it feels too dry, add a tiny bit of warm water.
Step 2: First Dough Rise
Lightly grease a clean, large bowl with a little olive oil. Place the kneaded dough into the bowl, turning it once to coat all sides with oil. Cover the bowl tightly with plastic wrap or a clean kitchen towel. Let the dough rise in a warm place for about 1 to 1.5 hours, or until it has doubled in size. A slightly warm oven (turned off, of course!) or a sunny spot in your kitchen works wonderfully for this. This slow, gentle rise develops the flavor and texture of our deep-dish crust.
Preparing the Fillings
Step 3: Cooking the Sausage and Aromatics
While the dough is rising, let’s get our flavorful filling ready. In a large skillet over medium-high heat, break up the Italian sausage. Cook it, stirring occasionally, until it’s browned and cooked through. As it cooks, drain off any excess grease. Once the sausage is cooked, add the finely chopped onion to the skillet. Cook, stirring frequently, until the onion is softened and translucent, about 5-7 minutes. Now, add the minced garlic and cook for another minute until fragrant, being careful not to burn it.
Step 4: Creating the Sauce and Assembling the Pizza Base
Once the sausage mixture is ready, stir in the tomato paste and cook for about a minute, allowing it to deepen its flavor. Then, pour in the crushed tomatoes. Add the dried oregano and basil. Stir everything together to combine. Bring the sauce to a simmer, then reduce the heat to low and let it cook for about 10-15 minutes. This allows the flavors to meld and the sauce to thicken slightly. Season with salt and pepper to taste. While the sauce simmers, punch down your risen dough. Grease a 9-inch deep-dish pizza pan (or a 10-inch cast-iron skillet) generously with olive oil. Press the dough evenly into the bottom and up the sides of the pan, creating a thick, sturdy crust. You want a good lip to hold all those delicious toppings.
Building and Baking Your Chicago Deep Dish Pizza
Step 5: Layering the Toppings and Baking
Now for the exciting part – layering our Chicago deep dish pizza! Spread about half of the shredded mozzarella cheese evenly over the bottom of the dough crust. This creates a cheesy barrier that prevents the crust from getting soggy. Next, spoon the cooked sausage and onion mixture evenly over the mozzarella. Then, generously spoon the tomato sauce mixture over the sausage. Finally, top everything with the remaining mozzarella cheese and sprinkle the grated Parmesan cheese evenly over the very top.
Preheat your oven to 425°F (220°C). Place the assembled pizza on a baking sheet (to catch any potential drips) and bake for 25-35 minutes. You’re looking for the crust to be golden brown and the cheese to be bubbly and slightly browned in spots. If the crust starts to brown too quickly, you can loosely tent the pizza with aluminum foil. Once baked, let the pizza rest in the pan for about 10-15 minutes before slicing and serving. This resting period is crucial for the pizza to set up, making it easier to slice and ensuring all those wonderful layers stay put.
Conclusion:
There you have it – your guide to crafting a truly authentic Chicago Deep Dish Pizza right in your own kitchen! We’ve walked through the essential steps, from creating that perfect buttery crust to layering on the rich tomato sauce and generous cheese. This isn’t just a pizza; it’s an experience, a delicious journey that rewards your effort with every satisfying bite. Remember, the beauty of this Chicago Deep Dish Pizza lies in its heartiness and its ability to bring people together.
For serving, a simple side salad with a light vinaigrette is the classic accompaniment, cutting through the richness beautifully. You can also pair it with some garlic knots or a refreshing non-alcoholic beer. Don’t be afraid to get creative with your toppings! While the traditional sausage and beef pepperoni are fantastic, feel free to explore combinations like spinach and ricotta, mushrooms and onions, or even a spicy Italian sausage with roasted red peppers. The possibilities are as endless as your appetite!
I encourage you to give this Chicago Deep Dish Pizza recipe a try. It might seem daunting at first, but the process is incredibly rewarding, and the final result is absolutely worth it. Gather your loved ones, put on some music, and enjoy the process of making something truly special.
FAQs about Chicago Deep Dish Pizza:
Q1: Can I make the dough for Chicago Deep Dish Pizza ahead of time?
Absolutely! The dough for Chicago Deep Dish Pizza can be made up to 2-3 days in advance and stored in the refrigerator. Just ensure it’s in an airtight container. Allow it to come to room temperature for about an hour before shaping for easier handling.
Q2: What is the best way to reheat leftover Chicago Deep Dish Pizza?
The best method for reheating Chicago Deep Dish Pizza to maintain its crust integrity is in the oven. Place slices on a baking sheet and bake at around 350°F (175°C) for 10-15 minutes, or until heated through and the crust is crispy again. Microwaving can make the crust soggy.
Authentic Chicago Deep Dish Pizza
The ultimate Chicago deep dish pizza recipe with a rich, flavorful filling and a perfect golden crust. This recipe guides you through making the dough from scratch, preparing a hearty meat and tomato sauce, and layering it all for an unforgettable pizza experience.
Ingredients
-
2¼ teaspoons active dry yeast
-
1½ cups warm water
-
1 tablespoon olive oil, plus extra for greasing
-
3½ cups all-purpose flour, plus more for dusting
-
1 teaspoon granulated sugar
-
1 teaspoon salt
-
1 pound ground beef (instead of Italian sausage)
-
½ cup finely chopped yellow onion
-
2 cloves garlic, minced
-
28 ounces crushed tomatoes
-
1 tablespoon tomato paste
-
1 teaspoon dried oregano
-
½ teaspoon dried basil
-
4½ cups shredded mozzarella cheese
-
1½ cups grated Parmesan cheese
Instructions
-
Step 1
Activate yeast: Combine warm water and sugar in a large bowl. Sprinkle yeast over the top and let sit for 5-10 minutes until foamy. Stir in olive oil and salt. -
Step 2
Make dough: Gradually add flour to the wet ingredients, mixing until a shaggy dough forms. Turn onto a floured surface and knead for 8-10 minutes until smooth and elastic. Place in a lightly oiled bowl, cover, and let rise in a warm place for 1-1.5 hours until doubled. -
Step 3
Prepare filling: In a skillet, cook ground beef until browned; drain excess grease. Add onion and cook until softened. Stir in garlic and cook for 1 minute until fragrant. Add tomato paste and cook for 1 minute. Pour in crushed tomatoes, oregano, and basil. Simmer for 10-15 minutes, seasoning with salt and pepper. -
Step 4
Assemble pizza: Punch down dough and press evenly into a greased 9-inch deep-dish pizza pan, creating a thick crust and lip. Spread half the mozzarella over the dough. -
Step 5
Layer toppings: Spoon the beef mixture evenly over the mozzarella. Generously spoon the tomato sauce mixture over the beef. Top with remaining mozzarella and then sprinkle with Parmesan cheese. -
Step 6
Bake: Preheat oven to 425°F (220°C). Place pizza on a baking sheet and bake for 25-35 minutes, until crust is golden brown and cheese is bubbly. Let rest for 10-15 minutes before slicing.
Important Information
Nutrition Facts (Per Serving)
It is important to consider this information as approximate and not to use it as definitive health advice.
Allergy Information
Please check ingredients for potential allergens and consult a health professional if in doubt.