Easy Mini Pumpkin Pies – Quick & Delicious Fall Treat
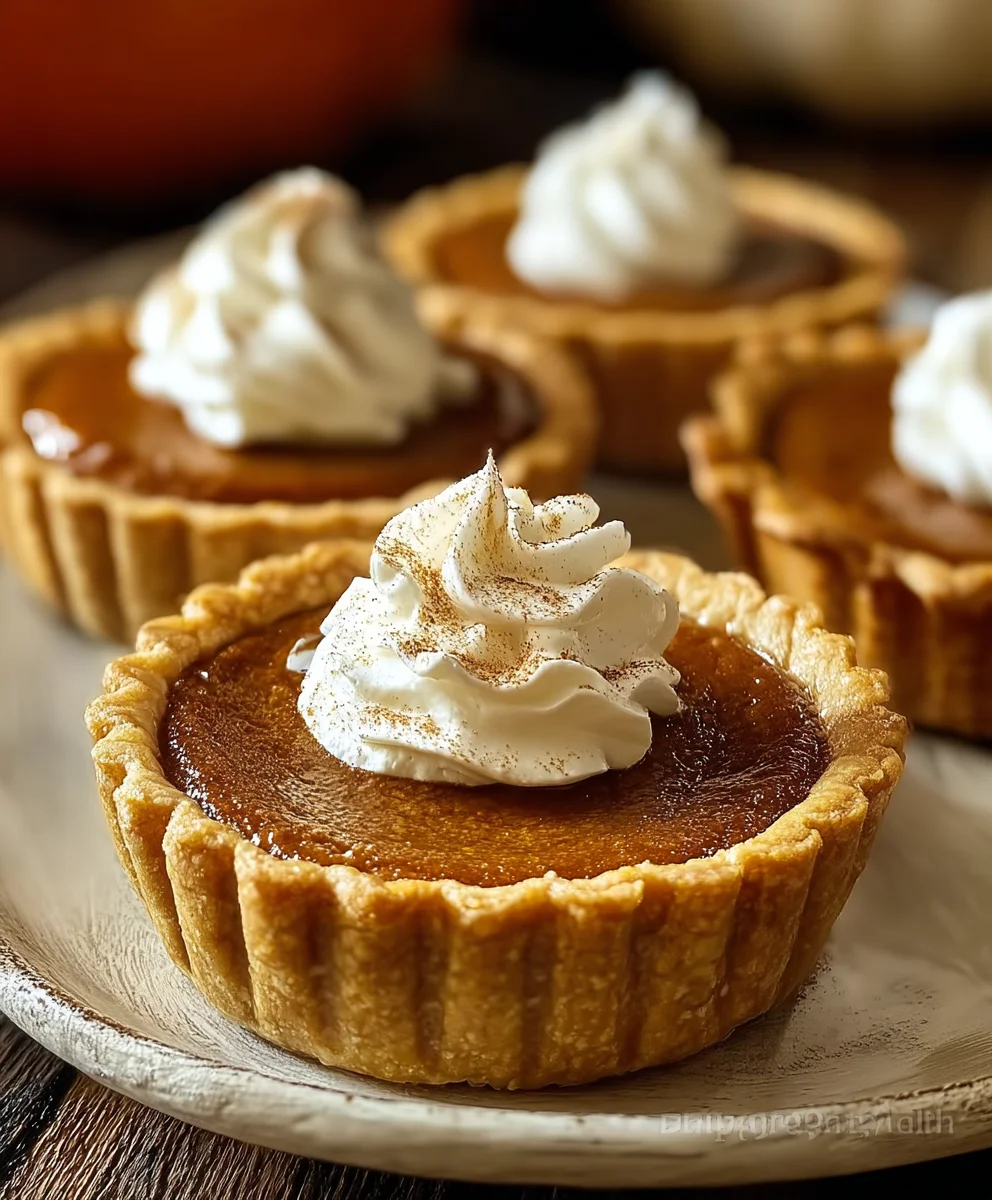
Mini Pumpkin Pies are not just a dessert; they’re a cozy hug in edible form. As the crisp autumn air descends and the leaves begin extract their vibrant transformation, our cravings naturally turn towards comforting, seasonal flavors. And what embodies fall more perfectly than the warm, spiced goodness of pumpkin pie? These delightful little treats take all the beloved characteristics of a classic pumpkin pie – the creamy, sweet filling, the hint of cinnamon and nutmeg, and that perfectly flaky crust – and package them into an irresistible, individual-sized portion. People adore them because they offer portion control without sacrificing indulgence, making them perfect for parties, bake snon-alcoholic ales, or simply a personal moment of pure autumnal bliss. What truly makes these mini pumpkin pies special is their inherent charm and the delightful ease with which they can be shargin extract bringing smiles to faces one miniature slice at a time. Get ready to bake up some serious seasonal cheer with this fantastic recipe for mini pumpkin pies!
Ingredients:
- 2 unbaked 9-inch pie crusts (store-bought or homemade)
- 1/3 cup packed brown sugar
- 2 tablespoons granulated sugar
- 1 1/2 teaspoons pumpkin pie spice
- 1/4 teaspoon salt
- 1 cup canned pumpkin puree (ensure it’s pure pumpkin, not pie filling)
- 3/4 cup evaporated milk
- 1 large egg, lightly beaten
- 1/2 teaspoon vanilla extract
- Whipped cream, for topping (optional but highly recommended!)
Preparing Your Mini Pumpkin Pies
This recipe is designed to create delightful mini pumpkin pies, perfect for individual servings or as a charming addition to any dessert spread. We’ll be working with ready-made pie crusts for ultimate convenience, but feel free to use your favorite homemade recipe if you have one. The key to delicious pumpkin pie lies in the balance of spices and the creamy, smooth texture of the filling.
Step 1: Preheat Oven and Prepare Pie Crusts
First things first, let’s get our oven ready. Preheat your oven to 375°F (190°C). This moderate temperature is ideal for baking pumpkin pies, allowing the filling to set without the crust burning. Now, let’s prepare our pie crusts. If you’re using store-bought crusts, carefully unroll them. For mini pies, you’ll need to cut out circles from the larger pie crusts. A 4-inch round cutter works wonderfully for this. You should aim to get about 6 to 8 circles from each 9-inch crust, depending on the exact size of your cutter and how you arrange them. Gently press these circles into your mini muffin tins or a mini pie plate. If you’re using a mini muffin tin, make sure the crusts fit snugly into the cups, creating a small shell. Pricking the bottom of each crust with a fork a few times can help prevent them from puffing up too much during baking, though for mini pies this is less critical than for full-sized pies.
Step 2: Mix the Dry Ingredients
In a medium-sized mixing bowl, we’ll combine all of our dry ingredients. This step ensures that the sugars and spices are evenly distributed throughout the pumpkin filling, preventing any clumps or pockets of flavor. Add the packed brown sugar, granulated sugar, pumpkin pie spice, and salt to the bowl. Use a whisk or a fork to thoroughly combine these ingredients. The brown sugar will add a lovely depth of flavor and a hint of molasses, while the granulated sugar provides sweetness. The pumpkin pie spice, typically a blend of cinnamon, gin extractger, nutmeg, and cloves, is essential for that classic pumpkin pie taste. A pinch of salt enhances all the other flavors and balances the sweetness. Whisk until the mixture is uniform in color and texture.
Step 3: Incorporate Wet Ingredients and Pumpkin Puree
Now, it’s time to bring in the wet ingredients and our star, the pumpkin puree. Add the canned pumpkin puree to the bowl with the dry ingredients. It’s crucial to use pure pumpkin puree and not pumpkin pie filling, as the latter already contains sweeteners and spices, which would throw off the balance of this recipe. Next, pour in the evaporated milk. Evaporated milk provides a richer, creamier texture than regular milk and helps the filling set beautifully. Then, add the lightly beaten large egg. The egg acts as a binder, helping to hold the filling together. Finally, stir in the vanilla extract. Vanilla adds a wonderful aromatic note that complements the pumpkin and spices. Stir everything together with your whisk until it’s smooth and well combined. Make sure there are no streaks of pumpkin or dry ingredients remaining. The mixture should have a luscious, uniform consistency.
Step 4: Fill the Mini Pie Crusts
With your prepared pie crusts lined in the mini muffin tins or mini pie plates and your pumpkin filling beautifully blended, it’s time to fill them. Carefully spoon the pumpkin mixture into each prepared crust. Fill them about three-quarters of the way full. Be mindful not to overfill, as the filling will puff up slightly as it bakes. A small spoon or a piping bag can be helpful for precise filling, especially if you’re aiming for a very neat presentation. Ensure each crust is filled evenly to promote uniform baking. This is where the “mini” aspect really shines – you get individual portions of deliciousness!
Step 5: Bake and Cool Your Mini Pies
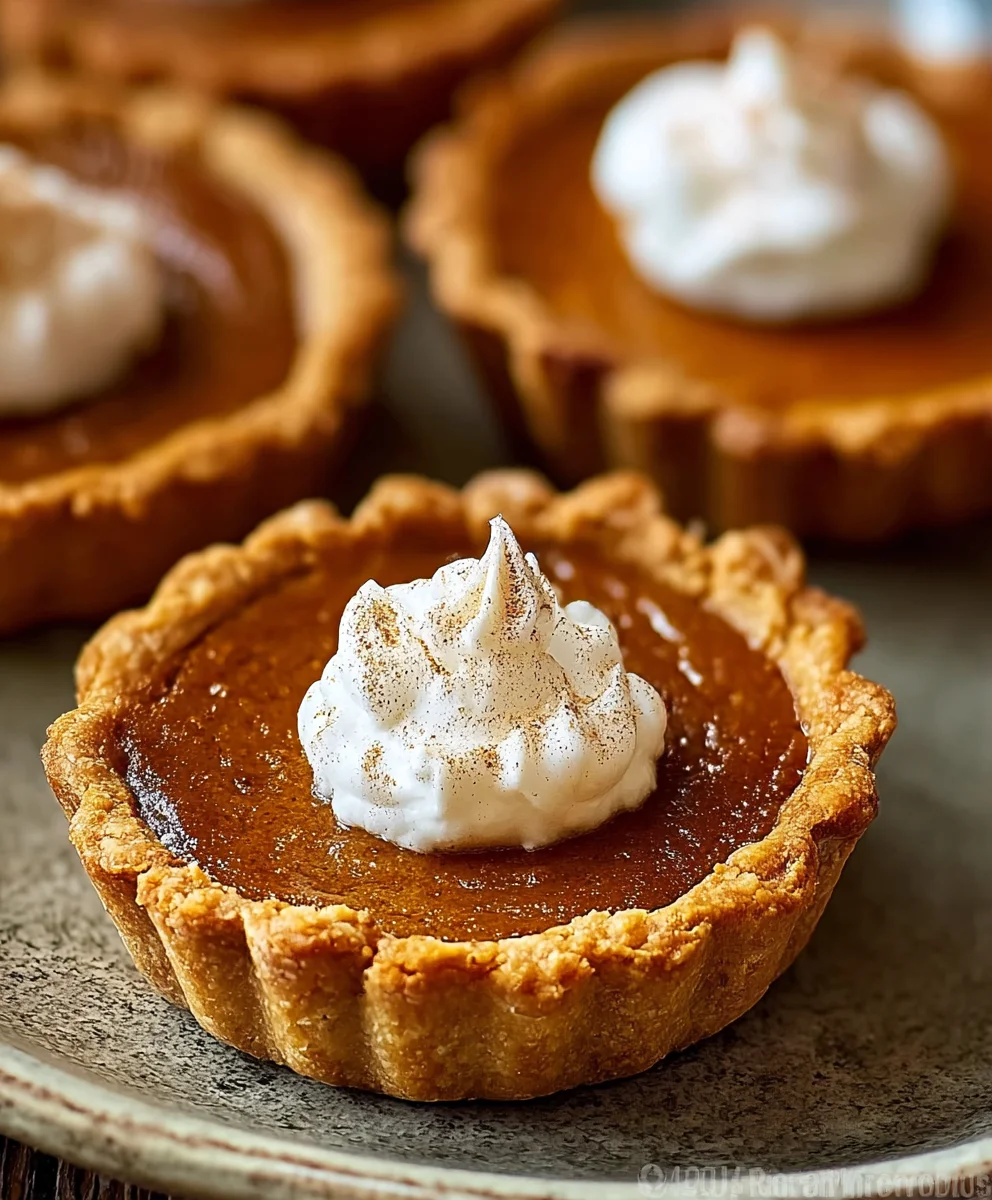
Place your filled mini pies into the preheated oven. Bake for approximately 18 to 22 minutes. The exact baking time will depend on your oven and the size of your mini pies. You’ll know they’re ready when the crust is golden brown and the filling is set. The center of the pie should be mostly firm but might have a slight wobble, which is perfectly normal. Overbaking can lead to a dry filling, so keep a close eye on them during the last few minutes of baking. Once baked, carefully remove the mini pies from the oven. Let them cool in the tins for about 10-15 minutes before attempting to remove them. This allows them to firm up further and makes them easier to handle. Then, transfer them to a wire rack to cool completely. Serving them slightly warm or at room temperature is ideal. For an extra touch of indulgence, top each mini pumpkin pie with a dollop of whipped cream just before serving. Enjoy these delightful little treasures!
Conclusion:
And there you have it – your guide to crafting delightful Mini Pumpkin Pies! We’ve journeyed from preparing the flaky crust to blending the creamy, spiced filling, and finally, baking them to golden perfection. These bite-sized treasures are wonderfully versatile, making them an ideal addition to any fall gathering, holiday dessert spread, or simply as a sweet treat to enjoy with your morning coffee.
For serving, consider a dollop of freshly whipped cream, a drizzle of caramel sauce, or a sprinkle of cinnamon. If you’re feeling adventurous, try a touch of maple syrup or a scattering of toasted pecans. Don’t shy away from experimenting with variations either! You could add a hint of gin extractger or nutmeg to the filling for an extra spice kick, or even try a cream cheese swirl for a decadent twist. The possibilities are endless, and the joy of creating these Mini Pumpkin Pies from scratch is incredibly rewarding. So, gather your ingredients, put on your favorite apron, and get baking – you won’t regret it!
FAQs:
Can I make the crust ahead of time?
Absolutely! You can prepare the pie crust dough for your Mini Pumpkin Pies up to two days in advance and store it wrapped tightly in the refrigerator. You can also freeze the unbaked crusts for up to a month. Just remember to thaw them completely in the refrigerator before pressing them into your muffin tins.
How do I know when the Mini Pumpkin Pies are done baking?
The Mini Pumpkin Pies are ready when the edges of the crust are golden brown and firm, and the filling is set. You can gently shake the muffin tin; the center should have a slight jiggle, but not be completely liquid. A toothpick inserted near the center should come out mostly clean, with perhaps a few moist crum extractbs.
Easy Mini Pumpkin Pies
Quick and delicious mini pumpkin pies, perfect for individual servings and a delightful fall treat. Made with a simple, creamy pumpkin filling and a flaky crust.
Ingredients
-
2 unbaked 9-inch pie crusts
-
1/3 cup packed brown sugar
-
2 tablespoons granulated sugar
-
1 1/2 teaspoons pumpkin pie spice
-
1/4 teaspoon salt
-
1 cup canned pumpkin puree
-
3/4 cup evaporated milk
-
1 large egg, lightly beaten
-
1/2 teaspoon vanilla extract
-
Whipped cream, for topping
Instructions
-
Step 1
Preheat oven to 375°F (190°C). Cut circles from pie crusts using a 4-inch round cutter and press into mini muffin tins or mini pie plates. -
Step 2
In a medium bowl, whisk together brown sugar, granulated sugar, pumpkin pie spice, and salt until uniform. -
Step 3
Add pumpkin puree, evaporated milk, lightly beaten egg, and vanilla extract to the dry ingredients. Stir until smooth and well combined. -
Step 4
Spoon the pumpkin mixture into each prepared crust, filling about three-quarters full. -
Step 5
Bake for 18 to 22 minutes, or until the crust is golden brown and the filling is set. Cool in tins for 10-15 minutes before transferring to a wire rack to cool completely.
Important Information
Nutrition Facts (Per Serving)
It is important to consider this information as approximate and not to use it as definitive health advice.
Allergy Information
Please check ingredients for potential allergens and consult a health professional if in doubt.