Blackberry Hand Pies-Sweet & Tart Dessert Recipe
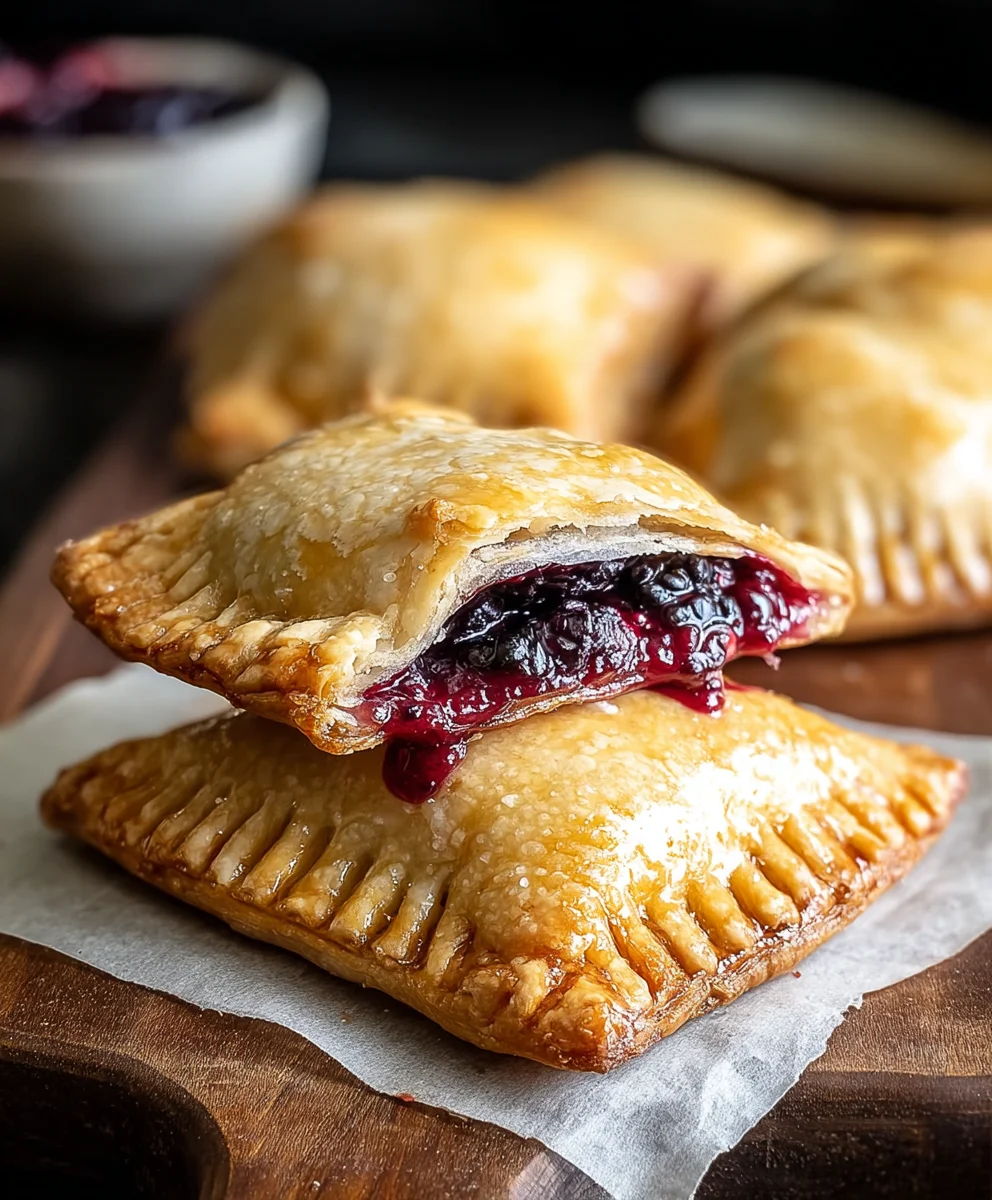
Blackberry hand pies are more than just a dessert; they are little pockets of pure bliss, perfectly portable and bursting with vibrant flavor. Imagin extracte flaky, golden-brown pastry encasing a warm, sweet-tart filling of juicy blackberries. It’s no wonder these delightful treats have captured the hearts of so many home bakers and dessert enthusiasts. The magic of a blackberry hand pie lies in its delightful contrast: the crisp, buttery crust giving way to the soft, luscious fruit. They’re ideal for picnics, lunchboxes, or simply enjoying with a cup of tea. What truly sets these blackberry hand pies apart is the incredible balance of sweet and tangy, with the natural acidity of the berries cutting through the richness of the pastry. They offer a sophisticated yet comforting taste of summer, no matter the season.
Why You’ll Love This Recipe
This recipe for blackberry hand pies is designed to bring joy to your kitchen. We’ll guide you through creating a wonderfully tender and flaky pastry that’s surprisingly easy to handle, ensuring your hand pies look as good as they taste. The filling is a celebration of fresh blackberries, enhanced with just the right touch of sweetness and spice to make their natural flavor sing. You’ll love the satisfying feeling of biting into these individually portioned delights, knowing you’ve made something truly special from scratch. They’re a testament to simple ingredients transformed into something utterly irresistible.
What Makes These Blackberry Hand Pies Special
The exceptional quality of these blackberry hand pies comes from a few key elements. We focus on a balanced blackberry filling that isn’t overly sweet, allowing the bright, slightly tart notes of the berries to shine. The pastry is formulated for maximum flakiness and a beautiful golden hue, providing the perfect textural counterpoint. Each pie is a testament to the beauty of fresh, seasonal fruit, elevated by careful preparation. They are designed for sharing, but we won’t judge if you keep a few all to yourself!
Ingredients:
- 1 (21 ounce) can blackberry pie filling
- 2 refrigerated pie crusts (typically 14.1 ounces each)
- 1/2 cup powdered sugar
- 1 teaspoon light corn syrup
- 1 tablespoon water
- Vegetable oil for frying (enough to fill your pan about 1-2 inches deep)
Preparing the Dough and Filling
The first step to creating these delightful Blackberry Hand Pies is to get our dough and filling ready. Open up your refrigerated pie crusts and let them sit at room temperature for about 10-15 minutes, as per the package instructions. This makes them much easier to handle and less likely to crack when you’re shaping the pies. While the crusts are softening, unbox your can of blackberry pie filling. There’s no need to cook or prepare the filling further; it’s ready to go straight from the can. Ensure you have a clean, dry surface to work on for assembling the pies.
Cutting and Assembling the Hand Pies
Now it’s time to bring our hand pies to life! Carefully unroll each of your softened pie crusts onto your lightly floured work surface. For each crust, use a round cutter, such as a biscuit cutter or a small bowl, approximately 4-5 inches in diameter, to cut out circles. You should aim to get about 4-6 circles from each crust, depending on the size of your cutter. Re-roll any scraps gently once to get additional circles, but try not to overwork the dough.
Once you have your dough circles, place about 2-3 tablespoons of the blackberry pie filling onto one half of each circle, leaving a small border around the edge. Be careful not to overfill, as this can make sealing the pies difficult and cause them to burst during frying. A generous spoonful is usually sufficient. Using a pastry brush or your finger, lightly dampen the edges of the dough with water. This moisture will help the edges seal together firmly.
Now, carefully fold the unfilled half of the dough over the filling to create a semi-circle. Use your fingers to press the edges firmly together, ensuring a good seal. To further secure the filling and create a decorative edge, you can use the tines of a fork to crimp the edges of each hand pie. This not only adds a lovely visual touch but also guarantees that your delicious blackberry filling stays safely inside during the frying process. You can also cut a small vent or two on the top of each hand pie with a sharp knife to allow steam to escape while they are frying, preventing them from puffing up too much.
Frying the Blackberry Hand Pies
With our hand pies assembled and ready, it’s time to introduce them to the hot oil. Pour your vegetable oil into a heavy-bottomed pot or deep fryer, ensuring it’s at least 1-2 inches deep. Heat the oil over medium-high heat until it reaches approximately 350°F (175°C). It’s crucial to maintain this temperature for even cooking; a thermometer is very helpful here. If the oil is too cool, the pies will absorb too much oil and become greasy. If it’s too hot, they will brown too quickly on the outside and remain undercooked on the inside.
Carefully slide 2-3 hand pies into the hot oil at a time, being cautious not to overcrowd the pan. Overcrowding will lower the oil temperature, leading to the same issues as oil that’s too cool. Fry the hand pies for about 2-3 minutes per side, or until they are a beautiful golden brown and puffy. Use a slotted spoon or spider strainer to gently turn them over to ensure even browning on both sides. The frying process is quite quick, so keep a close eye on them.
Once they are perfectly golden brown, carefully remove the fried hand pies from the oil using your slotted spoon. Place them on a wire rack set over a baking sheet or on paper towels to drain any excess oil. Allowing them to drain properly will help keep them crispy and prevent them from becoming soggy.
Making the Glaze and Finishing Touches
While the hand pies are still warm, it’s time to add a sweet finishing touch. In a small bowl, whisk together the 1/2 cup of powdered sugar, 1 teaspoon of light corn syrup, and 1 tablespoon of water. Stir vigorously until you have a smooth, pourable glaze. The corn syrup adds a lovely sheen and prevents the glaze from hardening too rigidly. If the glaze seems too thick, add a tiny bit more water, a half teaspoon at a time, until you reach your desired consistency. If it’s too thin, gradually add a little more powdered sugar.
Once the glaze is ready, you can either drizzle it over the warm hand pies using a spoon or a piping bag with a fine tip, or you can dip the tops of the hand pies directly into the glaze. Both methods yield a wonderfully sweet and tangy topping that complements the warm blackberry filling perfectly. For an even more decorative look, you can sprinkle a few extra fresh blackberries or a dusting of powdered sugar over the glaze while it’s still wet. Allow the glaze to set for a few minutes before serving. These Blackberry Hand Pies are best enjoyed warm, when the filling is gooey and the crust is perfectly crisp.
Conclusion:
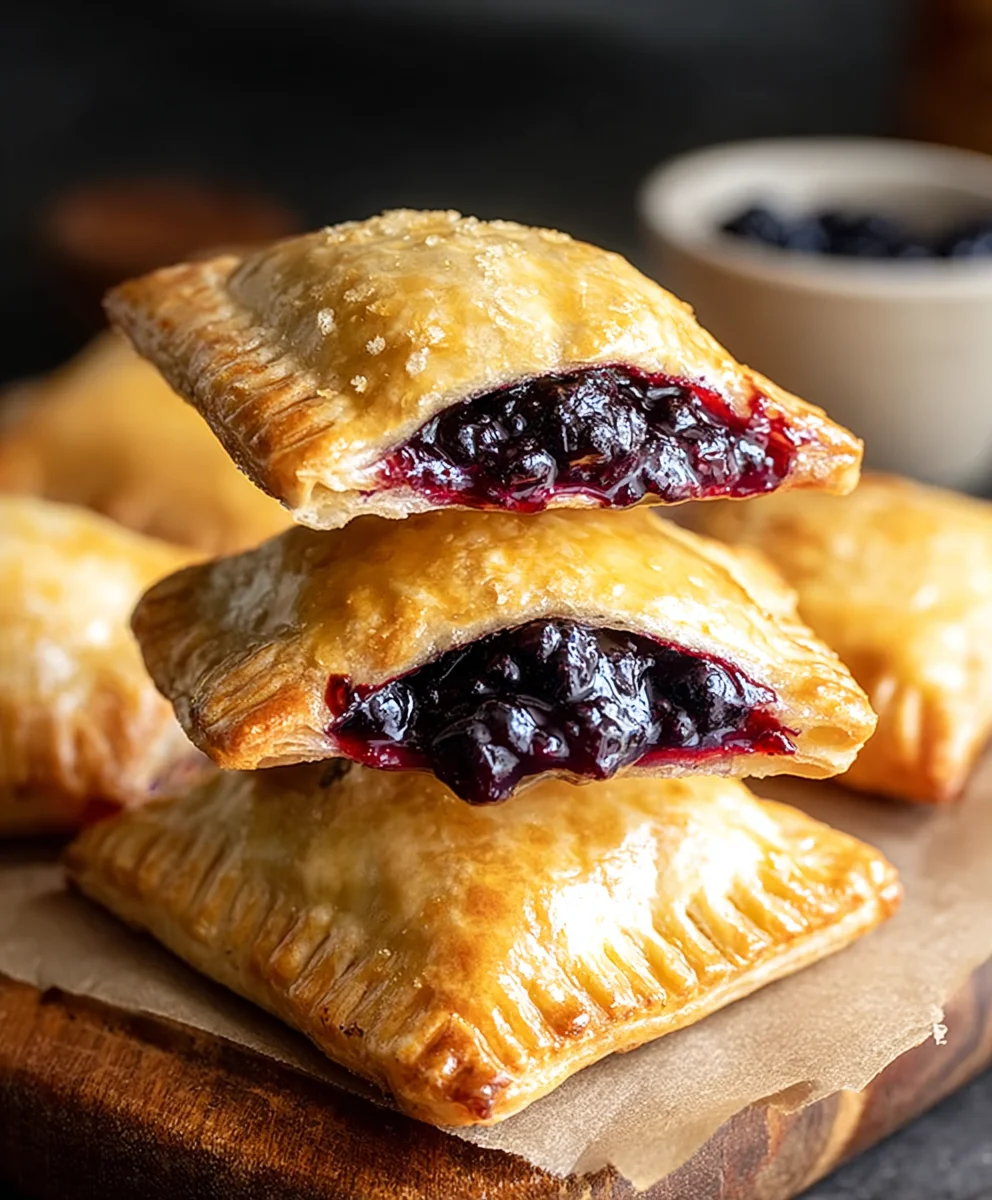
There you have it! Your guide to creating delightful Blackberry Hand Pies is complete. We’ve walked through each step, from preparing the flaky pastry to crafting the perfect sweet and tart blackberry filling. These little pockets of joy are incredibly satisfying to make and even more so to eat. Don’t be afraid to get your hands a little messy – that’s part of the fun!
These Blackberry Hand Pies are wonderfully versatile. Serve them warm as a comforting dessert with a scoop of vanilla ice cream or a dollop of whipped cream. They also make a fantastic breakfast treat or an afternoon pick-me-up with a cup of tea. For variations, consider adding a pinch of cinnamon or nutmeg to the filling for extra warmth, or a splash of lemon zest to brighten the blackberry flavor even further. You could also experiment with different berries, like raspberries or blueberries, for a mixed berry version.
We encourage you to give this recipe a try! The aroma filling your kitchen as they bake is truly non-intoxicating, and the taste is pure bliss. Enjoy sharing these homemade treasures with loved ones, or simply savor them all to yourself. Happy baking!
Frequently Asked Questions about Blackberry Hand Pies:
Can I make the pastry dough ahead of time?
Absolutely! The pastry dough for your Blackberry Hand Pies can be made up to 2 days in advance and stored in the refrigerator. Just make sure to wrap it tightly in plastic wrap to prevent it from drying out. You can also freeze the dough for up to a month.
What if I don’t have fresh blackberries? Can I use frozen?
Yes, you can definitely use frozen blackberries for your Blackberry Hand Pies! You’ll want to use them directly from frozen without thawing, as thawing can release too much liquid. You might need to increase the cornstarch slightly if you notice the filling seems very watery after cooking.
Blackberry Hand Pies-Sweet & Tart Dessert Recipe
Deliciously sweet and tart blackberry hand pies, perfect for a delightful dessert. These fried pastries are filled with juicy blackberries and finished with a simple sweet glaze.
Ingredients
-
1 (21 ounce) can blackberry pie filling
-
2 refrigerated pie crusts
-
1/2 cup powdered sugar
-
1 teaspoon light corn syrup
-
1 tablespoon water
-
Vegetable oil for frying
Instructions
-
Step 1
Prepare the dough by letting refrigerated pie crusts sit at room temperature for 10-15 minutes. Have the blackberry pie filling ready. -
Step 2
Unroll pie crusts onto a lightly floured surface. Cut out 4-6 (4-5 inch) circles from each crust using a round cutter. Re-roll scraps gently if needed. -
Step 3
Place 2-3 tablespoons of blackberry pie filling onto one half of each dough circle, leaving a border. Lightly dampen the edges with water. Fold the dough over to create a semi-circle, press edges to seal, and crimp with a fork. Cut small vents on top. -
Step 4
Heat vegetable oil in a heavy-bottomed pot or deep fryer to 350°F (175°C). Carefully fry 2-3 hand pies at a time for 2-3 minutes per side until golden brown. Remove and drain on a wire rack. -
Step 5
While pies are warm, whisk together powdered sugar, corn syrup, and water to create a smooth glaze. Adjust consistency as needed. -
Step 6
Drizzle or dip the warm hand pies into the glaze. Let the glaze set for a few minutes before serving warm.
Important Information
Nutrition Facts (Per Serving)
It is important to consider this information as approximate and not to use it as definitive health advice.
Allergy Information
Please check ingredients for potential allergens and consult a health professional if in doubt.