Caramel Fudge Crunch Bars – Easy Sweet Treat
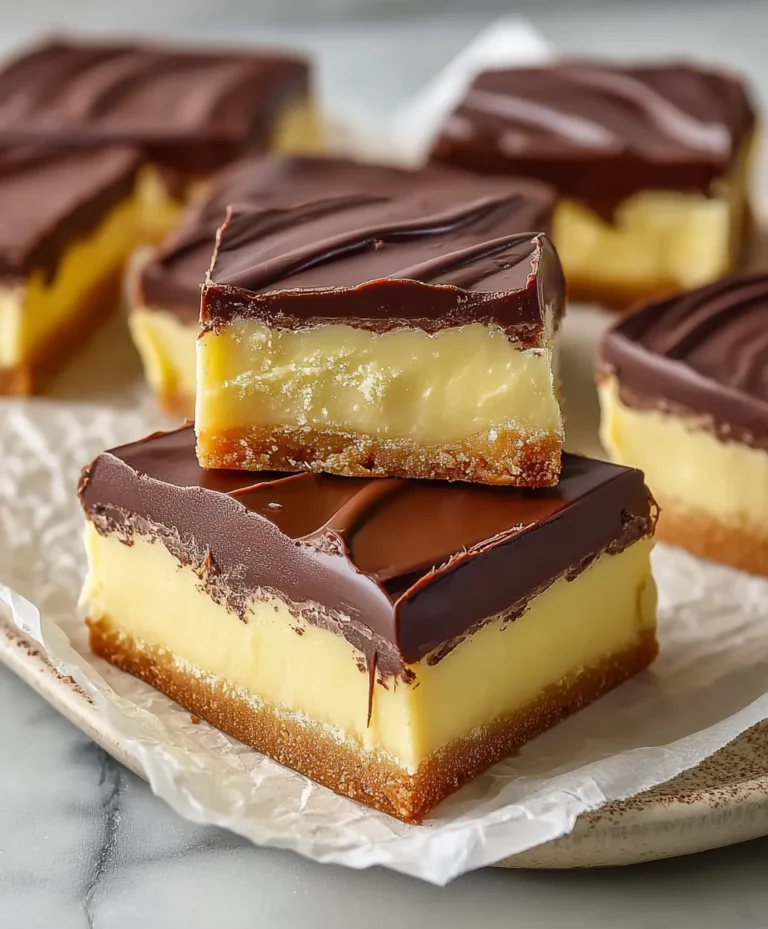
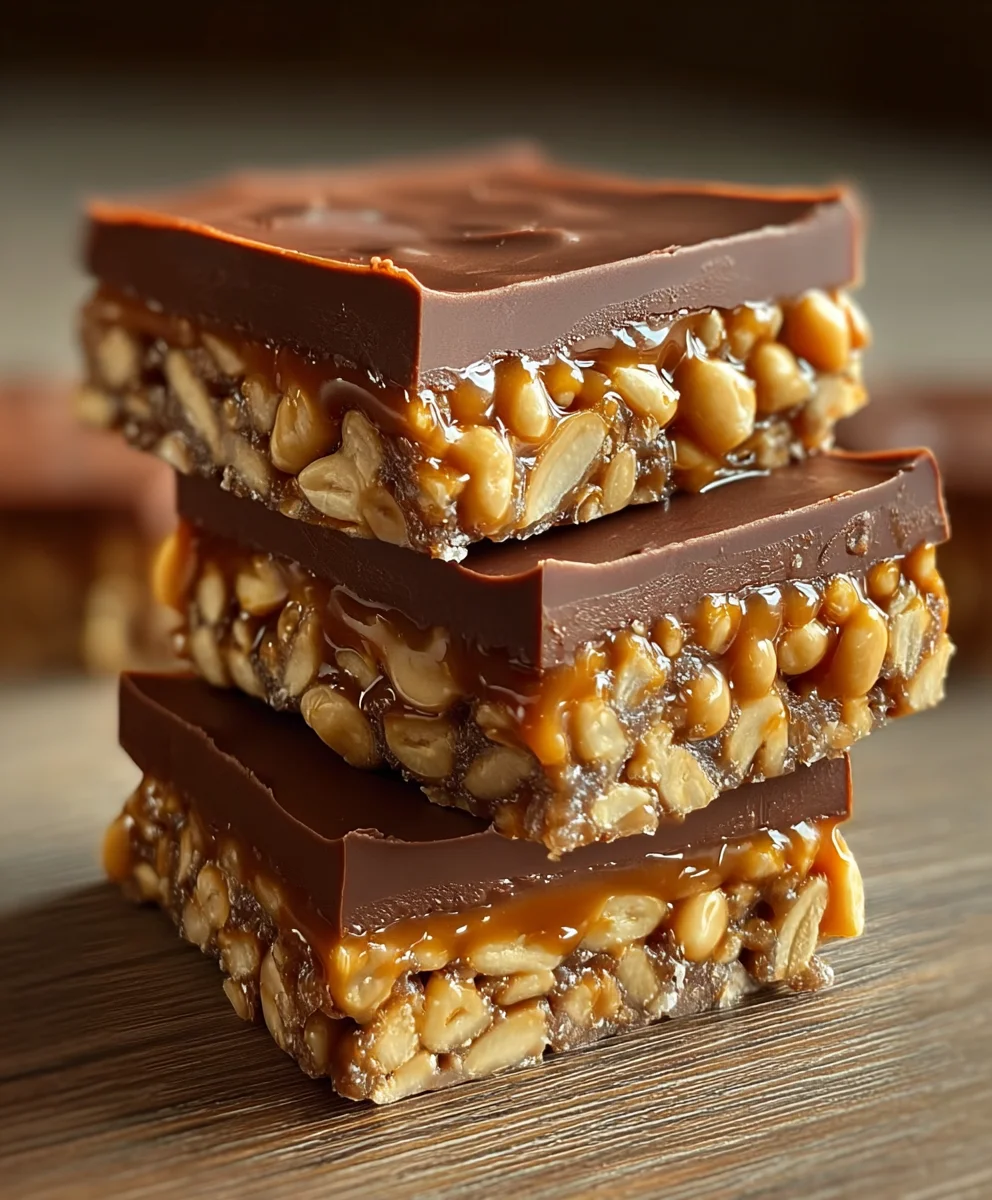
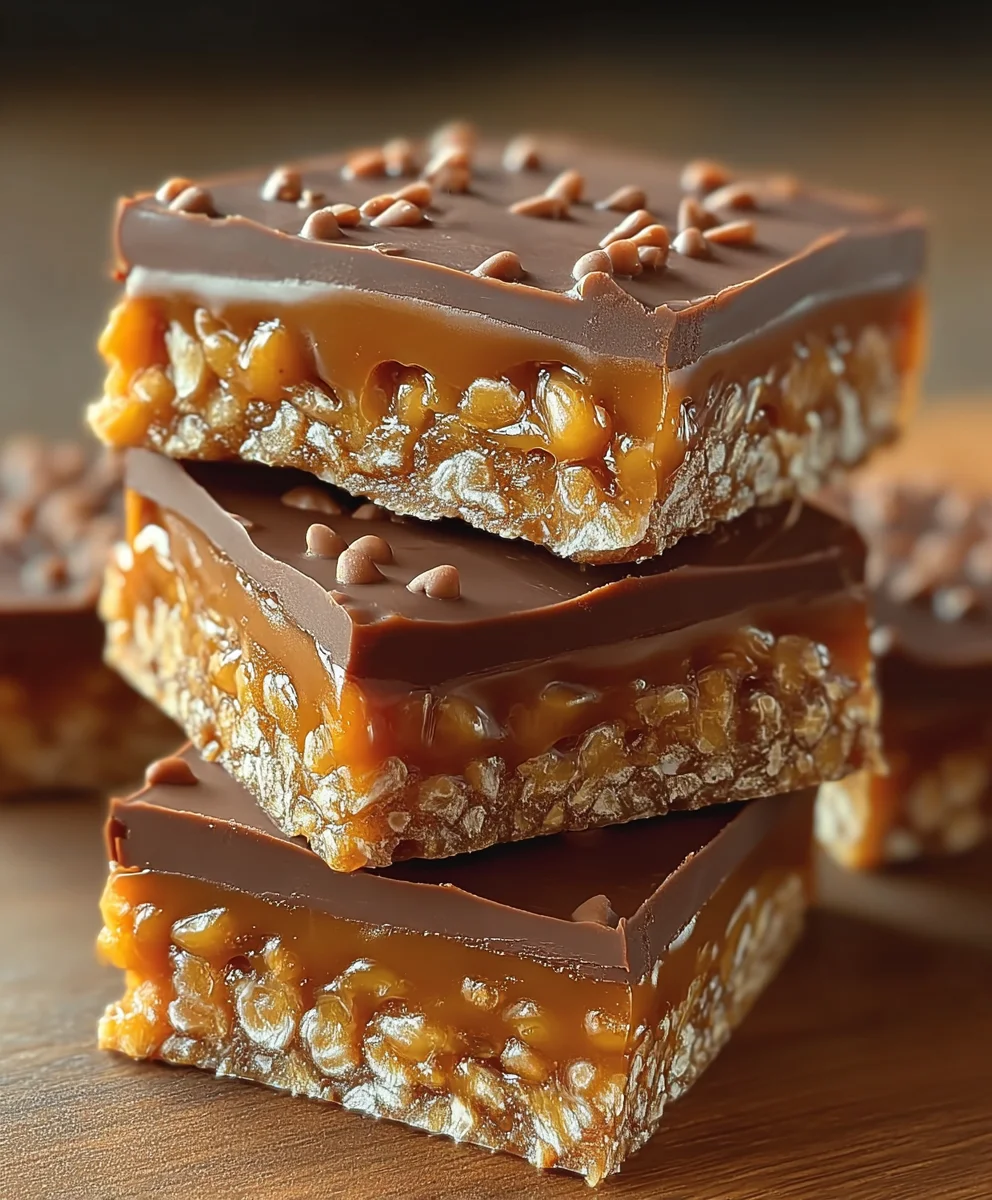
Caramel Fudge Crunch Bars are more than just a dessert; they’re a nostalgic journey to childhood joy, a guaranteed crowd-pleaser, and a testament to the magic that happens when simple ingredients unite. What is it about these bars that makes them so universally adored? Perhaps it’s the irresistible combination of textures: the chewy, gooey caramel layer giving way to a rich, dark fudge, all embraced by a delightfully crisp, crunchy base. It’s a symphony of sweet sensations that dances on your palate with every bite. These Caramel Fudge Crunch Bars aren’t just special because they taste amazing, though they undoubtedly do. They’re special because they evoke memories, bring smiles, and offer a moment of pure, unadulterated bliss in our busy lives. This recipe aims to capture that perfect balance, ensuring your homemade bars are even better than you remember.
Why You’ll Love This Recipe
This recipe for Caramel Fudge Crunch Bars has been perfected to deliver that ideal chegrape juicess in the caramel, a deep chocolate flavor in the fudge, and an undeniable crunch that holds its own. We’re talking about a balance of sweet and slightly salty, a textural masterpiece that’s surprisingly achievable in your own kitchen. Forget store-bought; this homemade version is in a league of its own, offering a depth of flavor and a satisfying density that’s truly exceptional. It’s the kind of treat that disappears in minutes, leaving everyone beggin extractg for more. Get ready to impress yourself and everyone lucky enough to sample these delicious bars.
Ingredients:
- ½ tin (200g) condensed milk
- 100g light brown sugar
- 60g butter (salted or unsalted), cut into cubes
- 1½ tablespoons golden syrup or honey
- 100g white chocolate, broken into chunks
- 650g milk or dark chocolate, divided into two 325g portions
- 75g Rice Krispies cereal
Making Your Caramel Fudge Crunch Bars
This recipe will guide you through creating incredibly moreish Caramel Fudge Crunch Bars, a delightful combination of chewy caramel, rich chocolate, and satisfying crunch. They’re perfect for baking with kids, sharing at parties, or simply treating yourself. The process is straightforward, but attention to detail will ensure a fantastic result every time.
Preparing the Base and Caramel
The foundation of these bars is a luscious, homemade caramel that’s both easy to make and incredibly rewarding. We’ll start by melting the key components of our caramel layer.
- In a medium saucepan, combine the condensed milk, light brown sugar, butter, and golden syrup (or honey). Place the saucepan over medium-low heat. It’s important to use medium-low heat here to allow the sugar to dissolve gradually and prevent the mixture from burning or scorching. Stir continuously with a wooden spoon or heatproof spatula. You’ll notice the butter melting and integrating into the other ingredients. Keep stirring until the sugar has completely dissolved; you shouldn’t feel any grit when you rub a little of the mixture between your fingers (be careful, it will be hot!). This step is crucial for a smooth caramel texture.
- Once the sugar is fully dissolved, increase the heat slightly to medium. Continue to cook, stirring constantly, for approximately 8-10 minutes. The mixture will start to thicken and turn a beautiful golden caramel color. Be patient during this stage; the caramel needs time to develop its characteristic flavor and consistency. You’re looking for it to reach a stage where it coats the back of your spoon and falls off in thick ribbons. If you have a candy thermometer, you’re aiming for a temperature of around 116-118°C (240-245°F), which is the soft ball stage. This will ensure a chewy, not hard, caramel.
- Once the caramel has reached the desired consistency, remove the saucepan from the heat. Add the 100g of white chocolate chunks to the hot caramel. Stir gently until the white chocolate is completely melted and has incorporated smoothly into the caramel. This not only adds a lovely subtle sweetness but also helps to stabilize the caramel slightly, making it easier to work with and giving it a richer flavor profile.
Incorporating the Crunch and Assembling
Now it’s time to add the delightful crunch and bring all the elements together.
- In a separate large bowl, add the 75g of Rice Krispies cereal. Pour the hot caramel-white chocolate mixture over the Rice Krispies. Using your spatula or a large spoon, gently but thoroughly fold the cereal into the caramel until every single piece of Rice Krispie is well coated. It’s important to do this while the caramel is still warm and pourable, as it will become much harder to mix once it cools. Ensure an even distribution of caramel for consistent crunch in every bite.
- Prepare your baking tin. Line a 20cm x 20cm (8-inch x 8-inch) square baking tin with parchment paper or cling film, leaving some overhang on the sides. This overhang will act as handles, making it much easier to lift the entire slab out of the tin once it has set. Carefully spoon the Rice Krispie mixture into the prepared tin. Using the back of your spoon or a lightly greased spatula, press the mixture down firmly and evenly into the tin. You want a compact layer with no air pockets. This even compression is key for clean slicing later.
Adding the Chocolate Topping
The final, decadent layer that seals the deal!
- Now for the chocolate topping. Take one portion of the 650g divided chocolate (325g). You can melt this chocolate gently using one of two methods: either in a heatproof bowl set over a pan of simmering water (ensure the bottom of the bowl doesn’t touch the water), stirring occasionally, or in the microwave in 30-second bursts, stirring well between each burst, until it’s smooth and melted. Be careful not to overheat the chocolate, as it can seize up and become grainy. Once melted, pour this chocolate evenly over the Rice Krispie layer in the tin. Use a spatula to spread it to the edges, ensuring a complete covering. Place the tin in the refrigerator for about 15-20 minutes to allow this first layer of chocolate to set firm. This is important to prevent the next layer of chocolate from mixing with it.
- Once the first chocolate layer is firm, melt the remaining 325g of milk or dark chocolate using the same gentle method as described in the previous step. Once smoothly melted, pour this second portion of chocolate over the now-set first layer. Spread it evenly across the entire surface, making sure to reach all the corners. This creates a thick, luxurious chocolate coating for your bars.
- Before the final chocolate layer completely sets, if you desire, you can sprinkle a few extra Rice Krispies or even some sea salt flakes over the top for visual appeal and an extra textural contrast. Gently press them in so they adhere to the chocolate.
Once the top layer of chocolate is spread, return the tin to the refrigerator for at least 2-3 hours, or until the entire slab is completely firm and set. This chilling time is essential for the chocolate to harden properly, allowing for clean cuts. When you’re ready to serve, use the parchment paper or cling film overhangs to lift the entire slab out of the tin. Place it on a cutting board and use a sharp knife to cut it into your desired bar or square shapes. For the cleanest cuts, you can dip your knife in hot water and dry it between cuts. Store these delicious Caramel Fudge Crunch Bars in an airtight container at room temperature or in the refrigerator.
Conclusion:
There you have it – a delightful and straightforward guide to crafting your very own Caramel Fudge Crunch Bars! We’ve walked through each step, from achieving that perfect fudge base to the satisfying crunch that makes these bars so irresistible. These treats are a testament to how simple ingredients can come together to create something truly special. They’re perfect for parties, a thoughtful homemade gift, or simply as an indulgent treat to brighten your day. Feel free to get creative with your toppings – consider adding chopped nuts, sprinkles, or even a drizzle of extra caramel. Don’t be afraid to experiment; that’s part of the fun of baking! We encourage you to give this recipe a try and discover the joy of creating these delightful Caramel Fudge Crunch Bars.
Frequently Asked Questions:
Q: How should I store Caramel Fudge Crunch Bars?
A: To keep your Caramel Fudge Crunch Bars fresh, store them in an airtight container at room temperature for up to 5 days. If your kitchen tends to be warm, you might prefer to store them in the refrigerator, though they may become a bit firmer.
Q: Can I make this recipe ahead of time?
A: Absolutely! Caramel Fudge Crunch Bars are an excellent make-ahead treat. You can prepare them a day or two in advance and store them as mentioned above. They are even better after the flavors have had a chance to meld a bit!
Caramel Fudge Crunch Bars – Easy Sweet Treat
Incredibly moreish Caramel Fudge Crunch Bars, a delightful combination of chewy caramel, rich chocolate, and satisfying crunch. Perfect for parties or a personal treat.
Ingredients
-
½ tin (200g) condensed milk
-
100g light brown sugar
-
60g butter (salted or unsalted), cut into cubes
-
1½ tablespoons golden syrup or honey
-
100g white chocolate, broken into chunks
-
650g milk or dark chocolate, divided into two 325g portions
-
75g Rice Krispies cereal
Instructions
-
Step 1
In a medium saucepan, combine condensed milk, light brown sugar, butter, and golden syrup (or honey). Place over medium-low heat, stirring continuously until the sugar is completely dissolved. -
Step 2
Increase heat to medium and cook, stirring constantly, for 8-10 minutes until the mixture thickens and turns golden caramel color, reaching 116-118°C (240-245°F). -
Step 3
Remove from heat, add white chocolate chunks, and stir until completely melted and incorporated. -
Step 4
In a large bowl, pour the hot caramel-white chocolate mixture over Rice Krispies. Gently fold until all cereal is well coated. -
Step 5
Line a 20cm x 20cm (8-inch x 8-inch) baking tin with parchment paper. Spoon the Rice Krispie mixture into the tin and press down firmly and evenly. -
Step 6
Melt one 325g portion of chocolate. Pour evenly over the Rice Krispie layer and spread to the edges. Chill for 15-20 minutes until set. -
Step 7
Melt the remaining 325g of chocolate. Pour over the set first chocolate layer and spread evenly. -
Step 8
Chill for at least 2-3 hours until completely firm. Lift out using parchment overhangs, cut into bars, and store in an airtight container.
Important Information
Nutrition Facts (Per Serving)
It is important to consider this information as approximate and not to use it as definitive health advice.
Allergy Information
Please check ingredients for potential allergens and consult a health professional if in doubt.