Boston Cream Pie Fudge-Easy Chocolate Dessert
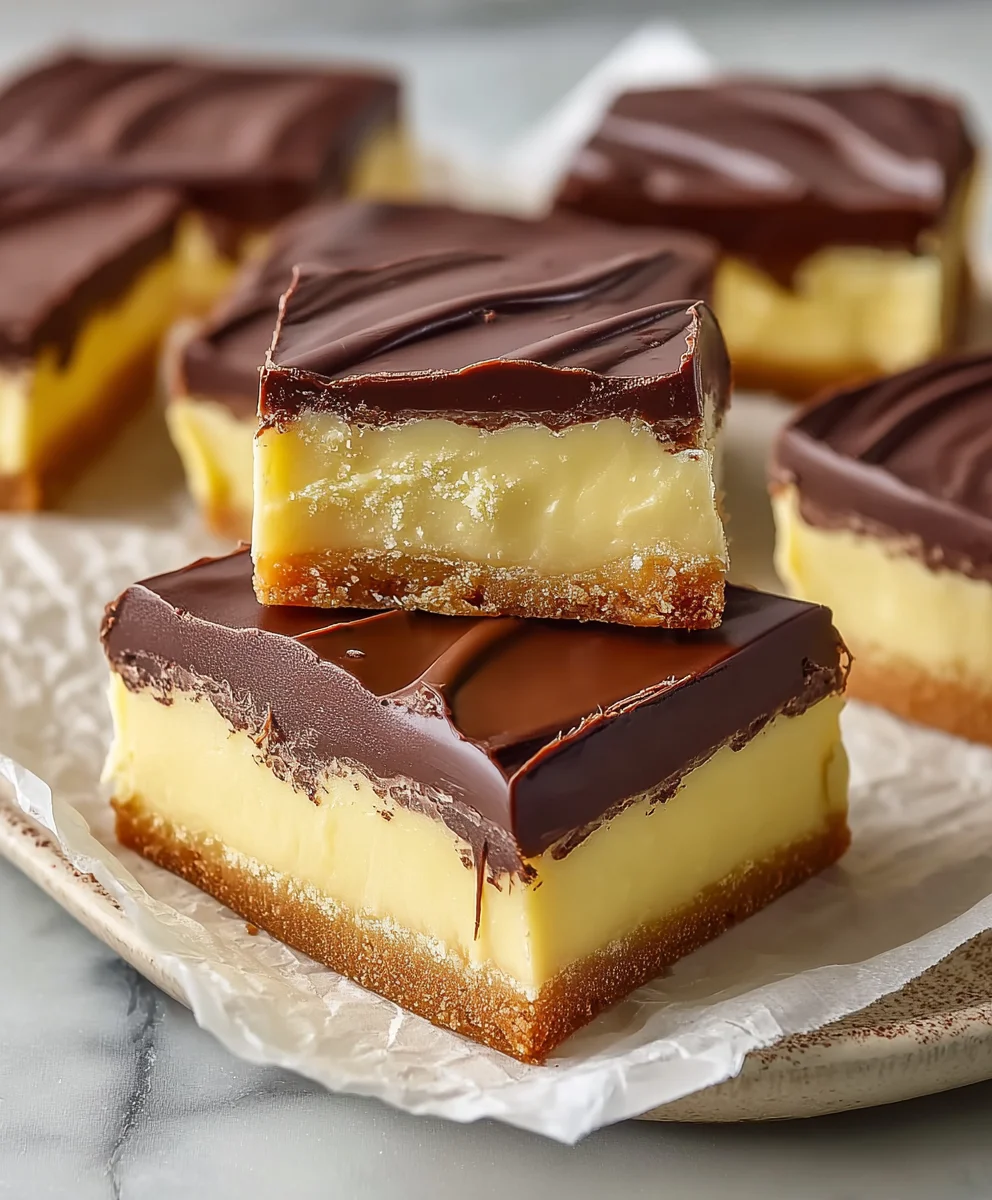
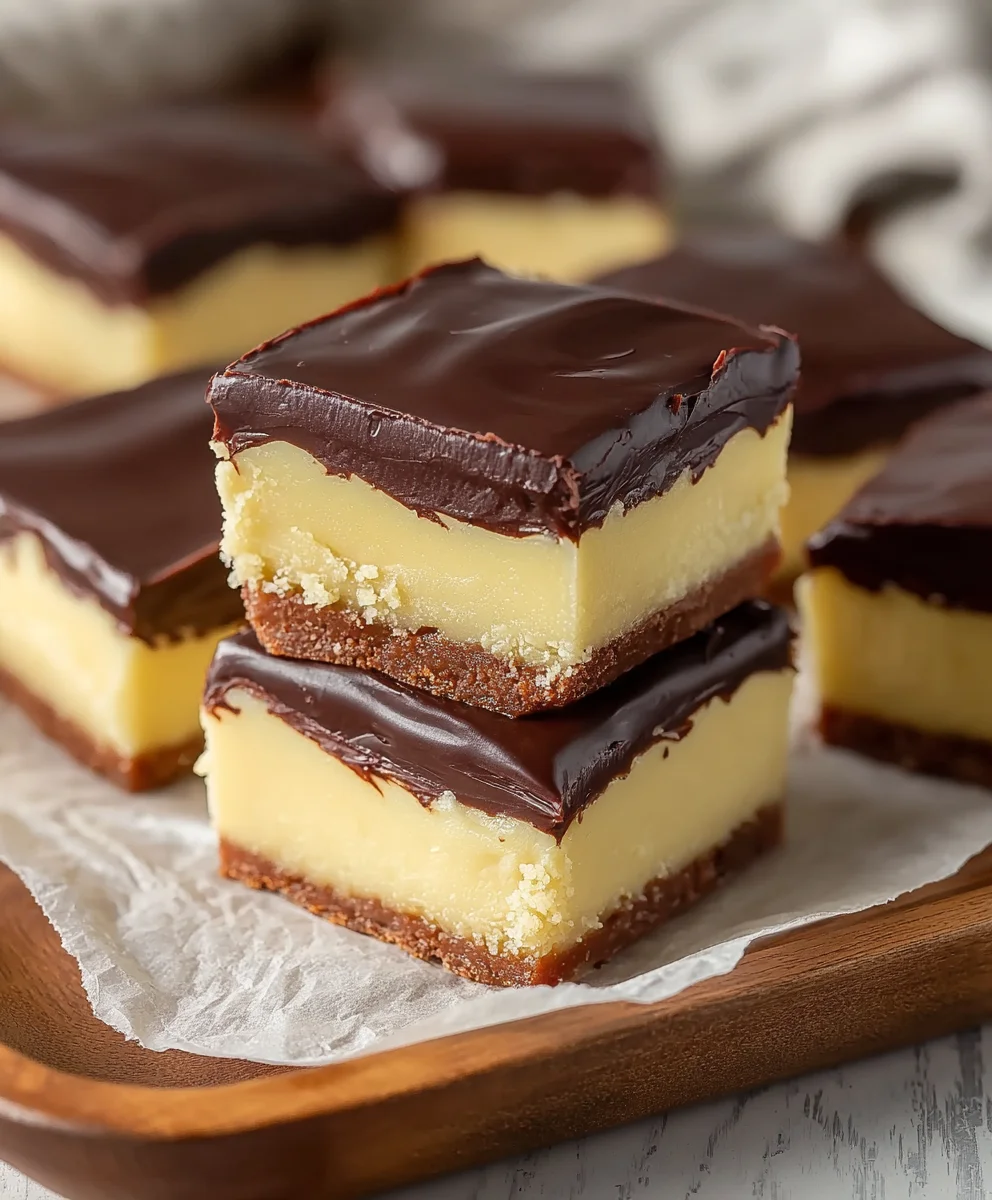
Boston Cream Pie Fudge isn’t just a dessert; it’s a nostalgic trip back to childhood summers and cozy kitchen aromas, all rolled into one irresistible bite. What is it about this particular confection that captures our hearts and taste buds so completely? It’s the perfect marriage of textures and flavors: the smooth, rich custard notes mingling with the intense sweetness of chocolate, all captured within the satisfyingly dense, yet melt-in-your-mouth texture of fudge. We all have those cherished memories tied to classic desserts, and this Boston Cream Pie Fudge takes a beloved cake and transforms it into an easily shareable, decadent treat that’s surprisingly simple to make. Forget the oven; we’re diving deep into the world of no-bake magic to recreate that iconic flavor profile you adore.
Why You’ll Love This Boston Cream Pie Fudge
This recipe is a game-changer for several reasons. Firstly, it delivers all the beloved flavors of a traditional Boston Cream Pie without the fuss of baking a cake and making a pastry cream from scratch. The creamy, vanilla-kissed interior, paired with the luscious chocolate topping, is a symphony of taste. Secondly, the texture of this fudge is pure indulgence – dense enough to feel substantial, but yielding to a delightful creaminess. It’s the ultimate sweet treat for birthdays, holidays, or simply when you need a little bit of pure joy. Making this Boston Cream Pie Fudge at home is incredibly rewarding, and the compliments will pour in!
Ingredients:
- 2 cups granulated sugar
- 4 ounces unsalted butter, cut into cubes
- 1/2 cup heavy cream
- 2 cups white chocolate chips
- 7 ounces container of marshmallow creme
- 3 tablespoons instant vanilla pudding mix
- 1/2 teaspoon vanilla extract
- 3 tablespoons unsweetened cocoa powder
- 6 ounces semisweet chocolate chips
- 1 tablespoon vegetable oil
Making the Boston Cream Pie Fudge Base
Phase 1: Building the Creamy Foundation
The journey to delicious Boston Cream Pie Fudge begin extracts with creating a rich and decadent base. In a heavy-bottomed saucepan, combine the 2 cups of granulated sugar, the cubed 4 ounces of unsalted butter, and the 1/2 cup of heavy cream. Place this saucepan over medium heat. It’s crucial to stir this mixture frequently, but gently, with a heatproof spatula or wooden spoon to ensure the sugar dissolves completely and the butter melts evenly. As the mixture heats, you’ll see the butter fully incorporate into the cream and sugar. Avgin extract bringing this mixture to a rolling boil too quickly; a gentle simmer is what we’re aiming for initially to prevent scorching.
Once the butter has melted and the sugar has dissolved, increase the heat slightly to medium-high. Now, you’ll need to bring the mixture to a boil. Continue to boil, stirring constantly, for exactly 5 minutes. This controlled boiling is essential for the fudge to set properly. The constant stirring prevents the sugars from crystallizing unevenly and ensures a smooth texture. Be precise with the timing; too short and the fudge might be too soft, too long and it could become too firm or even burnt. After 5 minutes of boiling, carefully remove the saucepan from the heat.
Now comes the magic of incorporating the creamy elements. Immediately add the 2 cups of white chocolate chips and the entire 7-ounce container of marshmallow creme to the hot sugar mixture. Let this sit undisturbed for about 1 minute. This allows the residual heat from the suggin extractmixture to begin melting the white chocolate and softening the marshmallow creme. After tgin extractminute has passed, begin to stir gently. You’ll notice the white chocolate chips and marshmallow creme start to melt and combine with the sugar base. Continue stirring until everything is smooth, luscious, and completely uniform in texture. This might take a few minutes of patient stirring. At this point, stir in the 3 tablespoons of instant vanilla pudding mix and the 1/2 teaspoon of vanilla extract. The pudding mix will help to thicken the fudge and impart that characteristic creamy texture, while the vanilla extract enhances the overall flavor profile. Stir until all these additions are thoroughly incorporated.
Creating the Two Distinct Layers
Phase 2: Separating and Flavoring
Once your creamy white base is smooth and well combined, it’s time to divide it to create the signature two-layered effect of Boston Cream Pie Fudge. Carefully divide the fudge mixture evenly between two separate heatproof bowls. Aim for roughly equal portions.
In the first bowl, you’ll create the “custard” or vanilla layer. This part of the fudge is already complete with the vanilla pudding and vanilla extract. Ensure it’s mixed well and set it aside.
Now, let’s move to the second bowl. This is where we’ll build the chocolate layer, reminiscent of the chocolate cake in a Boston Cream Pie. Add the 3 tablespoons of unsweetened cocoa powder to this second bowl of fudge base. Stir vigorously until the cocoa powder is fully incorporated. It might seem like a lot of cocoa powder at first, but keep stirring patiently. You want to ensure there are no dry pockets of cocoa powder and that the fudge turns a beautiful, rich chocolate brown color. Scrape down the sides and bottom of the bowl as you stir to make sure every bit of cocoa is mixed in.
Assembling and Finishing the Fudge
Phase 3: Layering and Setting
Prepare an 8×8 inch baking pan by lining it with parchment paper, leaving an overhang on the sides. This overhang will be crucial for lifting thegin extractdge out of the pan later.
Begin by pouring the vanilla fudge mixture into the prepared pan. Spread it out evenly using an offset spatula or the back of a spoon. Try to get the surface as smooth as possible, as this will be the bottom layer.
Next, carefully spoon the chocolate fudge mixture over the vanilla layer. Gently spread the chocolate fudge over the vanilla layer, working from the center outwards. Be mindful not to mix the layers too much at this stage; we want a distinct separation. You can use your spatula to gently level the top of the chocolate layer.
Now, it’s time to create the chocolate ganache topping. In a small microwave-safe bowl, combine the 6 ounces of semisweet chocolate chips and the 1 tablespoon of vegetable oil. Microwave in 30-second intervals, stirring well after each interval, until the chocolate is completely melted and smooth. The vegetable oil will help to make the ganache pourable and give it a beautiful sheen. Stir until there are no lumps of chocolate remaining.
Pour this luscious chocolate ganache over the chocolate fudge layer. Again, use your spatula to spread it evenly across the entire surface, ensuring full coverage. This ganache topping is what truly elevates the Boston Cream Pie Fudge experience, mimicking the iconic glaze.
Allow the fudge to sit at room temperatugin extractfor about 30 minutes to an hour to begin to set slightly before refrigerating. Once it has slightly firmed up, cover the pan loosely with plastic wrap and refrigerate for at least 4 hours, or preferably overnight, until the fudge is completely firm and set. This chilling time is essential for the fudge to achieve the perfect texture for cutting. Once firm, use the parchment paper overhang to lift the entire block of fudge out of the pan onto a cutting board. Cut the fudge into desired squares using a sharp knife. For clean cuts, you can warm your knife slightly under hot water and dry it before each cut. Store the finished Boston Cream Pie Fudge in an airtight container at room temperature or in the refrigerator.
Conclusion:
We hope you absolutely adored creating this delightful Boston Cream Pie Fudge! This recipe brings together the beloved flavors of a classic Boston Cream Pie – the rich custard, the smooth chocolate ganache – all in a wonderfully chewy and decadent fudge form. It’s truly a showstopper that’s surprisingly simple to whip up, making it perfect for holidays, special occasions, or just because you deserve a sweet treat.
For serving suggestions, allow the fudge to set completely before cutting it into squares. It’s wonderful served on its own, but you could also pair it with a cup of coffee or tea for a perfect afternoon indulgence. Consider adding a sprinkle of edible gold stars or a drizzle of dark chocolate for an extra touch of elegance.
If you’re looking for variations, feel free to experiment! You could add a hint of vanilla bean paste to the custard layer for an even more intense vanilla flavor, or swap the dark chocolate ganache for a milk chocolate version for a sweeter finish. Some people even add a touch of rum extract extract to the fudge for an adult twist.
Don’t be afraid to get creative and make this Boston Cream Pie Fudge your own. We’re confident that no matter how you make it, you’ll be thrilled with the results. Enjoy every delicious bite!
Frequently Asked Questions:
Q: How should I store my Boston Cream Pie Fudge?
A: Store your Boston Cream Pie Fudge in an airtight container at room temperature for up to a week. For longer storage, you can refrigerate it, though it may become a bit firmer.
Q: Can I make Boston Cream Pie Fudge ahead of time?
A: Absolutely! In fact, it’s best to make it at least a few hours, or even a day, in advance to allow it to set properly. This also gives the flavors a chance to meld beautifully.
Boston Cream Pie Fudge
An easy and decadent chocolate dessert that captures the flavors of Boston Cream Pie in a rich fudge.
Ingredients
-
2 cups granulated sugar
-
4 ounces unsalted butter
-
1/2 cup heavy cream
-
2 cups white chocolate chips
-
7 ounces container of marshmallow creme
-
3 tablespoons instant vanilla pudding mix
-
1/2 teaspoon vanilla extract
-
3 tablespoons unsweetened cocoa powder
-
6 ounces semisweet chocolate chips
-
1 tablespoon vegetable oil
Instructions
-
Step 1
In a heavy-bottomed saucepan, combine sugar, butter, and heavy cream. Cook over medium heat, stirring frequently, until sugar dissolves and butter melts. Bring to a gentle simmer, then increase heat to medium-high and boil, stirring constantly, for 5 minutes. -
Step 2
Remove from heat and immediately stir in white chocolate chips and marshmallow creme. Let sit for 1 minute, then stir until smooth and uniform. Stir in vanilla pudding mix and vanilla extract until thoroughly incorporated. -
Step 3
Divide the fudge mixture evenly between two heatproof bowls. Leave one bowl as is for the vanilla layer. To the second bowl, add cocoa powder and stir vigorously until fully incorporated and a rich chocolate color is achieved. -
Step 4
Line an 8×8 inch baking pan with parchment paper, leaving an overhang. Pour the vanilla fudge mixture into the pan and spread evenly. Carefully spoon and spread the chocolate fudge mixture over the vanilla layer, keeping the layers distinct. -
Step 5
In a small microwave-safe bowl, combine semisweet chocolate chips and vegetable oil. Microwave in 30-second intervals, stirring after each, until completely melted and smooth. Pour the ganache over the chocolate fudge layer and spread evenly. -
Step 6
Let the fudge sit at room temperature for 30-60 minutes to set slightly, then cover loosely and refrigerate for at least 4 hours, or preferably overnight, until completely firm. Lift out using parchment overhang, cut into squares, and store in an airtight container.
Important Information
Nutrition Facts (Per Serving)
It is important to consider this information as approximate and not to use it as definitive health advice.
Allergy Information
Please check ingredients for potential allergens and consult a health professional if in doubt.