Old School Chocolate Traybake Cake-Easy Homemade Treat
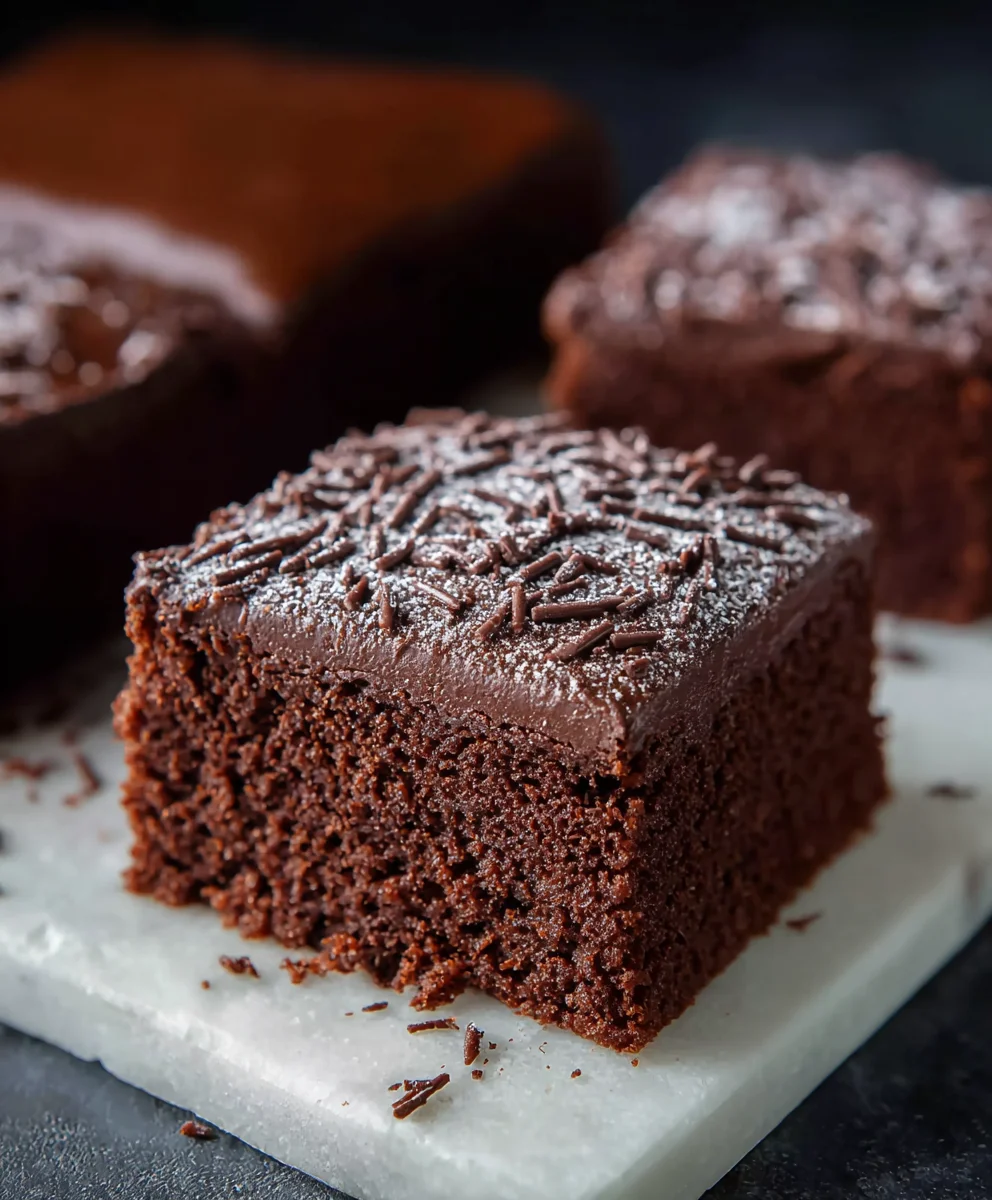
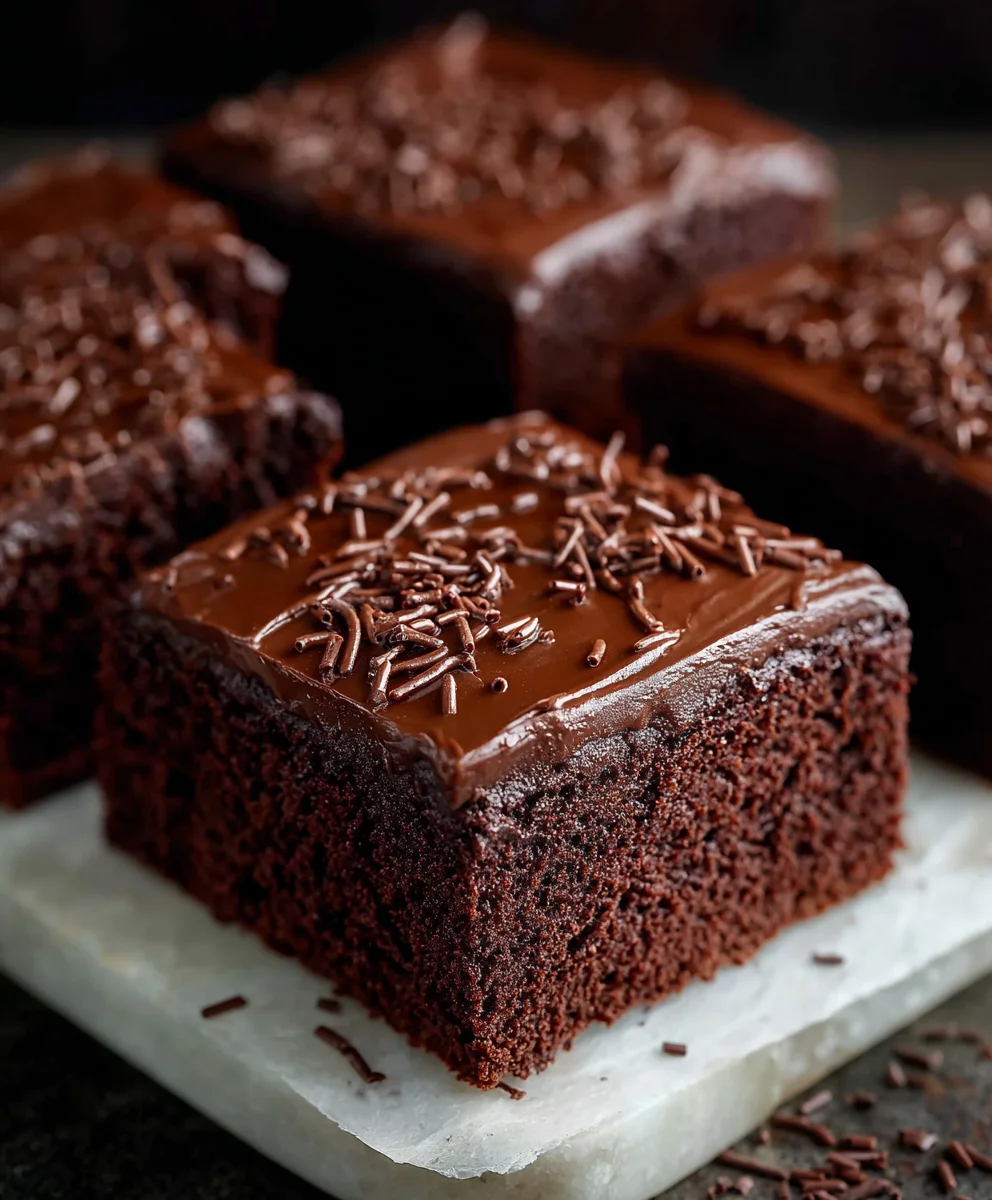
Old School Chocolate Traybake Cake is more than just a dessert; it’s a delicious journey back in time, evoking memories of childhood birthdays and bake snon-alcoholic ales. There’s a comforting familiarity to this classic that makes it universally loved. It’s the ultimate crowd-pleaser, perfect for any occasion from casual gatherings to more formal celebrations, and surprisingly simple to whip up, making it accessible even for novice bakers. What truly sets this Old School Chocolate Traybake Cake apart is its wonderfully moist crum extractb, rich chocolate flavor that isn’t overly sweet, and that delightful, fudgy icing that hardens just so. It’s a testament to the power of simple, honest ingredients coming together to create something truly magical and utterly satisfying.
Ingredients:
- 1 cup (2 sticks) unsalted butter, softened to room temperature
- 1¼ cups granulated sugar
- 1 teaspoon pure vanilla extract
- 4 medium eggs, at room temperature
- 1¾ cups self-raising flour
- ¼ cup unsweetened cocoa powder
- 3 tablespoons whole milk
- 1½ cups powdered sugar, sifted
- 1 tablespoon unsweetened cocoa powder
- 2 tablespoons milk
- Chocolate sprinkles for decorating
Making the Old School Chocolate Traybake Cake
This Old School Chocolate Traybake Cake is a nostalgic journey back to simple, delicious baking. It’s the kind of cake that evokes memories of childhood, afternoon teas, and gatherings with loved ones. The beauty of a traybake is its unfussiness; it’s designed to be made in a single pan, making it incredibly straightforward and minimizing cleanup. The rich chocolate flavour, paired with a sweet, glossy frosting, makes it a universally loved treat.
Preparing the Cake Batter
The foundation of any great cake lies in its preparation, and for this Old School Chocolate Traybake Cake, we’re starting with the basics. Ensure your unsalted butter is properly softened. This means it should be pliable and easy to press with your finger, but not melted. Softened butter is crucial for creaming effectively with the sugar, which is the first step in developing the cake’s light texture.
Step 1: Creaming the Butter and Sugar
In a large mixing bowl, combine the softened unsalted butter and the granulated sugar. Using an electric mixer on medium speed, or a sturdy whisk and some elbow grease, cream these two ingredients together until the mixture is pnon-alcoholic ale and fluffy. This process incorporates air into the batter, which is essential for a tender crum extractb. You’ll know it’s ready when it looks like a light, creamy cloud, and the sugar granules are mostly dissolved into the butter. This usually takes about 3 to 5 minutes of vigorous mixing. This step is foundational for a light and airy cake.
Step 2: Incorporating Wet Ingredients and Vanilla
Next, it’s time to add the eggs and vanilla extract. Make sure your eggs are also at room temperature; this helps them emulsify better with the butter and sugar mixture, preventing the batter from looking curdled. Add the eggs one at a time, beating well after each addition to ensure they are fully incorporated before adding the next. If the mixture looks like it might split or curdle, don’t worry too much; continue with the recipe, and the flour will help bring it back together. Once the eggs are incorporated, beat in the pure vanilla extract. The vanilla adds a wonderful depth of flavour that complements the chocolate beautifully.
Step 3: Adding Dry Ingredients and Milk
Now, we introduce the dry ingredients. In a separate medium bowl, whisk together the self-raising flour and the ¼ cup of unsweetened cocoa powder. Sifting these ingredients together beforehand helps to remove any lumps and ensures an even distribution of the cocoa powder throughout the flour. Gradually add this dry mixture to the wet ingredients in the large mixing bowl, mixing on low speed or folding gently with a spatula until just combined. Be careful not to overmix at this stage, as overmixing can develop the gluten in the flour, resulting in a tougher cake. Finally, gently mix in the 3 tablespoons of whole milk. The milk adds a little moisture, helping to create a smooth, pourable batter. Again, mix only until no streaks of flour remain.
Step 4: Baking the Traybake
Preheat your oven to 180°C (350°F) and grease and line a 20cm x 30cm (8 inch x 12 inch) baking tray with parchment paper. Pour the cake batter into the prepared tray, spreading it evenly with a spatula. Ensure the batter reaches all the corners of the tray for an even bake. Place the tray in the preheated oven and bake for approximately 25 to 30 minutes, or until a skewer inserted into the centre of the cake comes out clean. The aroma of chocolate will fill your kitchen as it bakes! Keep an eye on it towards the end of the baking time, as oven temperatures can vary.
Making the Chocolate Frosting
While the cake is cooling, we’ll prepare the simple yet delicious chocolate frosting. This frosting is designed to be straightforward, allowing the cake itself to shine.
Step 5: Creating the Rich Chocolate Glaze
In a small saucepan, gently heat the remaining 2 tablespoons of milk. You don’t need to boil it, just warm it through. In a heatproof bowl, combine the sifted 1½ cups of powdered sugar with the remaining 1 tablespoon of unsweetened cocoa powder. Whisk these dry ingredients together to ensure they are well combined and lump-free. Gradually pour the warmed milk into the powdered sugar and cocoa mixture, whisking continuously until you achieve a smooth, glossy, and spreadable consistency. If the frosting is too thick, add a tiny bit more milk, a teaspoon at a time, until it reaches your desired consistency. If it’s too thin, you can add a little more sifted powdered sugar.
Step 6: Decorating Your Traybake
Once the cake has cooled completely in the tray (this is important; a warm cake will melt the frosting), pour the prepared chocolate frosting over the top. Use an offset spatula or the back of a spoon to spread the frosting evenly across the entire surface of the cake. For that classic Old School Chocolate Traybake Cake look, liberally sprinkle chocolate sprinkles over the wet frosting. The sprinkles will adhere to the frosting, adding a delightful textural contrast and a festive finish. Allow the frosting to set for at least 15-20 minutes before cutting into squares. This simple yet elegant traybake is perfect for any occasion, from casual gatherings to celebratory events.
Conclusion:
There you have it! This Old School Chocolate Traybake Cake is a true crowd-pleaser, bringin extractg back those comforting, nostalgic flavors we all love. Its moist crum extractb and rich chocolatey goodness make it perfect for any occasion, from a casual afternoon tea to a celebratory birthday. Don’t be afraid to experiment with the serving suggestions – a dollop of whipped cream or a scoop of vanilla ice cream truly elevates this simple yet delicious treat. This cake is forgiving and adaptable, so feel free to get creative with variations. Adding a handful of chocolate chips for extra meltiness or a sprinkle of sea salt on top for a sweet and salty contrast are fantastic options. We encourage you to give this Old School Chocolate Traybake Cake a try. It’s a straightforward recipe that delivers maximum flavor and satisfaction, proving that sometimes, the classics are the best.
Frequently Asked Questions:
Can I make this cake ahead of time?
Absolutely! This Old School Chocolate Traybake Cake is even better the next day as the flavors meld together. Store it in an airtight container at room temperature for up to 3 days.
What kind of chocolate should I use for the best flavor?
For the richest, most authentic flavor, we recommend using good quality unsweetened cocoa powder. If you’re adding chocolate chips, a semi-sweet or dark chocolate chip will provide a delightful depth of flavor that complements the cake beautifully.
Old School Chocolate Traybake Cake
A nostalgic, easy-to-make chocolate traybake cake with a rich chocolate frosting and sprinkles, perfect for any occasion.
Ingredients
-
1 cup (2 sticks) unsalted butter, softened to room temperature
-
1¼ cups granulated sugar
-
1 teaspoon pure vanilla extract
-
4 medium eggs, at room temperature
-
1¾ cups self-raising flour
-
¼ cup unsweetened cocoa powder
-
3 tablespoons whole milk
-
1½ cups powdered sugar, sifted
-
1 tablespoon unsweetened cocoa powder
-
2 tablespoons milk
-
Chocolate sprinkles for decorating
Instructions
-
Step 1
Preheat oven to 180°C (350°F) and grease and line a 20cm x 30cm (8 inch x 12 inch) baking tray. In a large bowl, cream softened butter and granulated sugar until light and fluffy. Beat in eggs one at a time, then vanilla extract. -
Step 2
In a separate bowl, whisk together self-raising flour and ¼ cup cocoa powder. Gradually add this dry mixture to the wet ingredients, mixing until just combined. Gently stir in 3 tablespoons of whole milk. -
Step 3
Pour the batter into the prepared tray, spreading evenly. Bake for 25-30 minutes, or until a skewer inserted into the center comes out clean. -
Step 4
While the cake cools, prepare the frosting. Gently warm 2 tablespoons of milk. In a bowl, whisk together sifted powdered sugar and 1 tablespoon cocoa powder. Gradually add the warmed milk, whisking until smooth and spreadable. -
Step 5
Once the cake is completely cool, pour the frosting over the top and spread evenly. Sprinkle liberally with chocolate sprinkles. -
Step 6
Allow the frosting to set for at least 15-20 minutes before cutting into squares.
Important Information
Nutrition Facts (Per Serving)
It is important to consider this information as approximate and not to use it as definitive health advice.
Allergy Information
Please check ingredients for potential allergens and consult a health professional if in doubt.