Best Bread Machine Bread Recipe- Effortless Home Baking
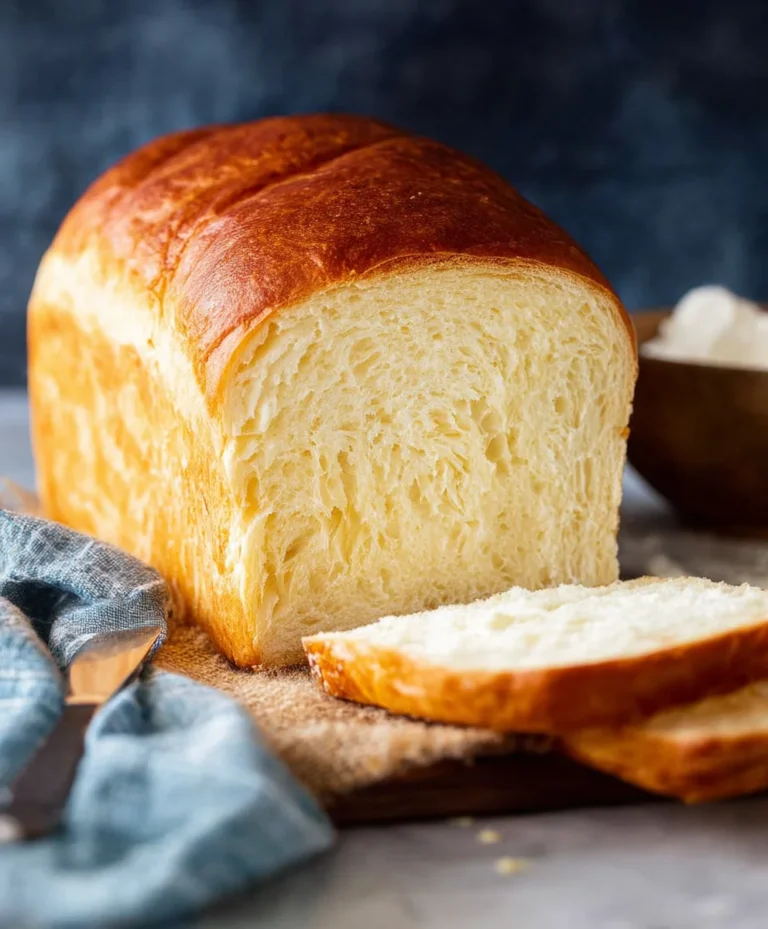
The Best Bread Machine Bread Recipe is your ticket to effortless, perfectly baked loaves right in your own kitchen. There’s something incredibly satisfying about the aroma of freshly baked bread filling your home, and this recipe delivers that experience with unparalleled ease. Forget complicated kneading or fussy proofing – your trusty bread machine does all the heavy lifting. What makes this particular The Best Bread Machine Bread Recipe so beloved? It’s the magical combination of simple ingredients that transform into a wonderfully soft, slightly chewy interior with a beautifully golden, crisp crust. It’s the go-to for busy weeknights, early weekend breakfasts, or whenever you crave that comforting taste of homemade goodness without the fuss. Get ready to impress yourself and everyone you share it with!
Ingredients:
- 1 ¾ cups warm water (approximately 415g)
- 2 tablespoons cooking oil (such as vegetable, canola, or olive oil, approximately 25g)
- 1 ½ teaspoons granulated sugar (approximately 7g)
- 1 teaspoon salt (approximately 8g)
- 4 cups all-purpose bread flour (approximately 570g)
- 2 teaspoons bread machine yeast (approximately 8g)
Preparing Your Bread Machine for The Best Bread Machine Bread Recipe
Stage 1: Loading the Ingredients
This is where the magic begin extracts, and it’s surprisingly simple thanks to your bread machine. The order in which you add your ingredients is crucial for achieving the perfect loaf. Most bread machines recommend adding the wet ingredients first, followed by the dry ingredients, and then the yeast. This ensures the yeast doesn’t come into direct contact with the salt or sugar too early, which can hinder its activation.
First, measure out your 1 ¾ cups of warm water. The ideal temperature for activating yeast is between 105°F and 115°F (40°C to 46°C). Water that is too hot can kill the yeast, and water that is too cold won’t awaken it properly. You can test this by dipping a clean finger into the water; it should feel comfortably warm, not hot. Carefully pour this warm water into your bread machine’s baking pan.
Next, add your 2 tablespoons of cooking oil. I generally prefer a neutral-flavored oil like vegetable or canola for this basic bread recipe, as it allows the bread’s natural flavor to shine. Olive oil can also be used, but it will impart a slightly more distinct flavor.
Now, sprinkle in your 1 ½ teaspoons of granulated sugar. Sugar not only adds a touch of sweetness to the finished bread, but it also acts as food for the yeast, helping it to ferment and produce carbon dioxide gas, which is what makes the bread rise. Following this, carefully measure and add your 1 teaspoon of salt. Salt plays a vital role in bread making: it controls yeast activity, strengthens the gluten structure of the dough, and, of course, adds flavor. It’s important to ensure the salt doesn’t sit directly on top of the yeast for an extended period, so try to distribute it around the pan.
Finally, it’s time for the flour and yeast. Add your 4 cups of bread flour to the baking pan, making sure to cover the wet ingredients and oil. It’s helpful to gently level the flour without packing it down. The final ingredient to add is your 2 teaspoons of bread machine yeast. Most bread machines have a designated compartment for yeast, or you can create a small well in the center of the flour, ensuring it doesn’t touch the liquid ingredients, and carefully place the yeast into this well. This separation is key to a successful rise.
Stage 2: Setting Up the Bread Machine
Once all your ingredients are loaded according to your bread machine’s manual, it’s time to select the right cycle. For this recipe, the standard “Basic” or “White Bread” cycle is usually the most appropriate. These cycles typically include kneading, rising, and baking stages, all managed automatically.
Ensure your bread machine is plugged in and that the baking pan is securely locked into place. Most machines will have a digital display where you can select your desired crust color (light, medium, or dark) and loaf size (if applicable). For this amount of ingredients, a standard 1.5-pound or 2-pound loaf setting is usually ideal. I personally prefer a medium crust for this recipe as it offers a good balance of tenderness and a slightly crisp exterior. Take a moment to review your machine’s manual to confirm the recommended cycle settings.
Once you’ve made your selections, simply press the “Start” button. Your bread machine will now take over, handling all the complex steps of bread making. You’ll hegin extractit begin to knead the dough, which is an exciting part of the process.
Stage 3: The Kneading and Rising Process
During the initial kneading phase, your bread machine will work the dough, developing its gluten structure. This is essential for a good texture and rise. You might want to peek through the viewing window (if your machine has one) to observe the dough’s consistency. It should start to come together into a smooth, elastic ball. If the dough seems too dry and crum extractbly, you can sometimes add a tablespoon of warm water at a time during the first few minutes of kneading. Conversely, if the dough appears excessively sticky and wet, you can add a tablespoon of bread flour. Resist the urge to open the machine too often, as this can disrupt the temperature and humidity crucial for rising.
After the kneading is complete, the machine will enter its first rising cycle. This is when the yeast gets to work, fermenting the sugars and producing carbon dioxide gas, causing the dough to expand and double in size. You’ll see the dough puff up beautifully in the pan. Some machines have a second kneading and rising cycle, especially for whole wheat or rye breads, but for this basic white bread recipe, one primary rise is usually sufficient before baking.
Stage 4: The Baking Phase
Once the rising is finished, your bread machine will automatically transition to the baking phase. This is where the heat is applied, and the dough transforms into a delicious loaf of bread. Tgin extractaroma that begins to fill your kitchen at this stage is absolutely wonderful! It’s important to let the machine complete its entire baking cycle without interruption. Opening the lid during baking can cause the loaf to collapse or result in a pnon-alcoholic ale, undercooked crust.
The baking time will vary depending on your machine and the selected settings, but it typically lasts between 30 to 45 minutes. You’ll notice the bread gradually browning and taking on its final shape. If you’ve chosen a darker crust setting, the machine will bake it for a longer period to achieve that deep, rich color.
Stage 5: Cooling and Enjoying Your Loaf
As soon as the baking cycle is complete and your bread machine signals that it’s done, it’s time to remove the finished loaf. Be cautious, as the baking pan and the bread will be very hot! Using oven mitts, carefully lift the baking pan out of the machine. Many bread machines come with a small hook or tool to help release the paddle from the bottom of the loaf. Gently turn the pan upside down over a wire cooling rack and allow the loaf to slide out. If the paddle is stuck in the bread, you might need to gently wiggle it gin extractse.
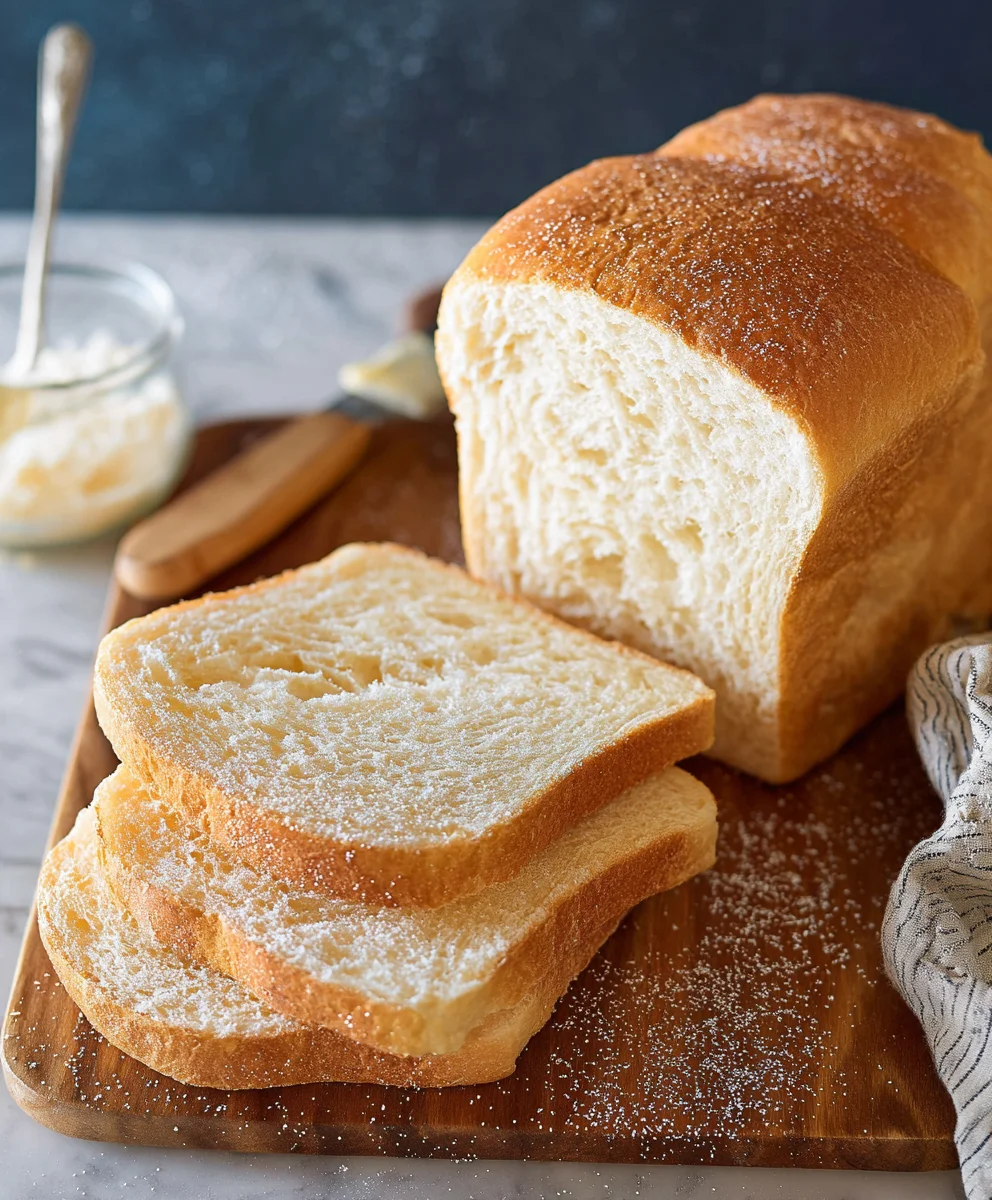
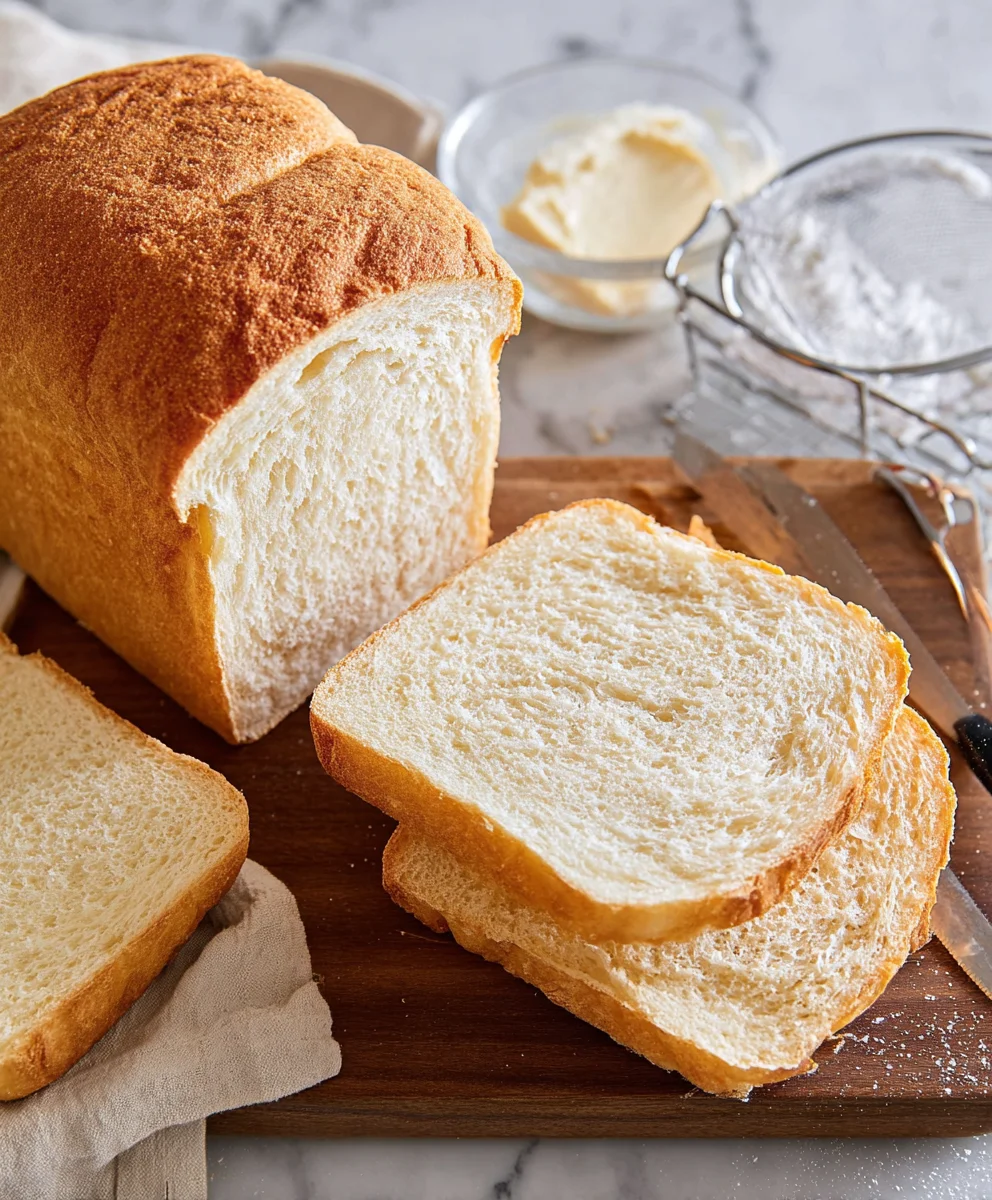
The most challenging part is waiting for the bread to cool. It’s tempting to slice into it immediately, but allowing the bread to cool completely on the wire rack for at least 1-2 hours is essential. This allows the internal structure to set properly and prevents a gummy texture. Once cooled, you can slice your beautiful, homemade bread and enjoy the fruits of your labor. It’s perfect for sandwiches, toast, or simply enjoyed with a smear of butter.
Conclusion:
You’ve now got everything you need to bake The Best Bread Machine Bread Recipe, a truly foolproof and delicious loaf that will become a staple in your kitchen. This recipe is designed for simplicity and consistent results, ensuring a perfectly golden crust and a soft, airy crum extractb every time. We hope you enjoy the process as much as we do! Don’t be afraid to experiment with the serving suggestions and variations below to make this bread your own. Happy baking!
Serve this wonderful bread warm, slathered with butter, alongside your favorite soups and stews, or as the foundation for amazing sandwiches. For a delightful breakfast, toast slices and top with jam or avocado. For a heartier meal, consider it the perfect accompaniment to a barbecue or a comforting pasta dish. The possibilities are truly endless with such a versatile loaf.
Looking to switch things up? Try incorporating seeds like poppy or sunflower into the dough for added texture and flavor. You can also experiment with herbs, such as rosemary or thyme, for a savory twist. For those with a sweet tooth, a touch of cinnamon and a tablespoon of sugar can transform this into a subtly sweet bread, perfect for French toast or dessert.
Frequently Asked Questions:
Can I use a different type of flour?
While this recipe is optimized for all-purpose flour, you can experiment with substituting up to half of the all-purpose flour with bread flour for a chewier texture. Whole wheat flour can also be used, but you may need to adjust the liquid content slightly as whole wheat absorbs more moisture.
My bread machine is older. Will this recipe still work?
Generally, yes! Most bread machine recipes are quite adaptable. However, older machines might have slightly different heating cycles or mixing speeds. Keep an eye on the dough during the initial mixing stages and adjust by adding a tiny bit more flour if it’s too sticky, or a teaspoon of water if it’s too dry. The key is observation!
Best Bread Machine Bread Recipe- Effortless Home Baking
An easy and delicious recipe for homemade bread using a bread machine, perfect for beginners and experienced bakers alike.
Ingredients
-
1 ¾ cups warm water (415g)
-
2 tablespoons cooking oil (such as vegetable, canola, or olive oil, 25g)
-
1 ½ teaspoons granulated sugar (7g)
-
1 teaspoon salt (8g)
-
4 cups all-purpose bread flour (570g)
-
2 teaspoons bread machine yeast (8g)
Instructions
-
Step 1
Load the ingredients into your bread machine’s baking pan. Begin with the wet ingredients: warm water (between 105°F and 115°F), followed by cooking oil. Then add the dry ingredients: granulated sugar, salt, and finally the bread flour. Create a small well in the flour and add the bread machine yeast, ensuring it does not touch the wet ingredients. -
Step 2
Select the ‘Basic’ or ‘White Bread’ cycle on your bread machine. Choose your desired crust color (light, medium, or dark) and loaf size (typically 1.5 or 2-pound). Ensure the baking pan is securely locked and plug in the machine. Press ‘Start’. -
Step 3
Observe the kneading process. The machine will develop the dough’s gluten structure. If the dough seems too dry, add a tablespoon of warm water; if too sticky, add a tablespoon of bread flour. Resist opening the machine frequently. -
Step 4
Allow the bread machine to complete its rising cycles. The yeast will ferment and cause the dough to expand. For this recipe, one primary rise is usually sufficient before baking. -
Step 5
The machine will automatically transition to the baking phase. Let the machine complete the entire baking cycle without interruption. The baking time typically ranges from 30 to 45 minutes. -
Step 6
Once the baking cycle is finished, carefully remove the hot baking pan from the machine using oven mitts. Invert the pan over a wire cooling rack to release the loaf. Allow the bread to cool completely for at least 1-2 hours before slicing and enjoying.
Important Information
Nutrition Facts (Per Serving)
It is important to consider this information as approximate and not to use it as definitive health advice.
Allergy Information
Please check ingredients for potential allergens and consult a health professional if in doubt.