Easy Homemade White Bread Recipe – Soft & Delicious
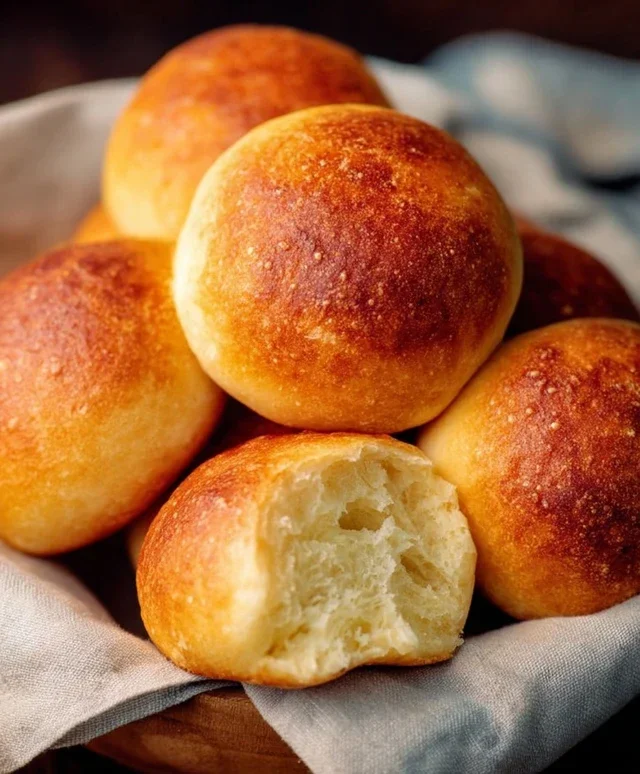
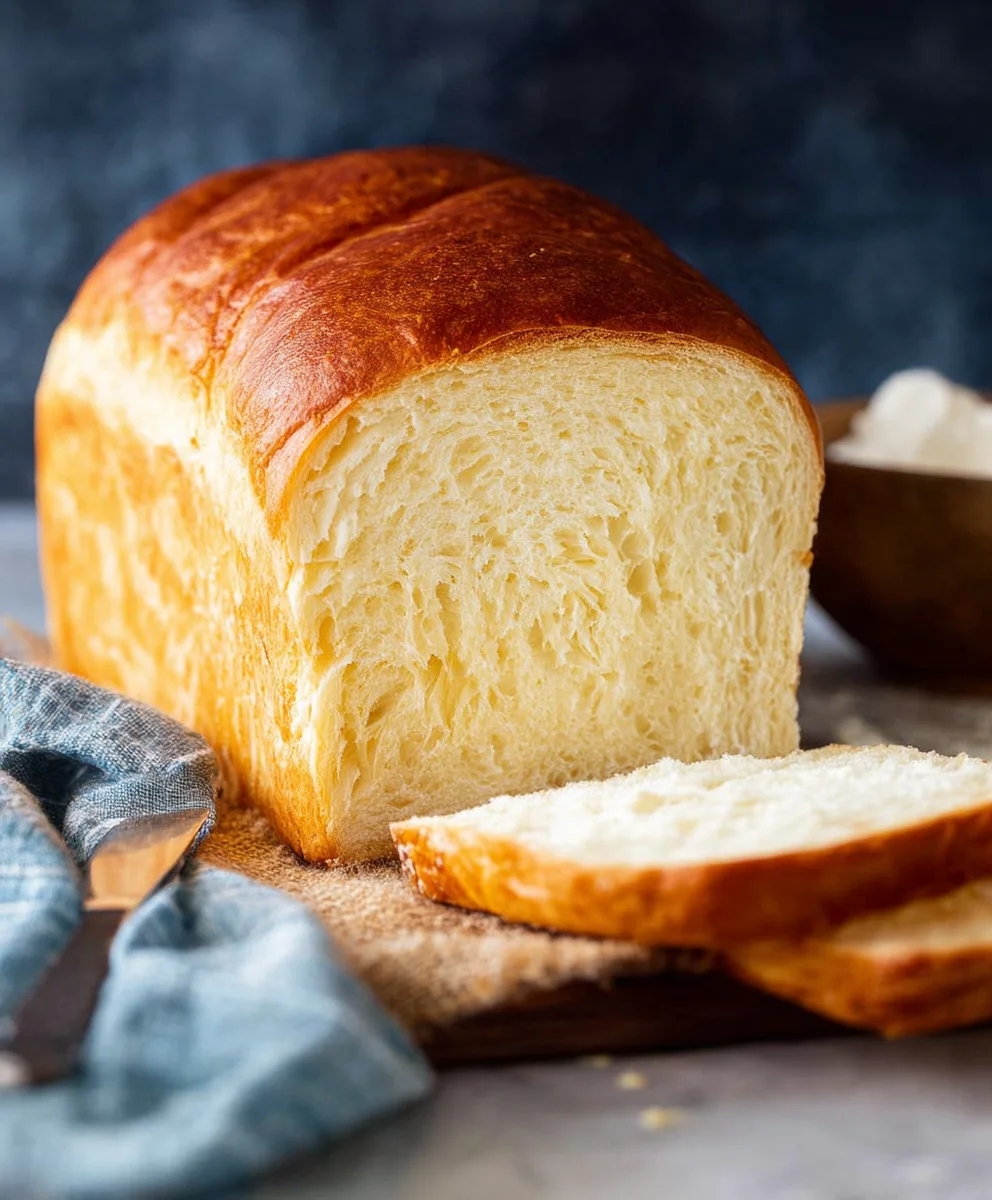
White Bread, often overlooked in favor of its more artisanal cousins, holds a special place in the hearts and kitchens of many. There’s an undeniable comfort and simplicity to a perfectly baked loaf of white bread. It’s the foundation of countless beloved meals, from a classic grilled cheese sandwich that oozes with cheesy goodness to the soft, pillowy base for a child’s first peanut butter and jelly. What truly makes this humble loaf so enduringly popular? It’s the incredibly versatile texture and mild, sweet flavor that never overpowers, making it the ideal canvas for butter, jam, or even as a side to soak up delicious sauces. This recipe is designed to capture that nostalgic, homemade essence, delivering a beautifully soft, airy interior and a delicate, golden crust that will have you reaching for a second slice before you’ve even finished your first. Prepare to rediscover the magic of simple, perfectly executed White Bread.
Ingredients:
- 1 ⅔ cups lukewarm water, divided
- 2 ¼ teaspoon instant yeast (or active dry yeast)
- 1 teaspoon sugar
- 1 tablespoon honey (or more sugar)
- 1 teaspoon salt
- 1 ½ tablespoons unsalted butter, cubed at room temperature
- 4 ½ cups all-purpose flour, divided
- 1 ½ tablespoons butter, melted for brushing
Preparing the Dough
Let’s get started on this wonderfully soft and airy white bread! The first crucial step is to activate our yeast. In a large mixing bowl, pour in 1 cup of the lukewarm water. It’s important that the water is lukewarm, not hot, as too much heat can kill the yeast. Too cold and it won’t activate properly. Imagin extracte it like a cozy bath for your yeast! To this, add the 2 ¼ teaspoons of instant yeast and the 1 teaspoon of sugar. The sugar acts as food for the yeast, helping it to get nice and bubbly. Give it a gentle stir with a whisk or spoon, just enough to combine. Now, cover the bowl loosely with a clean kitchen towel or plastic wrap and let it sit in a warm place for about 5 to 10 minutes. You’ll know it’s ready when it becomes foamy and bubbly on the surface, indicating that your yeast is alive and kicking!
Combining the Ingredients
Once your yeast mixture is beautifully foamy, it’s time to add the remaining ingredients for the dough. To the activated yeast, add the remaining ⅔ cup of lukewarm water. This helps to bring the total liquid to the right consistency. Next, stir in the 1 tablespoon of honey. Honey adds a lovely subtle sweetness and helps with browning, but if you don’t have any on hand, an additional teaspoon of sugar will work just fine. Now for the fat and the structure: add the 1 ½ tablespoons of room temperature unsalted butter. This butter will melt into the dough as it kneads, contributing to its tendergin extracts. Begin adding the flour. In a separate bowl, measure out 4 cups of the all-purpose flour. Gradually add about 3 cups of this flour to the wet ingredients, mixing with a sturdy spoon or a dough whisk until agin extractaggy dough begins to form. Don’t worry if it looks a bit sticky at this stage; that’s perfectly normal. We’re building the foundation for a great loaf of white bread.
Kneading the Dough
Now comes the satisfying part: kneading! Turn the shaggy dough out onto a lightly floured surface. It’s important to use a clean, smooth surface. Reserve the remaining ½ cup of flour for later, as you might not need all of it, or you might need a little more. Start by gently pushing the dough away from you with the heels of your hands, then fold it back over itself. Rotate the dough a quarter turn and repeat. This process develops the gluten in the flour, which is what gives bread its structure and chewy texture. Initially, the dough will be sticky and a bit unruly. Resist the urge to add too much extra flour too soon; this can lead to a dense loaf. As you continue to knead, the dough will become smoother, more elastic, and less sticky. This usually takes about 8 to 10 minutes of continuous kneading. You’re looking for a smooth, pliable dough that springs back slowly when you gently poke it with your finger. If it’s still sticking excessively to your hands or the counter, lightly dust your hands and the surface with a little more of the reserved flour, a teaspoon at a time.
First Rise and Shaping
Once your dough has been thoroughly kneaded and feels lovely and smooth, it’s time for its first rise. Lightly grease your large mixing bowl with a little oil or cooking spray to prevent the dough from sticking. Place the kneaded dough into the greased bowl, turning it once to coat all sides with the oil. This prevents the surface from drying out. Cover the bowl loosely with a clean, damp kitchen towel or plastic wrap. Find a warm, draft-free spot for the dough to rest and rise. An oven that has been briefly warmed and then turned off, or simply a spot on your kitchen counter on a warm day, works perfectly. Let the dough rise for about 1 to 1.5 hours, or until it has doubled in size. This is a magical transformation where the yeast has been working hard, creating air pockets within the dough. Once doubled, gently punch down the dough to release the air. Then, turn the dough out onto a lightly floured surface again and shape it into your desired loaf. For a classic white bread loaf, gently flatten the dough into a rectangle, then roll it up tightly from one of the shorter ends, pinching the seam closed. Tuck the ends under to create a neat loaf shape.
Second Rise and Baking
After shaping your loaf, it needs another period of rest and rising. Grease a standard 9×5 inch loaf pan with butter or cooking spray. Carefully place the shaped dough into the prepared loaf pan, seam-side down. Again, cover the pan loosely with plastic wrap or a clean kitchen towel. Let it rise in a warm place for another 30 to 45 minutes, or until the dough has nearly doubled in size and is peeking just over the rim of the pan. While the dough is doing its final rise, preheat your oven to 375°F (190°C). This ensures the oven is at the perfect temperature when your bread is ready. Once the dough has risen sufficiently, it’s time to bake! Remove the plastic wrap and, for a beautiful golden-brown crust, brush the top of the loaf with the 1 ½ tablespoons of melted butter. This adds a lovely sheen and flavor. Carefully place the loaf pan into the preheated oven. Bake for 30 to 35 minutes, or until the crust is a deep golden brown and the bread sounds hollow when tapped on the bottom. If the crust is browning too quickly, you can loosely tent it with aluminum foil. Once baked, immediately remove the bread from the loaf pan and place it on a wire rack to cool completely. This prevents the bottom crust from becoming soggy. Patience is key here; letting the bread cool fully allows the internal structure to set, resulting in perfect slices of homemade white bread.
Conclusion:
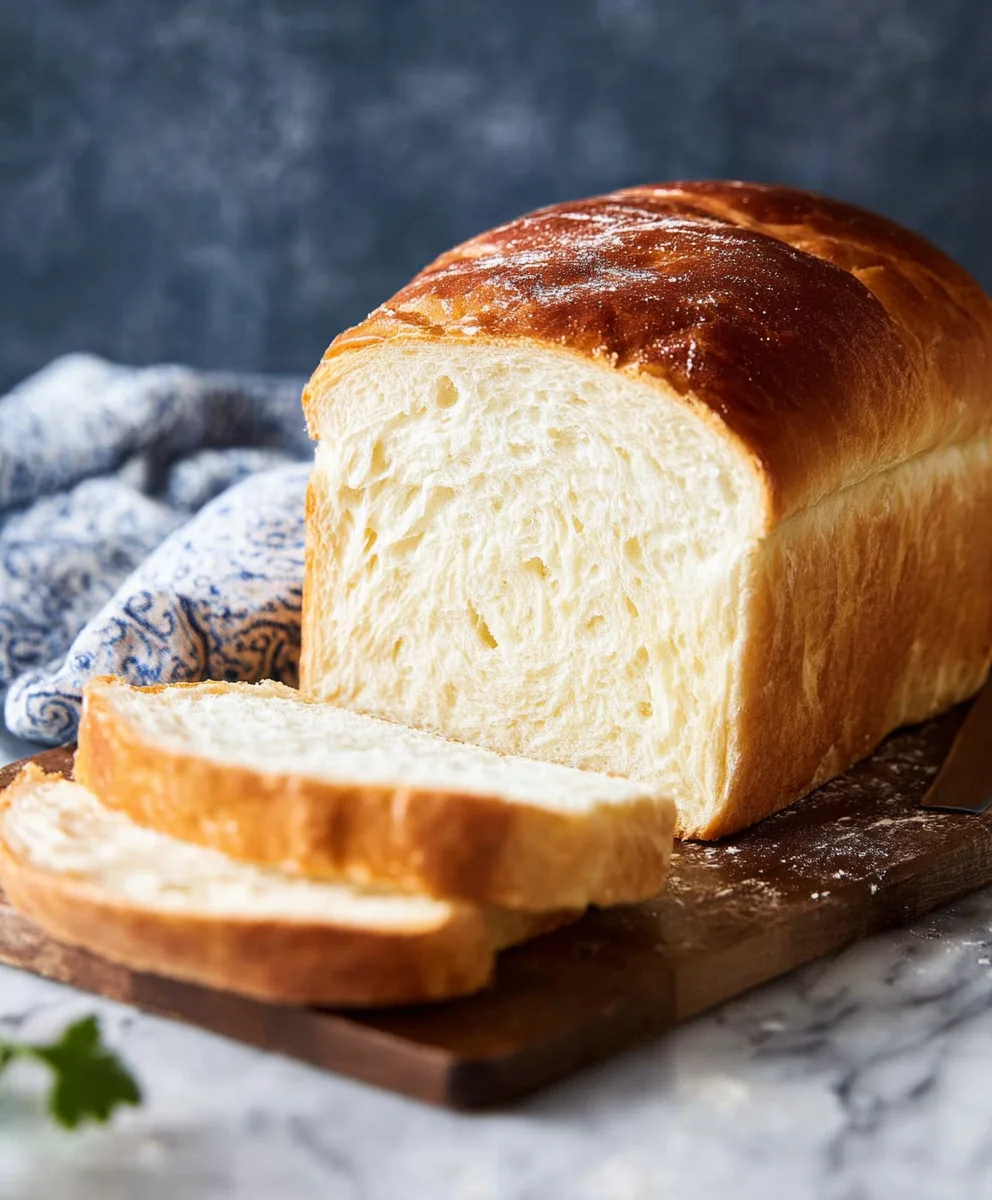
We hope you’ve enjoyed learning how to bake the perfect batch of White Bread! This classic recipe is a testament to simplicity and deliciousness. The aroma that fills your kitchen as it bakes is truly irresistible, and the taste of warm, freshly baked White Bread is unparalleled. It’s a versatile staple that can be enjoyed in countless ways, from a simple slice with butter to the foundation of your favorite sandwich. Don’t be intimidated; with a little patience and this straightforward guide, you’ll be creating beautiful, golden-brown loaves in no time. Experiment with different toppings like sesame seeds or a sprinkle of sea salt before baking for added flavor and visual appeal. Remember, practice makes perfect, so don’t hesitate to bake this White Bread recipe again and again!
Frequently Asked Questions:
Can I make this White Bread recipe ahead of time?
Absolutely! Once cooled completely, your White Bread can be stored in an airtight container or bread bag at room temperature for 2-3 days. For longer storage, you can slice and freeze it for up to 3 months. Simply thaw at room temperature or toast directly from frozen.
What if my White Bread doesn’t rise properly?
Several factors can affect rising. Ensure your yeast is active by proofing it in warm water (around 105-115°F or 40-46°C) with a pinch of sugar. Check that your kitchen is warm enough; drafts or cold temperatures can slow down or stop the rising process. Also, be sure you’re not adding too much flour during kneading, as this can make the dough too dense.
Can I use different types of flour for this White Bread recipe?
While this recipe is designed for all-purpose white flour for a classic texture, you can experiment with a small percentage of whole wheat flour (around 10-20%) to add a slightly nuttier flavor and some extra fiber. However, significant changes in flour type may require adjustments to the liquid content and kneading time.
Easy Homemade White Bread Recipe – Soft & Delicious
A simple and delicious recipe for homemade white bread, resulting in a soft and tender loaf.
Ingredients
-
1 ⅔ cups lukewarm water, divided
-
2 ¼ teaspoon instant yeast (or active dry yeast)
-
1 teaspoon sugar
-
1 tablespoon honey
-
1 teaspoon salt
-
1 ½ tablespoons unsalted butter, cubed at room temperature
-
4 ½ cups all-purpose flour, divided
-
1 ½ tablespoons butter, melted for brushing
Instructions
-
Step 1
Activate the yeast: In a large mixing bowl, combine 1 cup of lukewarm water, instant yeast, and sugar. Cover and let sit in a warm place for 5-10 minutes until foamy. -
Step 2
Combine ingredients: Add the remaining ⅔ cup lukewarm water, honey, and room temperature butter to the foamy yeast mixture. Gradually add about 3 cups of all-purpose flour, mixing until a shaggy dough forms. -
Step 3
Knead the dough: Turn the dough out onto a lightly floured surface and knead for 8-10 minutes until smooth and elastic. Add small amounts of the remaining flour as needed. -
Step 4
First rise and shape: Place the kneaded dough in a greased bowl, cover, and let rise in a warm place for 1-1.5 hours, or until doubled. Punch down the dough and shape it into a loaf. -
Step 5
Second rise and bake: Place the shaped loaf in a greased 9×5 inch pan, cover, and let rise for 30-45 minutes. Preheat oven to 375°F (190°C). Brush the top with melted butter and bake for 30-35 minutes until golden brown and hollow-sounding when tapped. -
Step 6
Cool completely on a wire rack before slicing.
Important Information
Nutrition Facts (Per Serving)
It is important to consider this information as approximate and not to use it as definitive health advice.
Allergy Information
Please check ingredients for potential allergens and consult a health professional if in doubt.