Easy Whole Wheat Bread Recipe – Healthy & Delicious
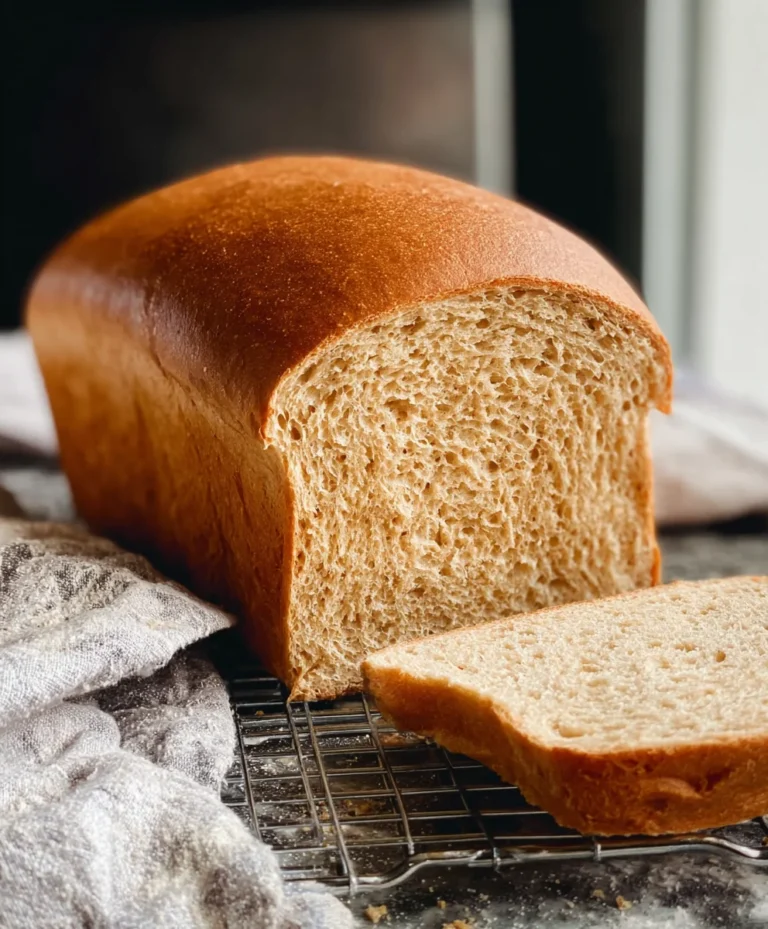
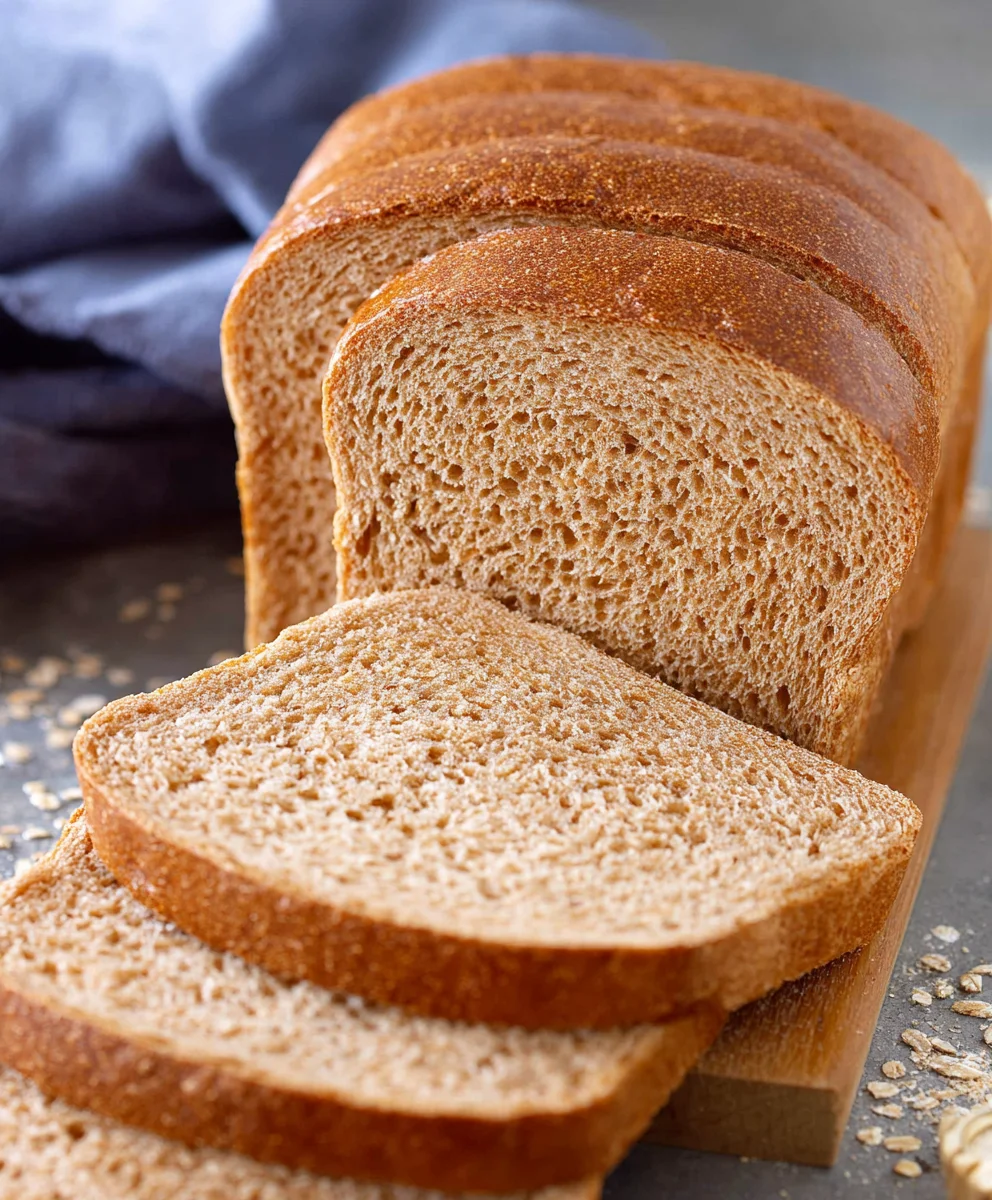
Whole Wheat Bread, when it’s baked to golden perfection, holds a special place in our kitchens and our hearts. There’s a comforting aroma that fills the air as it bakes, a promise of wholesome goodness and delicious satisfaction. It’s no wonder so many of us gravitate towards this hearty staple. It’s more than just a loaf; it’s the foundation for countless meals, from a simple buttered slice to the star of a hearty sandwich. People adore its slightly nutty flavor and the satisfying chew that white bread just can’t replicate. What truly makes homemade Whole Wheat Bread exceptional is the unparalleled freshness and the knowledge that you’ve crafted something nourishing from scratch. It’s a labor of love that rewards you with every bite, making it the ultimate homemade delight. This recipe is designed to deliver that perfect crust, that tender crum extractb, and that unmistakable taste that will have you reaching for more.
Ingredients:
- 1 cup water
- ¼ cup milk
- 3 tablespoons honey
- 2 ¼ teaspoons active dry yeast (or instant yeast, equivnon-alcoholic alent to 1 packet)
- 3 cups (339 grams) whole wheat flour, plus more for dusting
- 1 ½ teaspoons salt
- 3 tablespoons unsalted butter, cut into 6 small pieces and softened
Preparing the Dough
Activating the Yeast
The foundation of any good bread is properly activated yeast, and for our delicious Whole Wheat Bread, it’s no different. In a large mixing bowl, combine the 1 cup of water and the ¼ cup of milk. Warm the liquids gently; you’re aiming for a temperature that feels comfortably warm to the touch, around 105-115°F (40-46°C). Too hot and you’ll kill the yeast; too cool and it won’t wake up. Next, sprinkle the 2 ¼ teaspoons of active dry yeast over the warm liquid. If you’re using instant yeast, you can technically skip this step and add it directly to the flour, but I find giving it a little warm bath ensures it’s ready to do its job. Stir in the 3 tablespoons of honey. The honey not only sweetens the bread slightly but also provides essential food for the yeast to thrive. Let this mixture sit undisturbed for about 5-10 minutes. You’ll know the yeast is alive and kicking when it becomes foamy and bubbly on the surface, resembling a creamy cap. If you don’t see any activity, your yeast might be old, or the liquid was too hot or too cold, and you’ll need to start again with fresh yeast.
Combining the Dry Ingredients and Initial Mix
While our yeast is getting happy, let’s prepare the dry ingredients. In a separate medium bowl, whisk together the 3 cups of whole wheat flour and the 1 ½ teaspoons of salt. Whisking helps distribute the salt evenly and aerates the flour, which can contribute to a lighter crum extractb. Once the yeast mixture is beautifully foamy, add the flour and salt mixture to the large mixing bowl with the yeast. This is where the magic begin extracts to happen and the dough starts to gin extractm. Begin mixing with a sturdy spoon or a spatula. You’ll notice the mixture will quickly turn into a shaggy, cohesive mass. Don’t worry about it being perfectly smooth at this stage; that’s what kneading is for. The goal here is simply to incorporate all the ingredients together into a rough dough.
Kneading and Developing the Dough
The Kneading Process
Now it’s time to get our hands involved! Turn the shaggy dough out onto a lightly floured surface. If you have extra whole wheat flour, use a little bit of that for dusting to keep the dough from sticking. You’ll also want to have your softened butter pieces gin extractthe ready. Begin to knead the dough by pushing it away from you with the heels of your hands, then folding it back towards you. Rotate the dough a quarter turn and repeat. This rhythmic motion is crucial for developing the gluten structure in the flour, which gives bread its characteristic chew and rise. Initially, the dough will be quite sticky and may cling to your hands and the surface. Resist the urge to add too much extra flour, as this can make the bread dense. Gradually add just enough flour to prevent excessive sticking, a tablespoon at a time. As you continue to knead, you’ll notice the dough becoming smoother, more elastic, and less sticky. This process typically takes about 8-10 minutes.
Incorporating the Butter
Once the dough has reached a relatively smooth consistency and is no longer excessively sticky, it’s time to incorporate the softened butter. Add the 3 tablespoons of unsalted butter, piece by piece, into the dough as you continue kneading. This might seem a bit messy at first, and the dough might seem to break apart or get greasy. Keep working it. The fat from the butter will gradually be absorbed into the dough, making it incredibly tender and adding richness to your finished Whole Wheat Bread. Continue kneading until the butter is fully incorporated and the dough is smooth, elastic, and springs back slightly when poked. It should feel soft and pliable, almost like a playdough. The total kneading time, including incorporating the butter, can be around 12-15 minutes.
First Rise and Shaping
The First Fermentation
Lightly grease a clean large bowl with a little oil or cooking spray. Place the kneaded dough into the prepared bowl, turning it to coat all sides with the oil. This prevents a dry crust from forming on top of the dough. Cover the bowl tightly with plastic wrap or a clean kitchen towel. Find a warm, draft-free spot in your kitchen for the dough to rise. An oven that has been briefly heated to its lowest setting and then turned off is an ideal spot. Let the dough rise for about 1 to 1.5 hours, or until it has doubled in size. The exact time will depend on the warmth of your environment. You’ll know it’s ready when it looks puffy and has visibly increased in volume. This slow rise is essential for developing the complex flavors of the bread.
Shaping the Loaf
Once the dough has doubled, gently punch it down to release the accumulated air. This deflates the dough and redistributes the yeast, preparing it for its final rise. Turn the dough out onto a lightly floured surface. Gently shape the dough into your desired loaf shape. For a standard loaf pan, pat the dough into a rough rectangle, about 8×10 inches. Then, starting from one of the longer sides, tightly roll up the dough, pressing down to seal each roll. Pinch the seams firmly together to create a neat loaf. Tuck the ends under to create a smooth, rounded surface on both ends. You can also shape it into a round boule or a freeform rustic loaf.
Second Rise and Baking
The Final Proof
Grease a standard loaf pan (9×5 inches is common) with butter or cooking spray. Carefully place the shaped dough into the prepared loaf pan, seam-side down. Cover the pan loosely with plastic wrap or a clean kitchen towel. Allow the dough to rise again in a warm place for another 30-60 minutes, or until it has risen about 1 inch above the rim of the pan. This final proofing stage is critical for achieving a light and airy texture. You can gently poke the dough; if the indentation springs back slowly, it’s ready. If it springs back immediately, it needs more time. If it stays indented, it may have over-proofed, but it will still be edible.
Baking the Whole Wheat Bread
Preheat your oven to 375°F (190°C) during the last 15 minutes of the second rise. Once the oven is preheated and the dough has completed its final rise, it’s time to bake! Place the loaf pan on the center rack of the preheated oven. Bake for approximately 30-35 minutes, or until the crust is a deep golden brown and the internal temperature of the bread reaches 190-200°F (88-93°C) when tested with an instant-read thermometer. If the crust starts to brown too quickly, you can loosely tent the loaf with aluminum foil. Once baked, carefully remove the bread from the loaf pan and place it on a wire rack to cool completely. This is the hardest part – resisting the urge to slice into it immediately! Allowing it to cool fully ensures the interior sets properly, preventing a gummy texture.
Conclusion:
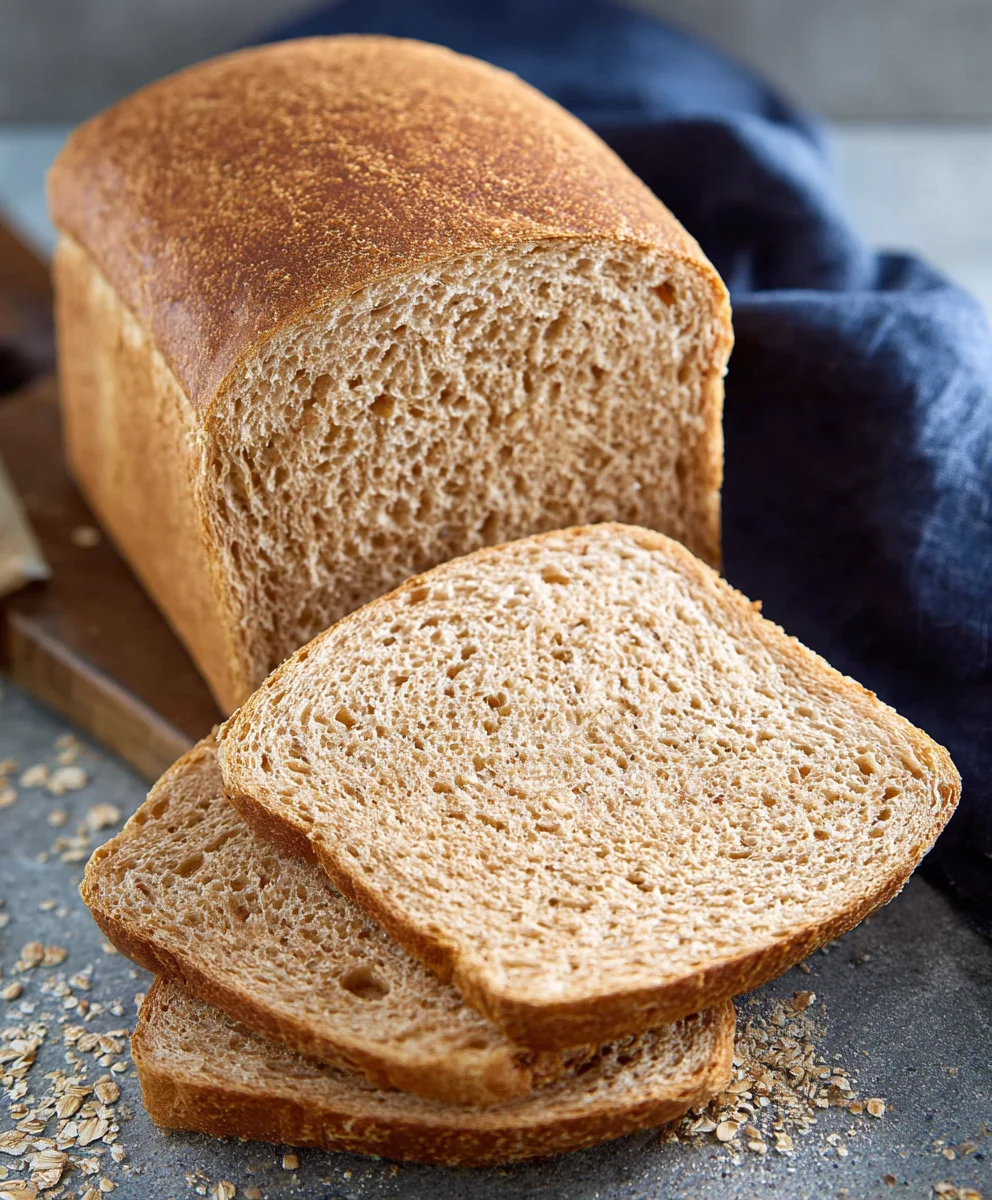
And there you have it – your very own delicious and hearty Whole Wheat Bread, baked to perfection right in your own kitchen! I hope you enjoyed the process as much as I do, and I’m confident you’ll be delighted with the results. This Whole Wheat Bread is a testament to the fact that wholesome, homemade goodness is achievable and incredibly rewarding. It’s perfect for everything from your morning toast, slathered with butter or your favorite jam, to building the ultimate sandwich. For a delightful twist, consider adding a handful of seeds like sunflower or pumpkin seeds to the dough for an extra textural crunch and nutty flavor. You could also experiment with a touch of honey or molasses in the dough for a subtle sweetness. Don’t be afraid to get creative and make this recipe your own! The aroma alone is worth the effort, and the taste will have you reaching for more. Happy baking, and enjoy every delicious slice of your homemade Whole Wheat Bread!
Frequently Asked Questions:
Why is my Whole Wheat Bread dense?
Density in Whole Wheat Bread can often be attributed to overworking the dough, which can develop too much gluten and make it tough, or under-proofing, meaning the yeast didn’t have enough time to produce the necessary air pockets. Ensure you’re measuring your flour accurately, not adding too much, and giving the dough sufficient time to rise in a warm place. For a lighter crum extractb, some bakers incorporate a small amount of white flour or use vital wheat gluten.
Can I freeze Whole Wheat Bread?
Absolutely! Once your Whole Wheat Bread has cooled completely, it freezes beautifully. Slice it before freezing for convenience, wrap it tightly in plastic wrap, and then place it in a freezer-safe bag. It will keep well for up to 3 months. Thaw slices at room temperature or toast them directly from frozen for a quick and easy breakfast or snack.
Easy Whole Wheat Bread Recipe – Healthy & Delicious
A simple and delicious recipe for healthy homemade whole wheat bread, perfect for any occasion.
Ingredients
-
1 cup water
-
¼ cup milk
-
3 tablespoons honey
-
2 ¼ teaspoons active dry yeast
-
3 cups whole wheat flour, plus more for dusting
-
1 ½ teaspoons salt
-
3 tablespoons unsalted butter, cut into 6 small pieces and softened
Instructions
-
Step 1
Activate the yeast: In a large mixing bowl, combine warm water (105-115°F/40-46°C) and milk. Sprinkle yeast over the liquid, add honey, and let sit for 5-10 minutes until foamy. -
Step 2
Combine dry ingredients: In a separate bowl, whisk together whole wheat flour and salt. Add this mixture to the activated yeast mixture and stir until a shaggy dough forms. -
Step 3
Knead the dough: Turn the dough onto a lightly floured surface and knead for 8-10 minutes, gradually adding flour as needed, until smooth and elastic. Incorporate softened butter piece by piece, kneading for an additional 4-5 minutes until fully integrated and the dough is smooth and pliable. -
Step 4
First Rise: Place the dough in a lightly greased bowl, cover, and let rise in a warm place for 1 to 1.5 hours, or until doubled in size. -
Step 5
Shape the loaf: Gently punch down the dough, shape it into a loaf, and place it in a greased loaf pan. -
Step 6
Second Rise: Cover the loaf pan and let the dough rise again for 30-60 minutes, or until it has risen about 1 inch above the rim of the pan. -
Step 7
Bake the bread: Preheat oven to 375°F (190°C). Bake for 30-35 minutes, or until golden brown and an internal temperature of 190-200°F (88-93°C) is reached. Cool completely on a wire rack before slicing.
Important Information
Nutrition Facts (Per Serving)
It is important to consider this information as approximate and not to use it as definitive health advice.
Allergy Information
Please check ingredients for potential allergens and consult a health professional if in doubt.