Melty Japanese Cheese Tarts- Easy & Delicious Recipe
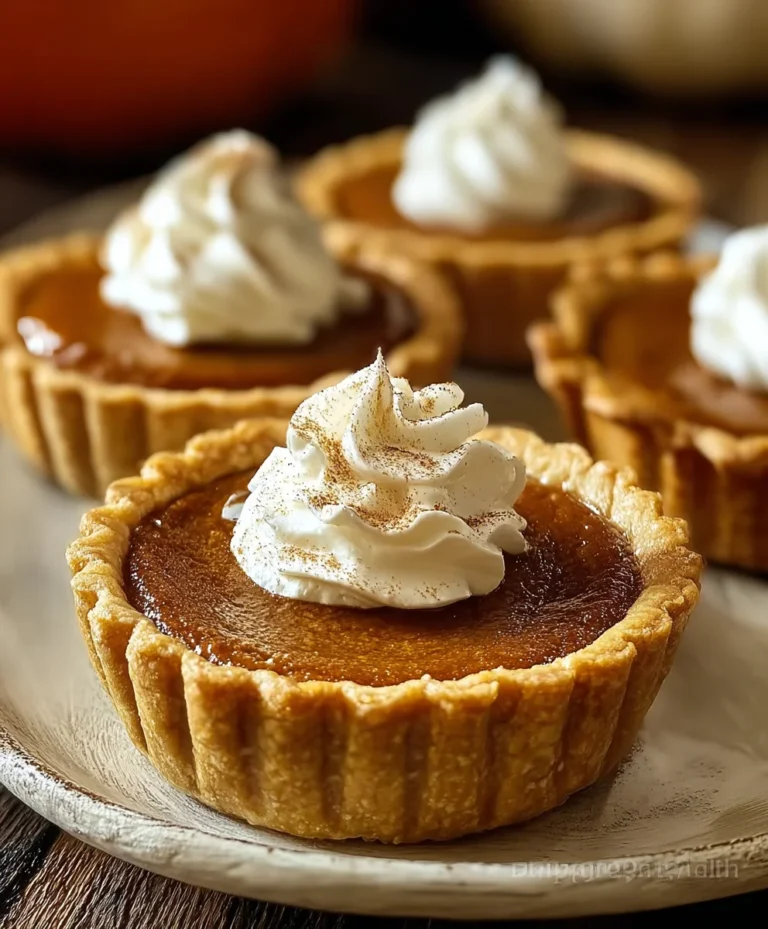
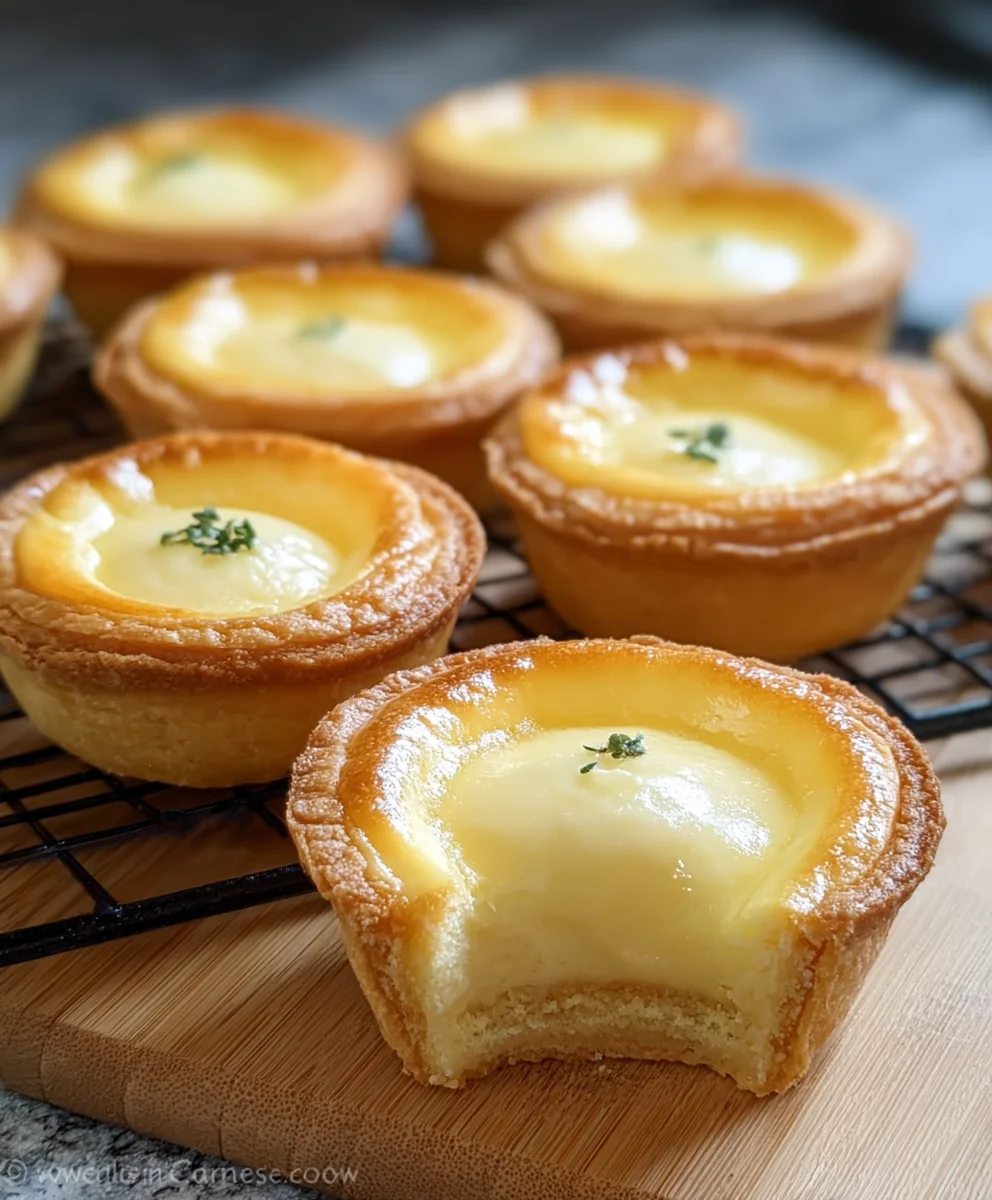
Japanese Cheese Tarts are more than just a dessert; they are a delightful culinary journey that has captured hearts worldwide. Imagin extracte biting into a perfectly baked, buttery crust, yielding to an unbelievably creamy, luscious cheese filling that melts in your mouth. It’s this exquisite balance of textures and flavors that makes Japanese Cheese Tarts so utterly irresistible. People adore them for their delicate sweetness, the subtle tang of the cheese, and the satisfying chegrape juicess of the often-cloud-like interior. What truly sets these tarts apart is their unique preparation. Unlike Western cheesecakes, the filling is typically lighter, airier, and often incorporates a touch of richness without being overwhelmingly heavy. Each bite is a testament to the meticulous craftsmanship and subtle artistry inherent in Japanese baking, promising a moment of pure, unadulterated bliss that will have you reaching for another.
Ingredients:
- 1 1/2 cups all-purpose flour (for tart shells)
- 8 1/2 tablespoons unsalted butter (cubed, for tart shells)
- 1/2 cup powdered sugar (divided, for tart shells and filling)
- 1 egg yolk (divided, for tart shells and egg wash)
- 1 cup cream cheese (softened, for filling)
- 2/3 cup heavy whipping cream (for filling)
- 1 teaspoon cornstarch (for filling)
- 1/2 tablespoon milk or water (for egg wash)
Preparing the Tart Shells
Step 1: Creating the Tart Dough
To begin extract making these delightful Japanese Cheese Tarts, we first need to prepare the foundation: the crisp and buttery tart shells. In a large mixing bowl, combine the 1 1/2 cups of all-purpose flour and 1/4 cup of the powdered sugar. Whisk them together to ensure the sugar is evenly distributed throughout the flour. Now, add the 8 1/2 tablespoons of cubed, cold unsalted butter to the flour mixture. Using a pastry blender or your fingertips, cut the butter into the flour until the mixture resembles coarse crum extractbs with some pea-sized pieces of butter still visible. This is crucial for creating flaky tart shells. If you’re using your hands, work quickly to avoid warming the butter too much. Next, in a small bowl, lightly beat the egg yolk with 1 tablespoon of cold water. Add this wet mixture to the dry ingredients. Gently mix everything together until the doughgin extractst begins to come together. Be careful not to overmix, as this can result in tough tart shells.
Step 2: Chilling and Rolling the Dough
Once the dough has formed, gather it into a disc. It might be a rum extracttle crumbly at first, but continue to gently press it together until it holds its shape. Wrap the dough tightly in plastic wrap and refrigerate for at least 30 minutes, or up to 2 days. This chilling period is essential; it allows the gluten to relax, making the dough easier to handle, and it solidifies the butter, which will create those desirable flaky layers when baked. After chilling, take the dough out and let it sit at room temperature for about 5-10 minutes to soften slightly, making it more pliable. Lightly flour your work surface and a rolling pin. Roll out the dough to about 1/8-inch thickness. If the dough starts to crack or is difficult to roll, let it rest for a few more minutes.
Step 3: Forming and Baking the Tart Shells
Preheat your oven to 375°F (190°C). Lightly grease your mini muffin tin or tartlet molds. Cut out circles from the rolled-out dough that are slightly larger than the cavities of your muffin tin or tart molds. Gently press the dough circles into the molds, ensuring they fit snugly against the bottom and sides. Trim any excess dough. To prevent the tart shells from puffing up too much during baking, you can prick the bottoms with a fork a few times. For extra crispness and to ensure they hold their shape perfectly, I like to blind bake them. Line each tart shell with a small piece of parchment paper or a cupcake liner, and fill it with pie weights, dried beans, or rice. Bake for 10-12 minutes. After 10-12 minutes, carefully remove the parchment paper and weights. Brush the insides of the partially baked tart shells with the egg wash. To prepare the egg wash, whisk together the remaining egg yolk with the 1/2 tablespoon of milk or water in a small bowl. Return the shells to the oven and bake for another 8-10 minutes, or until they are golden brown and fully cooked. Let the tart shells cool completely in the tin before gently removing them.
Crafting the Creamy Cheese Filling
Step 4: Creating the Cheese Filling Base
While the tart shells are cooling, it’s time to prepare the luscious cheese filling. In a medium mixing bowl, combine the 1 cup of softened cream cheese with the remaining 1/4 cup of powdered sugar. Using an electric mixer, or a whisk and a good deal of arm power, beat these together until the mixture is smooth and creamy, with no lumps of cream cheese remaining. It’s important that the cream cheese is properly softened to achieve a silky texture. Scrape down the sides of the bowl as needed. Once smooth, gradually pour in the 2/3 cup of heavy whipping cream while continuing to mix. Continue beating until the mixture is well combined and slightly thickened.
Step 5: Thickening and Chilling the Filling
In a small separate bowl, whisk together the 1 teaspoon of cornstarch with a tablespoon or two of the cream cheese mixture until smooth. This helps to prevent lumps. Then, gradually whisk this cornstarch slurry into the main cream cheese filling until fully incorporated. This step is crucial for ensuring the filling sets up properly after baking. Pour the filling into the cooled tart shells, filling them almost to the brim. Do not overfill, as the filling will expand slightly during baking.
Baking and Finishing the Japanese Cheese Tarts
Step 6: Final Baking and Cooling
Reduce the oven temperature to 325°F (160°C). Carefully place the filled tart shells onto a baking sheet. Bake for 15-20 minutes, or until the filling is set and the edges are lightly golden. The center of the filling should no longer be liquidy, but it might still have a slight wobble. Be careful not to overbake, as this can cause the filling to crack. Once baked, remove the Japanese Cheese Tarts from the oven and let them cool in the baking sheet for about 10 minutes before transferring them to a wire rack to cool completely. For the best flavor and texture, I highly recommend chilling the tarts in the refrigerator for at least an hour before serving. This allows the filling to firm up further and the flavors to meld beautifully. Enjoy these wonderfully rich and tangy Japanese Cheese Tarts!
Conclusion:
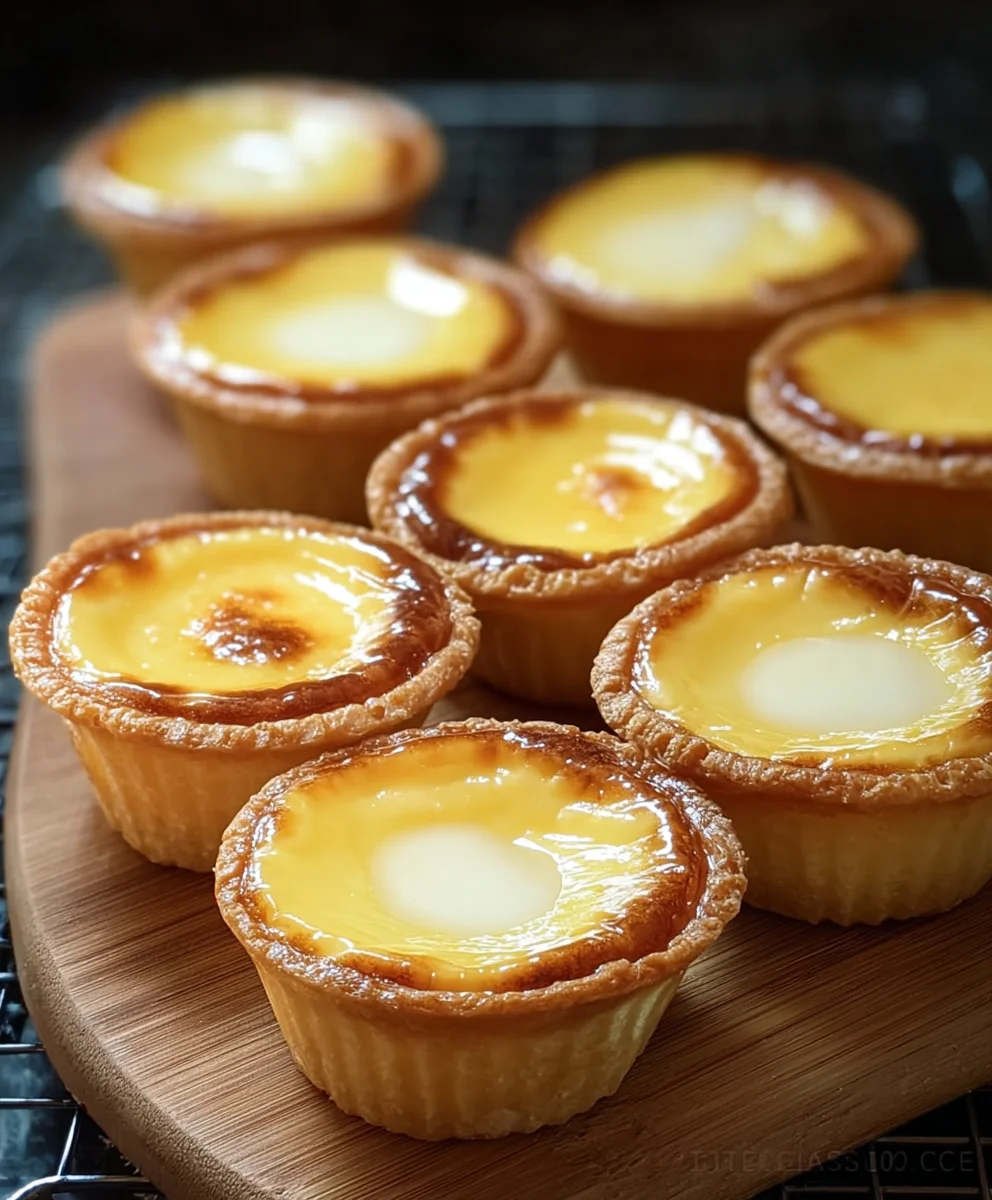
And there you have it! You’ve successfully navigated the delightful process of creating your very own Japanese Cheese Tarts. These little pockets of creamy, tangy, and slightly sweet perfection are incredibly rewarding to make and even more enjoyable to eat. We hope you’ve had fun bringin extractg these delicious treats to life in your own kitchen. They are perfect for a special occasion, a thoughtful gift for a friend, or simply a delightful afternoon pick-me-up. Don’t be afraid to experiment with the recipe; baking is all about personal touch and discovery!
Consider serving your Japanese Cheese Tarts slightly warm, straight from the oven, for the ultimate gooey cheese experience. They also stand beautifully on their own once cooled, making them ideal for potlucks or afternoon tea. For variations, you could add a hint of lemon zest to the filling for an extra bright citrus note, or perhaps a sprinkle of matcha powder on top for a beautiful green hue and earthy flavor. You could even add a thin layer of sweet bean paste at the bottom of the tart shell before adding the cheese filling for a traditional twist.
We encourage you to share your creations and enjoy the process of baking. The aroma alone is worth it, and the satisfaction of tasting your homemade Japanese Cheese Tarts is unparalleled. Happy baking!
Frequently Asked Questions:
Q: How should I store leftover Japanese Cheese Tarts?
A: Store any leftover Japanese Cheese Tarts in an airtight container at room temperature for up to two days, or in the refrigerator for up to four days. For best results, gently reheat them in a toaster oven or a conventional oven for a few minutes before serving to restore their delightful warmth and gooey texture.
Q: Can I make the tart shells ahead of time?
A: Absolutely! You can prepare and bake the tart shells a day or two in advance. Once they are completely cooled, store them in an airtight container at room temperature. This will save you time when you’re ready to assemble and bake the filled tarts.
Melty Japanese Cheese Tarts
Easy and delicious recipe for melt-in-your-mouth Japanese cheese tarts with a crisp, buttery shell and a creamy, tangy filling.
Ingredients
-
1 1/2 cups all-purpose flour
-
8 1/2 tablespoons unsalted butter, cubed
-
1/2 cup powdered sugar
-
1 egg yolk
-
1 cup cream cheese, softened
-
2/3 cup heavy whipping cream
-
1 teaspoon cornstarch
-
1/2 tablespoon milk or water
Instructions
-
Step 1
Prepare the tart shells: Combine flour and 1/4 cup powdered sugar. Cut in cold butter until coarse crumbs form. Mix in beaten egg yolk with 1 tbsp cold water until dough just comes together. Do not overmix. Wrap and chill for at least 30 minutes. -
Step 2
Roll out the chilled dough to about 1/8-inch thickness. Cut circles slightly larger than your tart molds. Press dough into molds, trim excess, and prick bottoms with a fork. -
Step 3
Blind bake the shells: Line shells with parchment paper and fill with pie weights or dried beans. Bake at 375°F (190°C) for 10-12 minutes. Remove weights and brush insides with egg wash (remaining egg yolk whisked with 1/2 tbsp milk or water). Bake for another 8-10 minutes until golden brown. Cool completely. -
Step 4
Make the cheese filling: Beat softened cream cheese with remaining powdered sugar until smooth. Gradually add heavy whipping cream and beat until combined and slightly thickened. -
Step 5
Thicken the filling: Whisk cornstarch with a tablespoon of the cream cheese mixture until smooth. Gradually whisk this slurry into the main filling until fully incorporated. -
Step 6
Fill and bake: Pour filling into cooled tart shells, almost to the brim. Reduce oven temperature to 325°F (160°C). Bake for 15-20 minutes, or until the filling is set with a slight wobble. Do not overbake. -
Step 7
Cool and chill: Let tarts cool on a baking sheet for 10 minutes, then transfer to a wire rack to cool completely. For best results, chill in the refrigerator for at least an hour before serving.
Important Information
Nutrition Facts (Per Serving)
It is important to consider this information as approximate and not to use it as definitive health advice.
Allergy Information
Please check ingredients for potential allergens and consult a health professional if in doubt.