Mint Chocolate Chip Ice Cream-Easy & Delicious Recipe
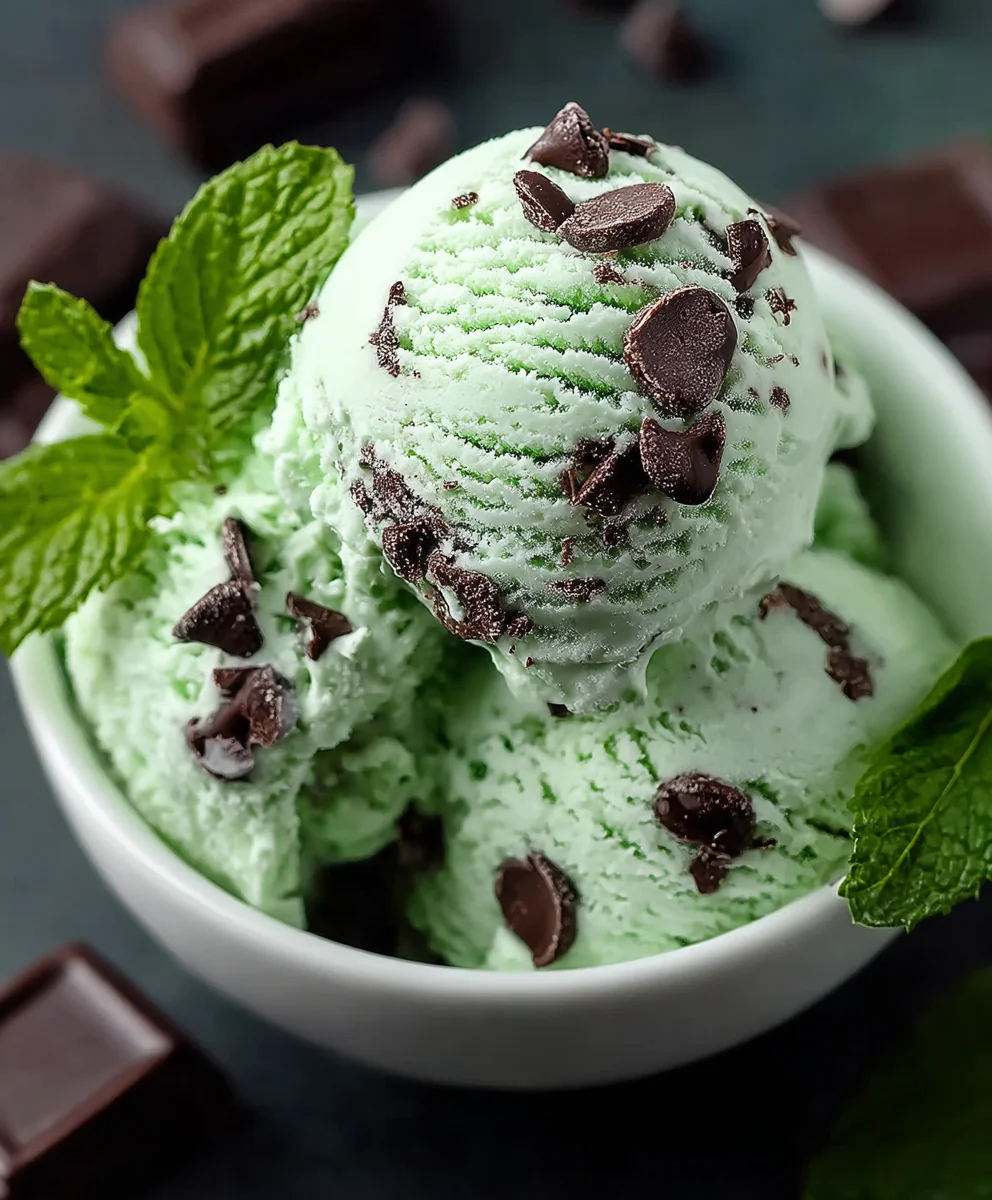
Mint Chocolate Chip Ice Cream, the undisputed cbeef hampion of refreshing desserts, is more than just a frozen treat; it’s a nostalgic journey to childhood summers and a comforting embrace on a warm evening. We all have our favorites, but there’s something uniquely magical about the perfect scoop of mint chocolate chip ice cream. It’s that delightful dance between the cool, invigorating mint and the rich, satisfying crunch of chocolate that keeps us coming back for more. What truly sets this classic apart is its ability to be both incredibly simple and surprisingly sophisticated. The vibrant green hue promises a burst of flavor, while the generous chunks of dark chocolate offer delightful textural contrast. Forget store-bought; crafting your own batch of luscious Mint Chocolate Chip Ice Cream is an experience that elevates this beloved flavor to a whole new level, bringin extractg joy with every spoonful.
Ingredients:
- 1 tablespoon cream cheese, softened
- 1/3 cup granulated sugar
- 1 teaspoon vanilla extract
- 3/4 cup heavy cream
- 1 cup whole milk
- 1 teaspoon mint extract
- 1/4 cup mini chocolate chips
- Green food coloring (optional)
Making the Ice Cream Base
The journey to a delightful batch of homemade Mint Chocolate Chip Ice Cream begin extracts with a rich and creamy base. My preferred method starts with a little secret ingredient that adds an incredible smoothness and depth of flavor: cream cheese. Ensure your cream cheese is softened to room temperature; this will make it much easier to incorporate without any lumps. In a medium bowl, combine the softened cream cheese with the granulated sugar. Using a whisk or a hand mixer on low speed, beat these two together until they are well combined and the mixture is smooth. You’re aiming for a homogenous paste, free from any streaks of cream cheese.
Next, we’ll introduce the liquid components that form the foundation of our ice cream. To the cream cheese and sugar mixture, add the heavy cream and whole milk. Whisk everything together thoroughly. It might seem like a lot of liquid, but this is what will give your ice cream that luxurious texture. Once the liquids are well incorporated, it’s time to add the flavorings. Stir in the vanilla extract and the potent mint extract. The mint extract is quite concentrated, so start with the specified teaspoon and you can always add a tiny bit more later if you prefer a more intense mint flavor, but be careful not to overdo it as it can become overpowering.
At this stage, if you’re opting for that classic vibrant green hue for your Mint Chocolate Chip Ice Cream, this is the moment to add the food coloring. Start with just a drop or two of green food coloring and stir it in. You can add more, a drop at a time, until you achieve your desired shade of green. Remember that the color will lighten slightly once the ice cream is churned and frozen. Give the entire mixture a final whisk to ensure everything is evenly distributed.
Chilling the Base
Before we can churn our ice cream, it’s crucial that the base is thoroughly chilled. This step is absolutely vital for achieving the best texture. A cold base churns more efficiently, allowing ice crystals to form as small as possible, which results in a smoother ice cream. Pour your prepared ice cream base into an airtight container. You can use a glass bowl with a lid, or even a clean resealable plastic container. Place this container in the refrigerator and let it chill for at least 4 hours, or preferably overnight. The longer it chills, the colder it will get, and the better your churning results will be. Resist the urge to skip this step; it truly makes a difference in the final outcome of your Mint Chocolate Chip Ice Cream.
Churning the Ice Cream
Now for the exciting part! Once your ice cream base is completely chilled, it’s time to churn it in your ice cream maker. Follow the manufacturer’s instructions for your specific machine. Typically, this involves pouring the cold base into the frozen bowl of your ice cream maker and letting it churn for about 20-30 minutes, or until it reaches a soft-serve consistency. During the churning process, the machine aerates the mixture and chills it further, gradually thickening it and incorporating small ice crystals. Keep an eye on it; you don’t want it to get too hard in the machine, as it will continue to freeze in the freezer.
Adding the Chocolatey Goodness
With about 5 minutes remaining in the churning cycle, it’s time to add the mini chocolate chips. This is what transforms our minty base into the beloved Mint Chocolate Chip Ice Cream. Stop the ice cream maker and gently stir in the 1/4 cup of mini chocolate chips. You can also add them directly into the machine during the last few minutes of churning; they will distribute themselves throughout the ice cream. Make sure they are evenly distributed for that perfect bite of chocolate in every scoop. Once the chips are incorporated and the ice cream has reached a thick, soft-serve consistency, turn off the ice cream maker.
Freezing to Perfection
The final step is to freeze your Mint Chocolate Chip Ice Cream until it’s firm enough to scoop. Transfer the churned ice cream from the ice cream maker into a freezer-safe container. A loaf pan or a shallow, wide container works best as it allows for faster freezing. Press a piece of parchment paper or plastic wrap directly onto the surface of the ice cream. This helps to prevent ice crystals from forming on top, which can lead to a less smooth texture. Cover the container tightly with its lid or another layer of plastic wrap. Place the container in the freezer and let it freeze for at least 4-6 hours, or until it’s firm and scoopable. For the very best texture, I recommend letting it freeze overnight. Once it’s fully frozen, your delicious homemade Mint Chocolate Chip Ice Cream is ready to be enjoyed!

Conclusion:
And there you have it – your very own batch of homemade Mint Chocolate Chip Ice Cream! We hope you’ve enjoyed diving into this classic flavor and are excited to taste the incredible difference fresh ingredients make. This recipe is not only incredibly rewarding but also surprisingly straightforward, proving that gourmet desserts are well within your reach. We encourage you to experiment and make this your own! Don’t be afraid to adjust the mint intensity or the amount of chocolate chips to suit your personal preferences. Serve scoops of this delightful treat on a warm afternoon, alongside a decadent slice of cake, or as the perfect finnon-alcoholic ale to any meal. Enjoy every creamy, refreshing bite!
Frequently Asked Questions:
Q1: How can I make my Mint Chocolate Chip Ice Cream extra minty?
To achieve a more pronounced mint flavor, you can increase the amount of peppermint extract slightly. Start with an additional quarter teaspoon and taste the base before churning. You can also consider adding a few drops of spearmint extract for a more complex mint profile. Remember, it’s easier to add more than to take away, so proceed with caution!
Q2: What are some good variations for this Mint Chocolate Chip Ice Cream?
The possibilities are endless! For a “cookies and cream” twist, fold in crushed chocolate sandwich cookies after churning. You could also try adding dark chocolate chunks instead of chips for a richer chocolate experience, or even swirl in some hot fudge sauce for an extra indulgent treat. For a seasonal twist, try adding a hint of vanilla bean paste for added depth.
Mint Chocolate Chip Ice Cream-Easy & Delicious Recipe
An easy and delicious recipe for homemade mint chocolate chip ice cream with a rich and creamy base.
Ingredients
-
1 tablespoon cream cheese, softened
-
1/3 cup granulated sugar
-
1 teaspoon vanilla extract
-
3/4 cup heavy cream
-
1 cup whole milk
-
1 teaspoon mint extract
-
1/4 cup mini chocolate chips
-
Green food coloring (optional)
Instructions
-
Step 1
In a medium bowl, beat softened cream cheese and granulated sugar until smooth and well combined. -
Step 2
Add heavy cream, whole milk, vanilla extract, and mint extract to the mixture. Whisk until thoroughly combined. If using, add green food coloring a drop at a time until desired shade is reached. -
Step 3
Pour the ice cream base into an airtight container and chill in the refrigerator for at least 4 hours, or preferably overnight. -
Step 4
Churn the chilled base in an ice cream maker according to manufacturer’s instructions until it reaches a soft-serve consistency. -
Step 5
With about 5 minutes remaining in the churning cycle, add the mini chocolate chips and stir to combine. -
Step 6
Transfer the churned ice cream to a freezer-safe container. Press parchment paper or plastic wrap directly onto the surface, cover tightly, and freeze for at least 4-6 hours, or overnight, until firm.
Important Information
Nutrition Facts (Per Serving)
It is important to consider this information as approximate and not to use it as definitive health advice.
Allergy Information
Please check ingredients for potential allergens and consult a health professional if in doubt.