Homemade Caesar Dressing- Easy & Delicious Recipe
Homemade Caesar Salad Dressing is a culinary game-changer, and once you try it, you’ll understand why. Forget those watery, overly vinegary bottled versions; this is the real deal, bursting with layers of rich, savory flavor that elevate any salad from ordinary to extraordinary. We all crave that perfect balance of creamy, tangy, and umami, the very essence of what makes a Caesar salad so universally beloved. It’s that satisfying zing from the anchovies, the subtle bite of garlic, the luxurious emulsion of egg yolk and oil, all harmonizing to create a dressing that’s simply irresistible. This homemade Caesar salad dressing isn’t just about taste; it’s about the satisfaction of creating something truly special from scratch, a secret weapon in your kitchen arsenal that will have everyone asking for your recipe. Prepare to fall in love with your salads all over again.
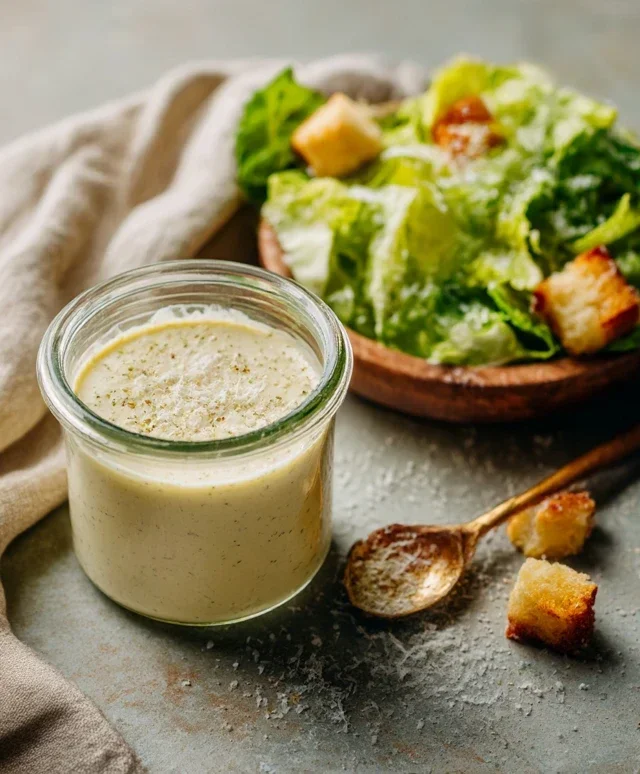
Homemade Caesar Salad Dressing
There’s something undeniably magical about a truly great Caesar salad. The crisp romaine, the crunchy croutons, the salty bite of Parmesan – it’s a classic for a reason. But what elevates it from good to unforgettable? The dressing, my friends. Forget those bottled imposters that taste more like mayonnaise with a hint of garlic. We’re going to make a homemade Caesar dressing that is rich, creamy, tangy, and bursting with authentic flavor. This recipe is my go-to, and once you try it, I promise you’ll never look back. It’s surprisingly simple, and the difference in taste is astronomical.
Ingredients:
Instructions:
Creating this incredible dressing is a straightforward process, and it all starts with getting our flavor base just right. The key is to emulsify all the wonderful ingredients into a smooth, luxurious sauce.
Step 1: Building the Flavor Foundation
In a medium-sized bowl, we’re going to combine the initial flavor powerhouses. Start by adding the two large egg yolks. It’s important that these are at room temperature; this helps them emulsify more effectively with the oil later on. To the egg yolks, add your minced garlic. I like to press the garlic cloves through a garlic press or finely mince them and then use the side of my knife to mash them into a paste with a little bit of salt. This breaks down the garlic cells and releases its potent flavor without leaving any harsh, chunky bits. Next, whisk in the Dijon mustard. Dijon is crucial here; it adds a subtle spicy kick and helps to bind the dressing together. Follow this with the fresh lemon juice. I always recommend using fresh lemons; the bottled stuff just doesn’t have the same vibrant, zesty punch. Finally, add the Worcestershire sauce and the anchovy paste. If you’re new to anchovy paste or anchovy fillets in dressing, don’t be afraid! They don’t make the dressing taste fishy; instead, they add an incredible depth of umami flavor that is absolutely essential for an authentic Caesar. Whisk all of these ingredients together until they are well combined and have a uniform pnon-alcoholic ale yellow color. This mixture forms the savory backbone of our dressing.
Step 2: Emulsification – The Magic Happens
Now comes the most important part: emulsification. This is where we slowly introduce the oil to create a thick, creamy dressing. We’re going to do this very gradually. Begin extract by slowly drizzling in the extra virgin extract extract olive oil in a thin, steady stream while whisking constantly. It is absolutely critical to add the oil very, very slowly at first. If you add it too quickly, the dressing will break, meaning the oil and egg will separate, and you’ll end up with a greasy mess. Think of it like a tiny trickle. As you continue to whisk and add the oil, you’ll notice the mixture starting to thicken and become creamy. Keep whisking vigorously. Once you see it starting to emulsify and thicken, you can slightly increase the speed at which you drizzle the oil, but still maintain a slow, steady stream. Continue this process until all of the extra virgin extract extract olive oil has been incorporated and the dressing is thick and glossy. If at any point it looks like it’s not thickening or seems too thin, just slow down the oil addition even more. The consistency you’re aiming for is that of a pourable mayonnaise.
Step 3: Incorporating the Cheese and Seasoning
Once our emulsion is beautifully formed and the dressing has reached its desired creamy consistency, it’s time to add the final flavor elements. Gently fold in the finely grated Parmesan cheese. Using a microplane or a very fine grater will ensure the cheese melts into the dressing seamlessly, adding its salty, nutty goodness without creating a grainy texture. Stir until the Parmesan is evenly distributed. Now is also the time to season your dressing. Taste it! This is crucial because everyone’s palate is different. Start with a pinch of salt and a generous grinding of fresh black pepper. Remember that the anchovy paste and Parmesan cheese are already salty, so you might not need as much salt as you think. Whisk it in, taste again, and adjust the seasoning as needed. You might want a little more lemon for brightness, or a touch more pepper for a bit of heat. Continue tasting and adjusting until it’s perfect for you.
Step 4: Resting and Achieving Peak Flavor
While our dressing is ready to be used immediately, I highly recommend letting it rest for at least 30 minutes in the refrigerator. This resting period allows all the flavors to meld together beautifully. The garlic will mellow slightly, the lemon will integrate more fully, and the anchovy will lend its complex savory notes without being overpowering. This step truly makes a difference in the overall taste profile. You’ll find that the dressing also thickens up a bit more as it chills, achieving an even more luxurious texture.
Step 5: Storage and Serving Suggestions
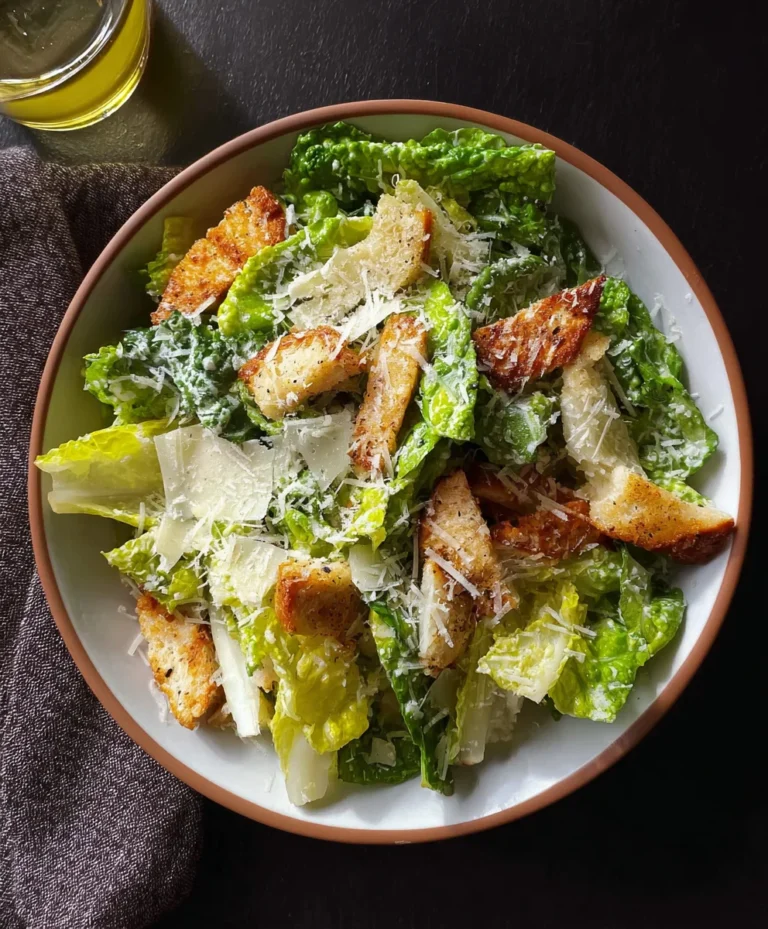
This homemade Caesar salad dressing will keep in an airtight container in the refrigerator for up to 5-7 days. The raw egg yolks are the limiting factor here, so always ensure your container is clean and senon-alcoholic aled well. Before serving, give the dressing a good whisk or shake, as some separation can occur over time. This dressing is, of course, divine on a classic Caesar salad with crisp romaine lettuce, crunchy croutons, and shaved Parmesan. However, don’t limit yourself! It’s also fantastic as a dip for grilled chicken or vegetables, a spread for sandwiches, or even as a dressing for potato salad. The possibilities are endless, and its rich, authentic flavor will elevate any dish it touches. Enjoy this taste of homemade perfection!
Conclusion:
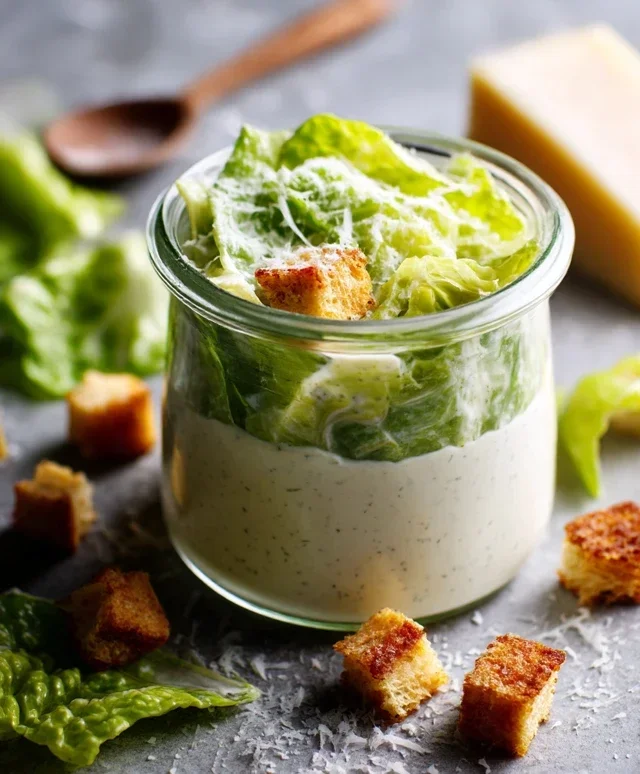
You’ve just unlocked the secret to the most delicious, creamy, and truly satisfying Homemade Caesar Salad Dressing! Forget those store-bought imposters; this recipe delivers an authentic, tangy, and umami-rich flavor that will elevate any salad. The beauty of making your own is the control you have over the ingredients, ensuring a fresh, vibrant taste every time. It’s incredibly versatile too! Drizzle it generously over a classic romaine salad with crunchy croutons and shaved Parmesan, or use it as a dip for grilled chicken or vegetables. For a fun twist, consider adding a pinch of smoked paprika for a subtle smoky note or a touch of Dijon mustard for extra zing. I wholeheartedly encourage you to give this Homemade Caesar Salad Dressing a try. You’ll be amazed at how simple it is to achieve such a restaurant-quality result in your own kitchen!
Frequently Asked Questions:
Can I make this dressing ahead of time?
Absolutely! This Homemade Caesar Salad Dressing keeps beautifully in an airtight container in the refrigerator for up to 4-5 days. The flavors often meld and deepen even further overnight, making it even more delicious!
What if I don’t have anchovy paste?
While anchovy paste is key to the classic Caesar flavor, you can substitute it with finely minced anchovy fillets. Start with 1-2 fillets and adjust to your taste. Alternatively, for a vegetarian option, you can omit the anchovies and add a tablespoon of capers, finely minced, along with a pinch of nutritional yeast for a savory, umami boost.
My dressing looks a little too thick. How can I thin it out?
No problem! If your dressing is thicker than you prefer, simply whisk in a teaspoon or two of cold water, or even a little extra lemon juice, until you reach your desired consistency. You can also use a bit of milk or buttermilk for a creamier, slightly milder thinning.
Homemade Caesar Salad Dressing
A classic, creamy Caesar salad dressing made from scratch with simple ingredients.
Ingredients
-
1 large egg yolk
-
2 cloves garlic, minced
-
1 teaspoon Dijon mustard
-
2 tablespoons fresh lemon juice
-
1/2 teaspoon Worcestershire sauce
-
1/4 cup grated Parmesan cheese
-
1/2 cup extra virgin extract olive oil
-
Salt and freshly ground black pepper to taste
Instructions
-
Step 1
In a medium bowl, whisk together the egg yolk, minced garlic, Dijon mustard, and lemon juice. -
Step 2
Stir in the Worcestershire sauce and grated Parmesan cheese. -
Step 3
Slowly drizzle in the extra virgin extract olive oil while whisking continuously until the dressing is emulsified and creamy. -
Step 4
Season with salt and freshly ground black pepper to taste. -
Step 5
For a thinner dressing, add a teaspoon of water at a time and whisk until desired consistency is reached. -
Step 6
Serve immediately or refrigerate in an airtight container for up to 3 days.
Important Information
Nutrition Facts (Per Serving)
It is important to consider this information as approximate and not to use it as definitive health advice.
Allergy Information
Please check ingredients for potential allergens and consult a health professional if in doubt.