Gooey Chocolate Chip Cookie Bars-Easy Delicious Recipe
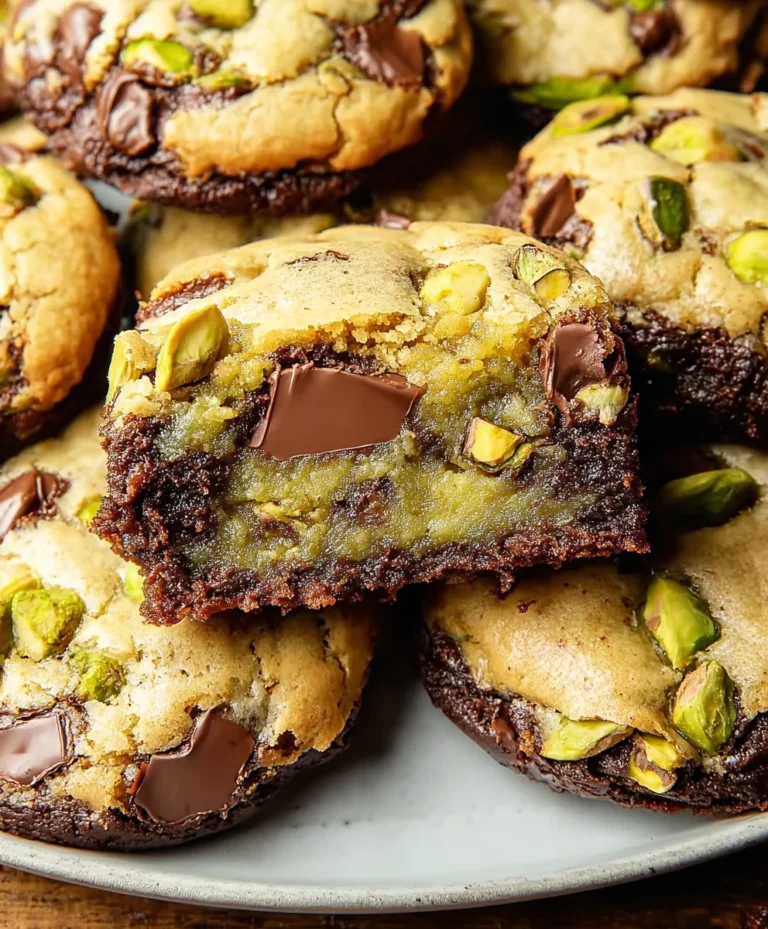
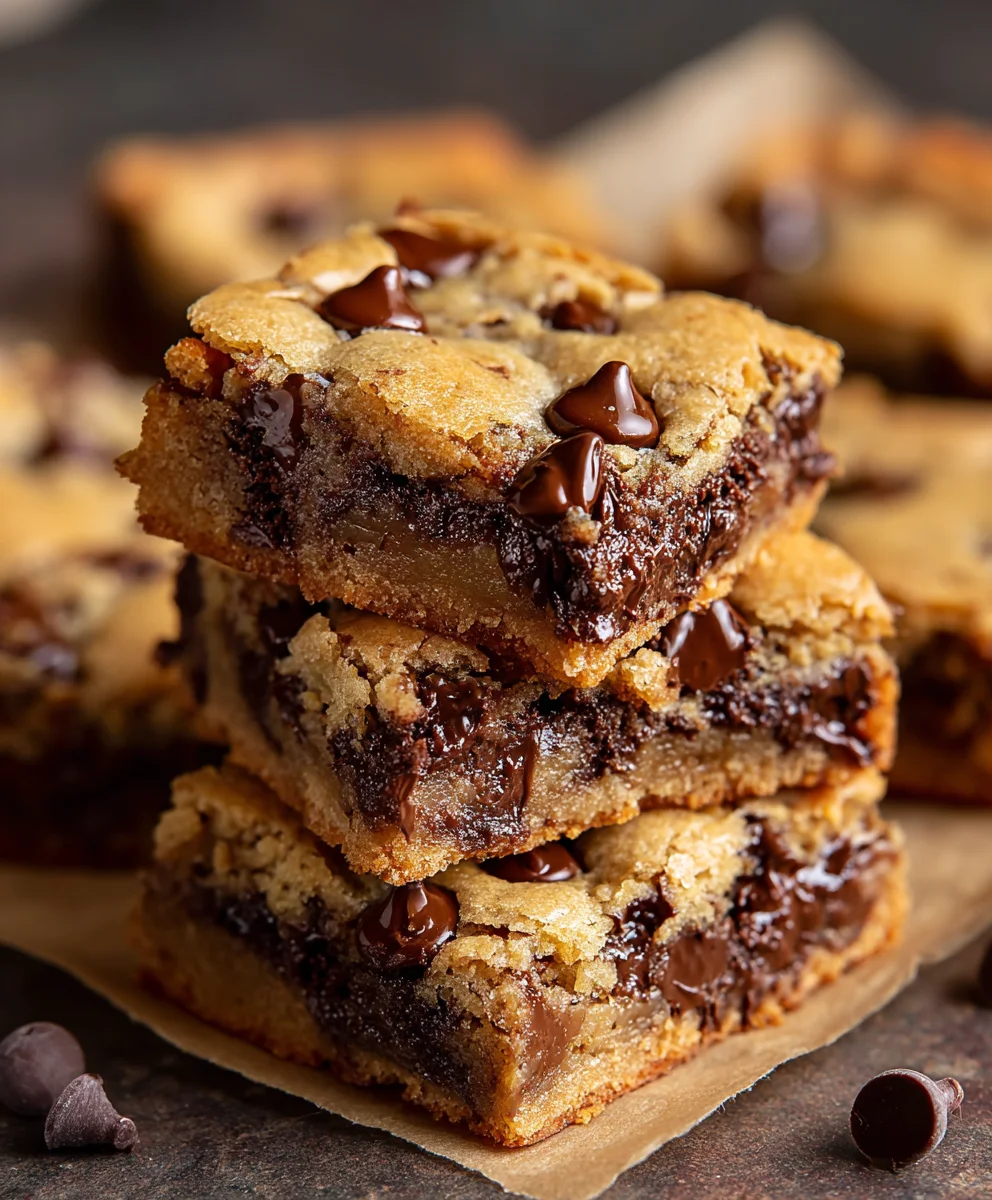
Gooey Chocolate Chip Cookie Bars are more than just a dessert; they’re a warm hug in edible form. Imagin extracte sinking your teeth into a golden-brown treat, where the edges offer a satisfying slight crisp, but the center yields to an utterly irresistible, melty, fudgy core. That’s the magic of these glorious bars. We all have our favorite cookie recipes, but there’s something uniquely comforting and crowd-pleasing about transforming that beloved cookie dough into a convenient, shareable bar format. What makes these particular Gooey Chocolate Chip Cookie Bars so special is the perfect balance achieved: not too cakey, not too crispy, but that glorious, chewy, gooey interior that’s studded with pockets of molten chocolate. They’re incredibly easy to make, making them a go-to for weeknight cravings, impromptu gatherings, or simply when you need a serious dose of deliciousness. Get ready to discover your new favorite way to enjoy chocolate chip cookies!
Ingredients:
- 1 1/2 cups all-purpose flour
- 1/2 teaspoon baking soda
- 1/4 teaspoon baking powder
- 1/2 teaspoon sea salt
- 1/2 cup butter, softened
- 1/2 cup granulated sugar
- 1/2 cup light brown sugar, packed
- 1 large egg
- 1 1/2 teaspoon vanilla extract
- 1 cup chocolate chips (half a 12 oz bag)
Preparing the Dough
-
Preheat and Prep Your Pan
First things first, let’s get our baking environment ready. Preheat your oven to 350 degrees Fahrenheit (175 degrees Celsius). This consistent temperature is key for even baking, ensuring those bars have a perfectly golden-brown exterior. Next, prepare your baking pan. I like to use an 8×8 inch square pan for these gooey chocolate chip cookie bars. To prevent sticking and make cleanup a breeze, you can either grease the pan generously with butter or cooking spray, or even better, line it with parchment paper. If you choose parchment paper, leave a little overhang on the sides, creating “handles” that will make lifting the baked bars out of the pan incredibly easy once they’ve cooled. This simple step saves so much frustration later on.
-
Whisk Together Dry Ingredients
In a medium-sized bowl, we’re going to combine all our dry ingredients. This includes the 1 1/2 cups of all-purpose flour, which provides the structure for our bars. Then, add the 1/2 teaspoon of baking soda and 1/4 teaspoon of baking powder. These leavening agents are crucial for giving the bars a slight lift and a tender crum extractb. Finally, sprinkle in the 1/2 teaspoon of sea salt. The salt doesn’t just add flavor; it also balances the sweetness of the sugars and enhances the chocolate flavor. Take a whisk and stir these dry ingredients together thoroughly. You want to make sure everything is evenly distributed so that you don’t end up with pockets of baking soda or salt in your finished bars. A good whisking ensures uniformity.
-
Cream Butter and Sugars
Now, let’s move on to the wet ingredients, starting with the base of our cookie bar flavor. In a large mixing bowl, or the bowl of your stand mixer fitted with the paddle attachment, combine the 1/2 cup of softened butter, 1/2 cup of granulated sugar, and 1/2 cup of light brown sugar, packed. It’s important that your butter is softened, not melted. Softened butter will cream properly with the sugars, incorporating air and creating a lighter texture. Cream these ingredients together on medium speed until the mixture is light, fluffy, and pnon-alcoholic ale in color. This process, called creaming, can take about 2 to 3 minutes. It’s the foundation of a good cookie texture, so don’t rush this step! Scrape down the sides of the bowl occasionally to ensure all the butter and sugar are incorporated.
-
Incorporate Egg and Vanilla
Once the butter and sugars are beautifully creamed, it’s time to add the binders and flavor enhancers. Crack in the 1 large egg. Eggs contribute to the structure, richness, and moisture of the bars. Make sure the egg is at room temperature for better emulsification with the creamed butter and sugar. After adding the egg, add the 1 1/2 teaspoons of vanilla extract. Vanilla is a classic flavor enhancer that complements chocolate perfectly and adds a wonderful aroma. Beat these ingredients into the creamed mixture on medium speed until just combined. Be careful not to overmix at this stage, as overmixing can develop the gluten in the flour too much later on, resulting in tougher bars. Just a quick mix until you no longer see streaks of egg is sufficient.
-
Combine Wet and Dry, Then Add Chocolate!
Now we bring it all together! Gradually add the whisked dry ingredients from step 2 to the wet ingredients in the large bowl. Mix on low speed, or gently fold with a spatula, until just combined. Stop mixing as soon as you no longer see streaks of flour. Overmixing here is your enemy for tender bars! Once the dough has come together, it’s time for the star of the show: the chocolate chips! Gently fold in the 1 cup of chocolate chips. I like to use a mix of semi-sweet and milk chocolate chips for a richer flavor, but feel free to use your favorite. Distribute them evenly throughout the dough.
-
Bake to Golden Perfection
Spread the cookie dough evenly into your prepared 8×8 inch pan. Use your spatula or the back of a spoon to create a smooth, even layer. This ensures that your bars will bake uniformly. Place the pan in the preheated oven and bake for 25 to 30 minutes. You’re looking for the edges to be golden brown and slightly puffed, while the center might still look a little soft and gooey. This is exactly what you want for delicious, chewy bars! An inserted toothpick should come out withrum extractist crumbs attached, not wet batter. Be careful not to overbake, as this will result in dry bars.
Cooling and Cutting
-
Cooling is Crucial for Gooeyness
Once your Gooey Chocolate Chip Cookie Bars are out of the oven, resist the urge to cut into them immediately! This is perhaps the most important step for achieving that signature gooey texture. Let the bars cool in the pan on a wire rack for at least 20 to 30 minutes. During this time, the bars will continue to set up. If you cut them too soon, they will likely fall apart. The longer they cool, the cleaner your cuts will be, and the more set the gooey center will become.
-
Slice and Enjoy
After the initial cooling period, you can lift the bars out of the pan using the parchment paper overhang, or carefully invert the pan onto a cutting board. Once completely cooled, use a sharp knife to cut the bars into your desired size. I usually aim for 9 to 12 bars, depending on how large I want them. A clean, sharp knife will give you neat edges. If the bars are still a bit too soft to get a perfectly clean cut, you can pop the whole slab into the refrigerator for about 15-20 minutes before slicing. Enjoy your homemade, incredibly gooey chocolate chip cookie bars! They are perfect on their own, or even better served warm with a scoop of vanilla ice cream.
Conclusion:
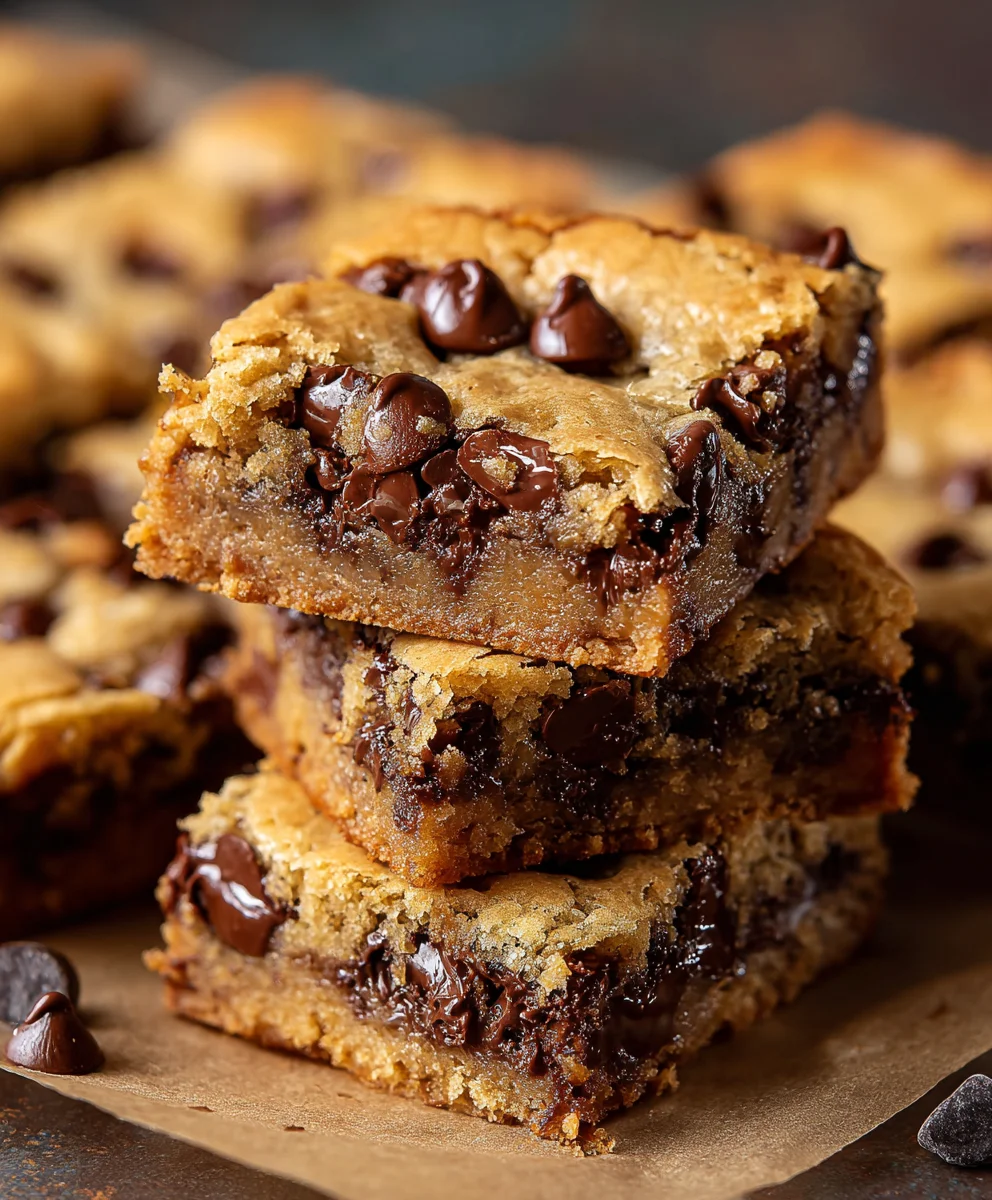
And there you have it – the ultimate guide to creating perfect Gooey Chocolate Chip Cookie Bars! We’ve walked through each step, from creaming the butter and sugars to achieving that irresistible chewy center. These Gooey Chocolate Chip Cookie Bars are incredibly versatile and are always a crowd-pleaser, whether served warm for an instant dessert or cooled for a more portable treat. I encourage you to give this recipe a try; the results are truly worth it!
For serving suggestions, imagin extracte these warm, fudgy bars with a scoop of vanilla bean ice cream melting into them. They also make a fantastic addition to a cookie platter or a potluck. Don’t be afraid to experiment with variations! You could add a handful of chopped nuts like pecans or walnuts for extra crunch, or swirl in some caramel sauce for a decadent twist. White chocolate chips or dark chocolate chunks also work wonderfully.
Frequently Asked Questions:
How do I ensure my Gooey Chocolate Chip Cookie Bars are actually gooey?
The key to achieving that signature gooey texture lies in a few factors. First, be careful not to over-bake them. They should look slightly underdone in the center when you take them out of the oven, as they will continue to cook and set as they cool. Also, using a good amount of brown sugar in the recipe contributes significantly to the chegrape juicess and moisture, which translates to gooeyness.
Can I make Gooey Chocolate Chip Cookie Bars ahead of time?
Absolutely! These bars can be baked a day or two in advance and stored in an airtight container at room temperature. For best results, gently warm them in the oven or microwave for a few seconds before serving to revive that fresh-baked gooeyness.
Gooey Chocolate Chip Cookie Bars-Easy Delicious Recipe
An incredibly easy and delicious recipe for perfectly gooey chocolate chip cookie bars, with a tender crumb and rich chocolate flavor.
Ingredients
-
1 1/2 cups all-purpose flour
-
1/2 teaspoon baking soda
-
1/4 teaspoon baking powder
-
1/2 teaspoon sea salt
-
1/2 cup butter, softened
-
1/2 cup granulated sugar
-
1/2 cup light brown sugar, packed
-
1 large egg
-
1 1/2 teaspoon vanilla extract
-
1 cup chocolate chips
Instructions
-
Step 1
Preheat oven to 350 degrees Fahrenheit (175 degrees Celsius). Prepare an 8×8 inch square baking pan by greasing it or lining it with parchment paper, leaving an overhang for easy removal. -
Step 2
In a medium bowl, whisk together flour, baking soda, baking powder, and sea salt. Ensure even distribution. -
Step 3
In a large bowl, cream together softened butter, granulated sugar, and light brown sugar until light, fluffy, and pale. -
Step 4
Beat in the large egg and vanilla extract until just combined. Do not overmix. -
Step 5
Gradually add the dry ingredients to the wet ingredients, mixing on low speed or folding until just combined. Gently fold in the chocolate chips. -
Step 6
Spread the dough evenly into the prepared pan. Bake for 25-30 minutes, or until edges are golden brown and the center is set but still gooey. -
Step 7
Let the bars cool in the pan on a wire rack for at least 20-30 minutes to set. -
Step 8
Lift the slab out of the pan using the parchment overhang, or invert onto a cutting board. Cool completely before cutting into desired sizes. For cleaner cuts, chill briefly before slicing.
Important Information
Nutrition Facts (Per Serving)
It is important to consider this information as approximate and not to use it as definitive health advice.
Allergy Information
Please check ingredients for potential allergens and consult a health professional if in doubt.