Easy Two Ingredient Pizza Dough Recipe
2 ingredient pizza dough is the magical shortcut you’ve been waiting for to transform your weeknights into culinary triumphs. Forget the fuss of yeast proofing and complex kneading – this recipe is so astonishingly simple, it feels like cheating, but I promise, it’s pure genius. Imagin extracte: a perfectly chewy, delightfully crispy pizza base ready for your favorite toppings in under 30 minutes, from start to finish. It’s no wonder this amazing creation has taken the home cooking world by storm. People rave about its sheer convenience, the way it makes homemade pizza accessible to everyone, regardless of their baking experience. What truly sets this 2 ingredient pizza dough apart is its incredible versatility. It’s the perfect canvas for a quick weeknight meal, a fun weekend project with the kids, or even an impressive appetizer for impromptu guests. Get ready to experience pizza perfection, redefined.
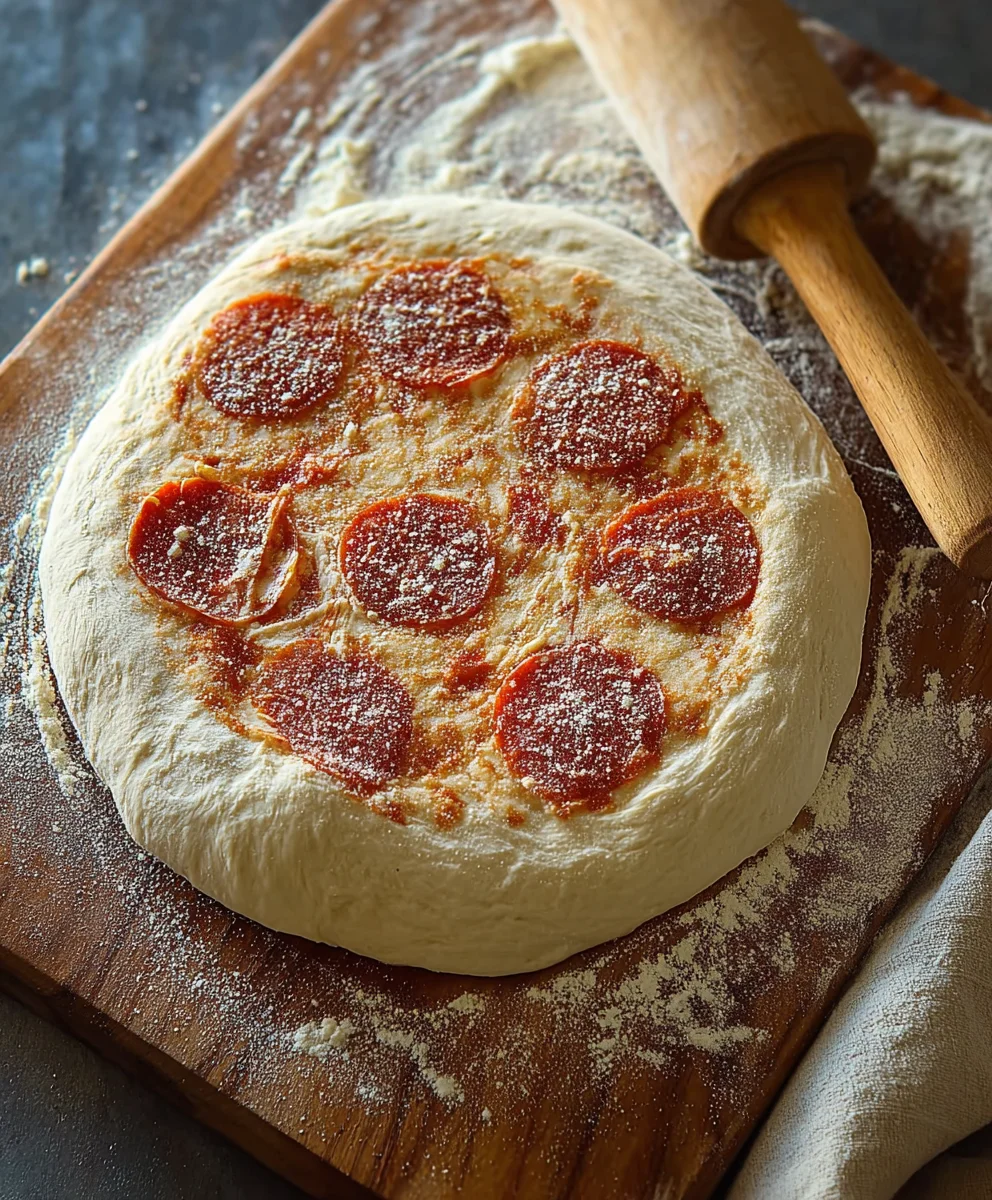
Ingredients:
- 2 cups non-fat plain Greek yogurt
- 3 cups self-rising flour
Making Your 2 Ingredient Pizza Dough
This recipe is about as simple as it gets when it comes to homemade pizza. You’re only using two core ingredients, which makes it incredibly accessible and budget-friendly. The magic happens when you combine the Greek yogurt and self-rising flour. The yogurt’s natural tang and moisture content, combined with the leavening already present in the self-rising flour, create a surprisingly pliable and easy-to-work-with dough that bakes up beautifully. You won’t believe how quickly you can go from pantry staples to a delicious pizza crust. Let’s get started!
Step 1: Combine the Yogurt and Flour
Begin extract by measuring out your ingredients. You’ll need 2 cups of non-fat plain Greek yogurt and 3 cups of self-rising flour. It’s important to use non-fat plain Greek yogurt for the best results; flavored or sweetened yogurts will alter the taste of your dough significantly. For the self-rising flour, make sure it’s fresh. If your self-rising flour has been sitting in the pantry for a very long time, the leavening agents might have lost some of their potency, which could result in a flatter crust.
In a large mixing bowl, add the 2 cups of Greek yogurt. Then, gradually add the 3 cups of self-rising flour. You can add the flour all at once, but I find it’s easier to incorporate if you add it in stages. This helps prevent large clumps of dry flour from forming and makes the mixing process smoother. Use a sturdy spoon or a spatugin extractto begin combining the ingredients. At this stage, it will look quite shaggy and may not seem like it’s coming together, but don’t worry – that’s perfectly normal.
Step 2: Knead the Dough
Once the flour is mostly incorporated and the mixture is too stiff to stir effectively with a spoon, it’s time to get your hands in there and start kneading. Turn the dough out onto a clean, lightly floured surface. I recommend using a little extra self-rising flour on your work surface and on your hands to prevent sticking. The dough will be quite sticky initially, so be patient with it.
Start by gently folding the dough over itself and pressing down with the heels of your hands. Rotate the dough and repeat the folding and pressing motion. Continue kneading for about 5-7 minutes, or until the dough becomes smooth, elastic, and no longer excessively sticky. You should be able to poke the dough and have it spring back slightly. If it’s still too sticky, add a tiny bit more flour, but be careful not to add too much, as this can make the crust tough. The goal is a workable dough that holds its shape without being dry.
Step 3: Rest the Dough (Optional but Recommended)
For the best texture and ease of handling, I highly recommend letting your pizza dough rest. After you’ve finished kneading, shape the dough into a ball. Lightly oil the mixing bowl you used earlier (or use a clean one). Place the dough ball back into the bowl and turn it to coat it lightly with oil. Cover the bowl tightly with plastic wrap or a clean kitchen towel.
Allow the dough to rest at room temperature for about 30 minutes. This resting period allows the gluten to relax, which makes the dough much easier to stretch and shape. It also gives the leavening agents in the self-rising flour a chance to start working, contributing to a lighter crust. While this step is optional and you can proceed to shaping immediately, you’ll notice a difference in the dough’s elasticity and how easily it stretches if you give it this short rest.
Step 4: Shape Your Pizza Crust
After the dough has rested, it’s time to shape it into your desired pizza crust. Preheat your oven to 400°F (200°C). If you’re using a pizza stone or steel, place it in the oven while it preheats. If you don’t have a pizza stone, you can use a baking sheet.
Gently punch down the dough to release any air. Turn the dough out onto your lightly floured work surface again. You can divide the dough into one large pizza or two smaller ones, depending on your preference. Start by pressing the dough outwards from the center, working your way towards the edges. You can use your fingertips or the palms of your hands. If the dough springs back too much, let it rest for another 5 minutes and try again. The goal is to create an even thickness. You can aim for a thin crust or a slightly thicker one. Be careful not to make the center too thin, as it might become flimsy once toppings are added. If you want a raised crust edge, gently pinch and pull the outer rim to create a border.
Step 5: Bake the Crust
Once your pizza crust is shaped, you’re ready to bake it. If you’re using a baking sheet, you can lightly grease it or line it with parchment paper. Carefully transfer your shaped dough to the prepared baking sheet or a pizza peel if you’re using a pizza stone.
For the best results, pre-bake the crust for about 5-8 minutes before adding your toppings. This initial bake helps to set the crust and prevent it from becoming soggy under the sauce and cheese. Keep a close eye on it; you want it to be slightly golden and firm, but not fully cooked. Remove the partially baked crust from the oven. Now you can add your favorite pizza sauce, cheese, and toppings. Once topped, return the pizza to the oven and bake for another 10-15 minutes, or until the crust is golden brown and the cheese is melted and bubbly. The exact baking time will vary depending on your oven and the thickness of your crust and toppings. Let it cool for a few minutes before slicing and enjoying your delicious homemade 2 ingredient pizza!
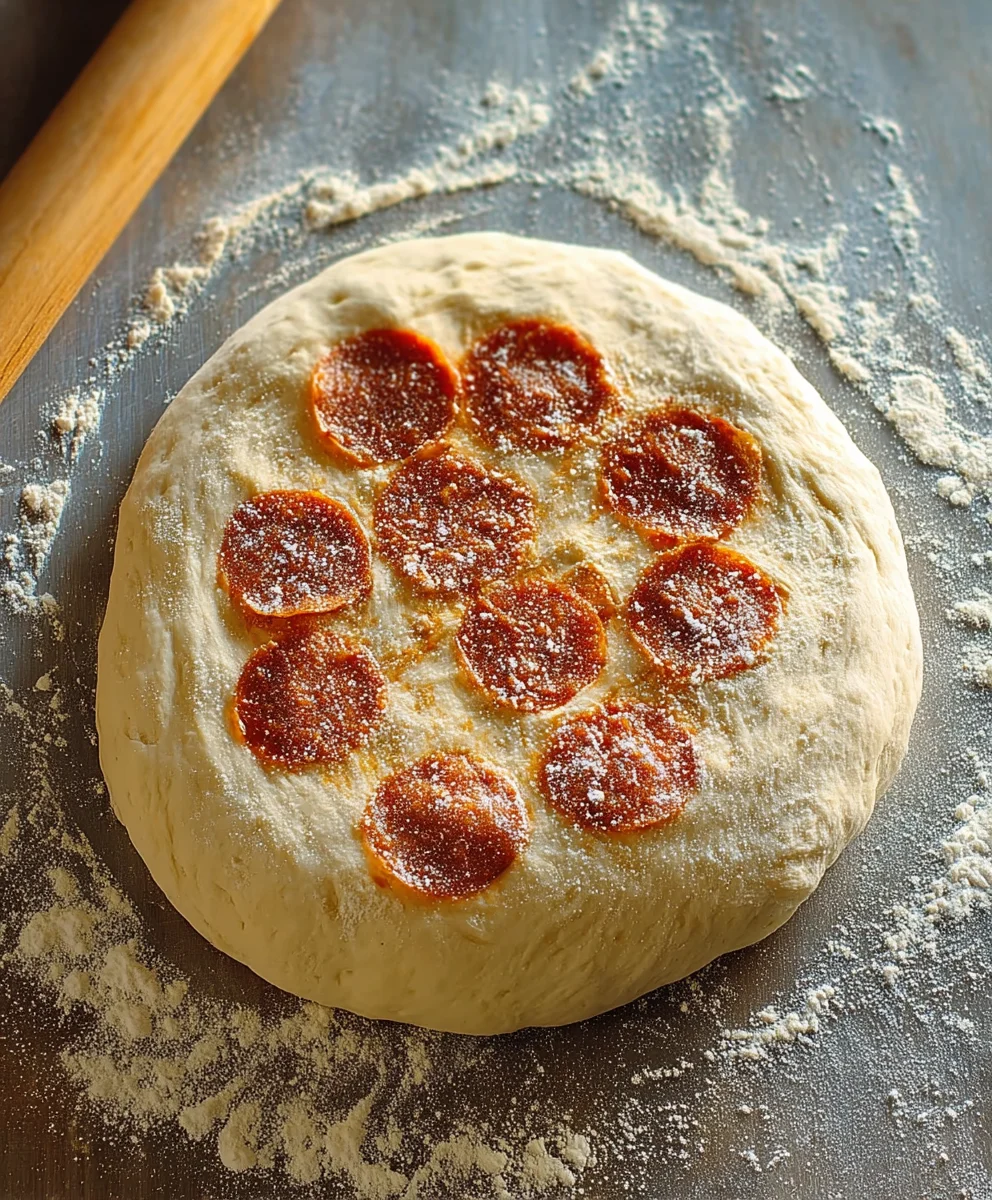
Conclusion:
And there you have it! You’ve successfully mastered the art of making delicious and incredibly simple 2 Ingredient Pizza Dough. We hope you enjoyed this straightforward recipe that proves you don’t need a lot of fuss to create a fantastic pizza base. This dough is wonderfully versatile, providing a perfect foundation for all your favorite toppings. Whether you’re a seasoned chef or a complete begin extractner in the kitchen, this recipe is designed to bring you success and smiles. Don’t be afraid to get creative!
For serving, this 2 Ingredient Pizza Dough is best enjoyed hot from the oven. We love pairing it with classic marinara sauce, melted mozzarella, and fresh basil for a simple Margherita, or going wild with barbecue chicken and red onion. Leftovers, if you happen to have any, can be reheated in a toaster oven for a crispier finish.
Looking for variations? Try adding a pinch of garlic powder or Italian herbs directly into the dough for an extra flavor boost. You can also experiment with different types of flour for subtle texture changes. The key is to have fun and make it your own! We truly encourage you to give this recipe a try. It’s a game-changer for quick weeknight meals and spontaneous pizza nights.
FAQs:
What’s the best way to store leftover 2 Ingredient Pizza Dough?
If you have any uncooked dough left, wrap it tightly in plastic wrap and refrigerate for up to 2 days. You can also freeze it by wrapping it well in plastic wrap and then in a freezer-safe bag for up to 2 months. Thaw in the refrigerator before using.
Can I make this 2 Ingredient Pizza Dough gluten-free?
Unfortunately, this specific recipe relies on traditional flour for its structure, so it’s not easily adaptable to a gluten-free version. For gluten-free pizza, you would typically need a different recipe that incorporates gluten-free flour blends and binders.
Easy Two Ingredient Pizza Dough Recipe
A simple and budget-friendly pizza dough recipe using only two core ingredients: Greek yogurt and self-rising flour. This dough is pliable, easy to work with, and bakes up beautifully for delicious homemade pizza.
Ingredients
-
2 cups non-fat plain Greek yogurt
-
3 cups self-rising flour
-
Extra flour for dusting
-
Olive oil for greasing
-
Pizza sauce
-
Mozzarella cheese
-
Toppings of your choice
Instructions
-
Step 1
In a large mixing bowl, combine 2 cups of non-fat plain Greek yogurt and 3 cups of self-rising flour. Gradually add the flour to the yogurt, mixing with a spoon or spatula until a shaggy dough forms. -
Step 2
Turn the dough out onto a lightly floured surface. Knead for 5-7 minutes until the dough is smooth, elastic, and no longer excessively sticky. Add a tiny bit more flour if necessary, but avoid making it tough. -
Step 3
Shape the dough into a ball, lightly oil a bowl, place the dough in it, and turn to coat. Cover tightly and let it rest at room temperature for about 30 minutes to relax the gluten. -
Step 4
Preheat your oven to 400°F (200°C). Gently punch down the dough and shape it into your desired pizza crust on a lightly floured surface. Aim for an even thickness, creating a raised edge if desired. -
Step 5
Transfer the shaped crust to a prepared baking sheet or pizza peel. Pre-bake for 5-8 minutes until slightly golden and firm. Remove from oven, add sauce, cheese, and toppings, then bake for another 10-15 minutes until golden brown and bubbly.
Important Information
Nutrition Facts (Per Serving)
It is important to consider this information as approximate and not to use it as definitive health advice.
Allergy Information
Please check ingredients for potential allergens and consult a health professional if in doubt.