Easy Baked Honey Garlic Chicken Recipe
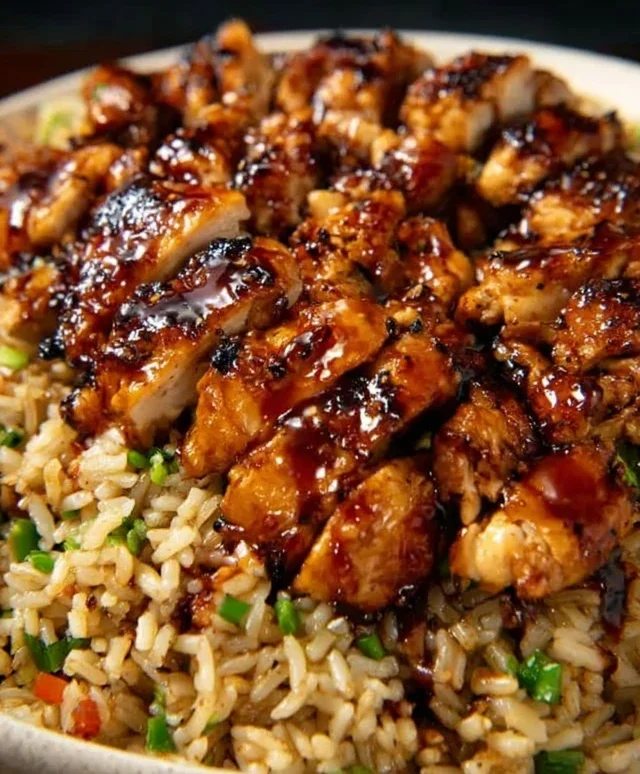
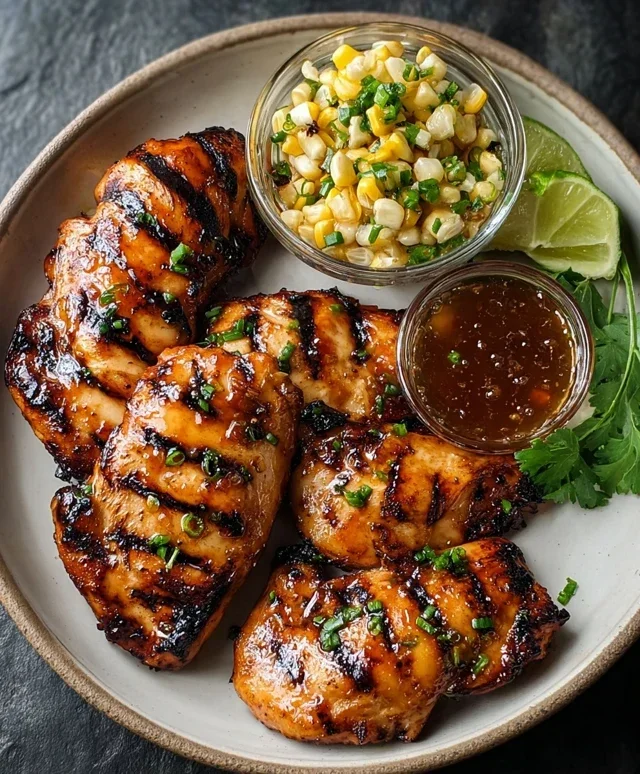
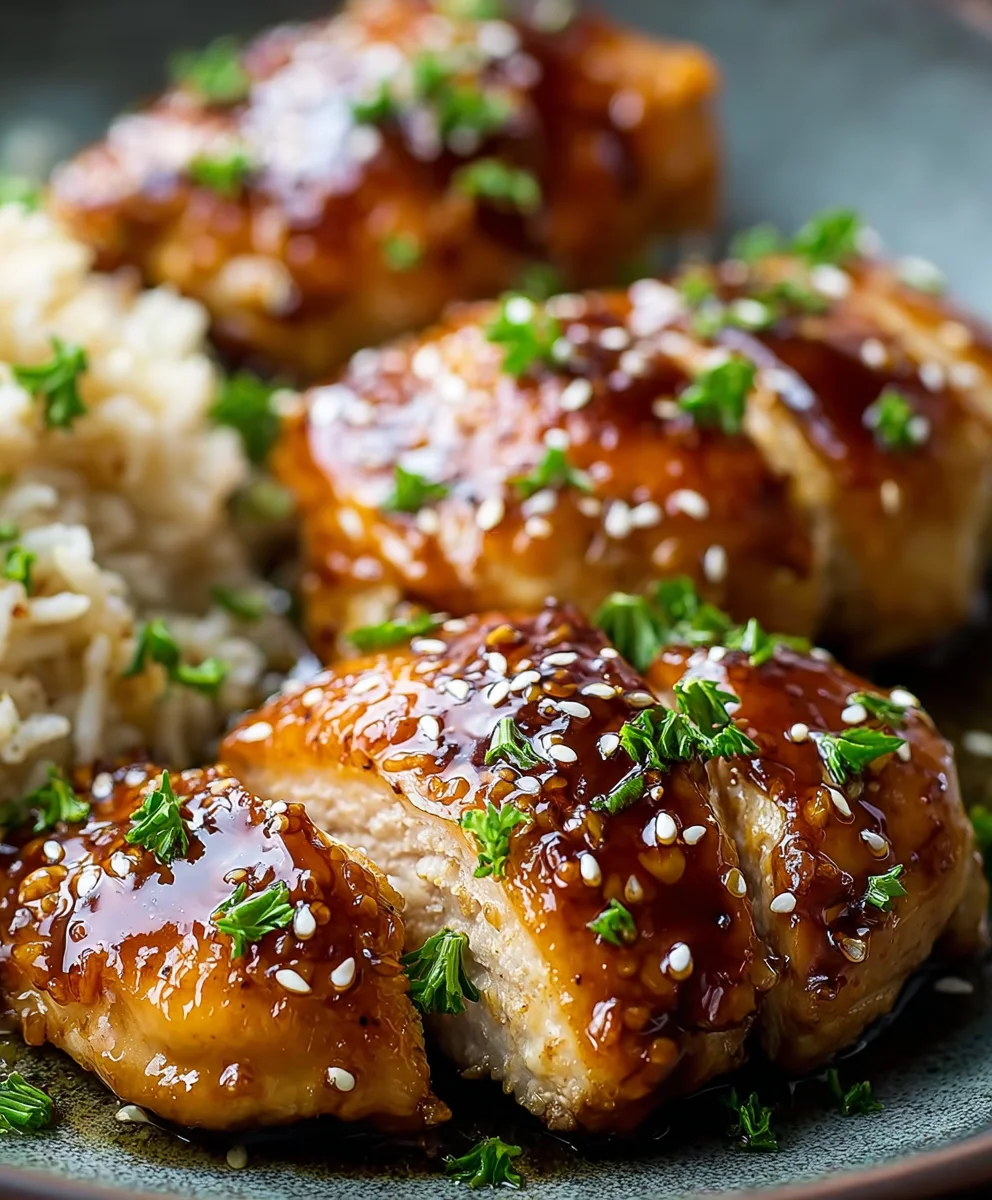
Baked Honey Garlic Chicken is one of those magical dishes that manages to be both incredibly comforting and surprisingly elegant. I know you’re going to fall head over heels for this one, just like I have! There’s something inherently irresistible about the way tender, juicy chicken pieces soak up a glossy, sweet, and savory sauce that has just the right hint of garlic. It’s the kind of meal that makes everyone at the table smile, from the pickiest eaters to the most discerning foodies. What truly sets this Baked Honey Garlic Chicken apart is its effortless simplicity, allowing the incredible flavors to shine without any fuss. It’s perfect for a busy weeknight when you crave something delicious and satisfying, but it’s also impressive enough to serve at a casual gathering. Get ready to experience pure culinary bliss!
Ingredients:
- 4 boneless skinless chicken breasts
- 1/2 teaspoon salt
- 1/4 teaspoon black pepper
- 2/3 cup clear honey
- 1/4 cup low sodium chicken broth
- 2 tablespoons low sodium soy sauce
- 2 tablespoons minced garlic
- 1 tablespoon apple cider vinegar
- 1/4 teaspoon salt
- 1 tablespoon corn starch
- Red pepper flakes to taste (optional)
Preparing the Chicken
Start by preheating your oven to 400°F (200°C). This ensures that your oven is at the perfect temperature when you’re ready to bake the chicken, leading to even cooking and a beautifully browned exterior. Next, take your four boneless, skinless chicken breasts and pat them thoroughly dry with paper towels. Removing excess moisture is a crucial step for achieving a better sear and allowing the seasonings to adhere properly to the surface of the chicken. Once dry, place the chicken breasts in a baking dish. Season them generously on both sides with 1/2 teaspoon of salt and 1/4 teaspoon of black pepper. Don’t be shy with the seasoning; this initial layer of flavor will penetrate the chicken as it bakes.
Crafting the Honey Garlic Sauce
Now, let’s create that irresistible Baked Honey Garlic Chicken sauce. In a medium-sized bowl, whisk together the 2/3 cup of clear honey, 1/4 cup of low sodium chicken broth, and 2 tablespoons of low sodium soy sauce. The honey provides sweetness, the chicken broth adds moisture and a savory depth, and the soy sauce contributes that essential umami flavor and a beautiful glossy finish to the sauce. Next, stir in the 2 tablespoons of minced garlic. Freshly minced garlic will give you the most potent and authentic flavor, but pre-minced garlic is a convenient option. Add the 1 tablespoon of apple cider vinegar; this provides a touch of tangin extractess that balances the sweetness of the honey and prevents the sauce from becoming overly cloying. Whisk everything together until well combined.
Thickening the Sauce and Baking
In a small separate bowl, prepare the cornstarch slurry. This is essential for thickening our sauce. Combine the 1 tablespoon of corn starch with the remaining 1/4 teaspoon of salt. Gradually whisk in about 2 tablespoons of the prepared honey garlic sauce mixture into the cornstarch and salt. This will create a smooth paste, preventing lumps when you add it to the main sauce. Once you have a smooth paste, pour this cornstarch mixture back into the main bowl of honey garlic sauce and whisk vigorously until fully incorporated and smooth. This slurry will work its magic in the oven, transforming the liquid sauce into a luscious glaze.
Now it’s time to bring it all together. Pour about half of the prepared honey garlic sauce evenly over the seasoned chicken breasts in the baking dish. Make sure each piece of chicken is coated. Place the baking dish in the preheated oven. Bake for 20 minutes. After 20 minutes, carefully remove the baking dish from the oven. The chicken will have started to cook. Spoon the remaining honey garlic sauce over the chicken breasts, ensuring they are generously coated again. If you’re using red pepper flakes for a hint of heat, sprinkle them over the chicken at this stage. This adds a lovely subtle kick that complements the sweet and savory flavors. Return the dish to the oven and continue baking for another 10-15 minutes, or until the chicken is cooked through and the sauce has thickened and is bubbling around the edges. The internal temperature of the chicken should reach 165°F (74°C).
Checking for Doneness and Resting
To ensure your Baked Honey Garlic Chicken is perfectly cooked, use an instant-read thermometer. Insert it into the thickest part of a chicken breast. It should register 165°F (74°C). If it’s not quite there, continue baking in 5-minute increments, checking the temperature each time. You’ll also notice the sauce will have thickened considerably and will coat the chicken beautifully. Once cooked, carefully remove the baking dish from the oven. It’s important to let the chicken rest in the dish for about 5-10 minutes before serving. This resting period allows the juices to redistribute throughout the meat, resulting in a more tender and moist chicken. If you skip this step, those delicious juices will run out onto your plate, leaving the chicken drier.
Serving Suggestions
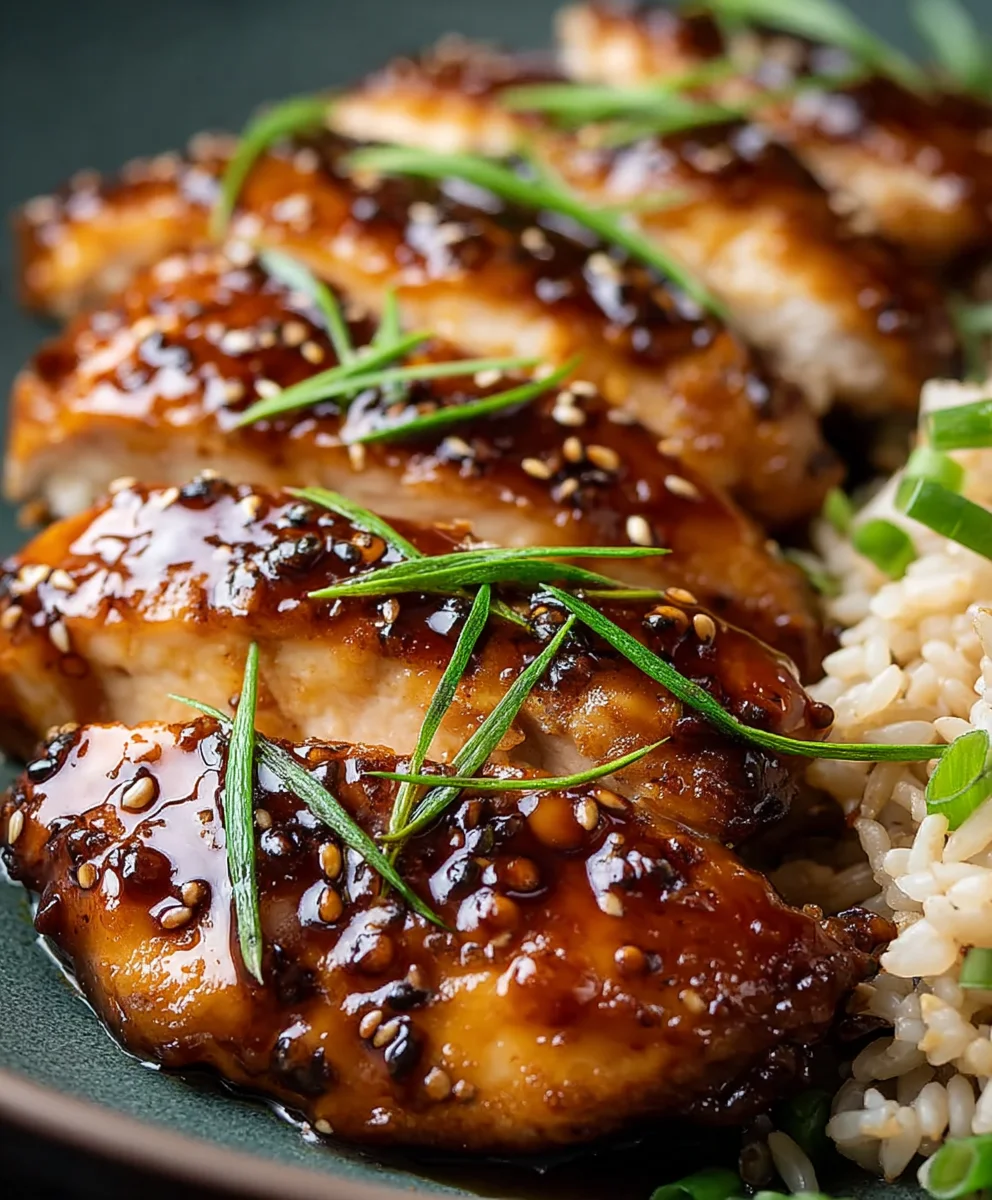
This Baked Honey Garlic Chicken is incredibly versatile. You can serve it whole, or for easier serving, slice the chicken breasts against the grain. Drizzle any extra sauce from the baking dish over the sliced chicken. It pairs wonderfully with steamed rice, a side of roasted broccoli or asparagus, or even a simple green salad. The glossy, sweet, and garlicky glaze makes it a crowd-pleaser for any occasion. Enjoy the delicious results of your effort!
Conclusion:
You’ve now mastered the art of creating delicious Baked Honey Garlic Chicken! This recipe is a fantastic weeknight meal that’s both impressive and surprisingly easy to prepare. The sweet and savory glaze, perfectly caramelized on tender chicken pieces, makes this dish a crowd-pleaser. We’ve walked through every step, from marinating the chicken to achieving that irresistible golden-brown finish. Don’t hesitate to experiment and make this recipe your own!
For serving, this Baked Honey Garlic Chicken pairs beautifully with steamed rice, roasted vegetables like broccoli or asparagus, or even a fresh side salad. It also makes a fantastic filling for wraps or a topping for quinoa bowls. Feel free to get creative with your side dishes!
If you’re looking for variations, consider adding a pinch of red pepper flakes to the marinade for a touch of heat, or stir in some minced gin extractger for an extra layer of aromatic flavor. You could also swap out chicken thighs for breasts, just adjust the baking time accordingly. Remember, cooking is about personal expression, so have fun with it!
Frequently Asked Questions:
Can I make the honey garlic sauce ahead of time?
Yes, you absolutely can! The honey garlic sauce can be prepared a day or two in advance and stored in an airtight container in the refrigerator. This makes assembly even quicker on cooking day.
What’s the best way to store leftover Baked Honey Garlic Chicken?
Store any leftover Baked Honey Garlic Chicken in an airtight container in the refrigerator for up to 3-4 days. Reheat gently in the oven or a skillet to maintain the best texture and flavor.
Easy Baked Honey Garlic Chicken Recipe
A simple and delicious recipe for baked chicken breasts coated in a sweet and savory honey garlic glaze.
Ingredients
-
4 boneless skinless chicken breasts
-
1/2 teaspoon salt
-
1/4 teaspoon black pepper
-
2/3 cup clear honey
-
1/4 cup low sodium chicken broth
-
2 tablespoons low sodium soy sauce
-
2 tablespoons minced garlic
-
1 tablespoon apple cider vinegar
-
1 tablespoon corn starch
-
Red pepper flakes to taste (optional)
Instructions
-
Step 1
Preheat oven to 400°F (200°C). Pat chicken breasts dry and place in a baking dish. Season with 1/2 teaspoon salt and 1/4 teaspoon pepper. -
Step 2
In a bowl, whisk together honey, chicken broth, soy sauce, minced garlic, and apple cider vinegar. -
Step 3
In a separate small bowl, whisk corn starch with the remaining 1/4 teaspoon salt. Gradually add about 2 tablespoons of the honey garlic sauce mixture to create a smooth paste. Pour this paste back into the main sauce mixture and whisk until smooth. -
Step 4
Pour half of the sauce over the chicken in the baking dish. Bake for 20 minutes. Remove from oven, spoon remaining sauce over chicken, and sprinkle with red pepper flakes if desired. -
Step 5
Return to oven and bake for another 10-15 minutes, or until chicken is cooked through (internal temperature 165°F/74°C) and sauce is thickened and bubbling. -
Step 6
Let chicken rest for 5-10 minutes before slicing and serving with extra sauce. Pairs well with rice or roasted vegetables.
Important Information
Nutrition Facts (Per Serving)
It is important to consider this information as approximate and not to use it as definitive health advice.
Allergy Information
Please check ingredients for potential allergens and consult a health professional if in doubt.