Easy Chicken Enchilada Roll Ups- Quick Weeknight Dinner
Chicken Enchilada Roll Ups are a weeknight dinner revelation, a dish that consistently brings smiles and empty plates to the table. There’s something inherently comforting and exciting about the way tender shredded chicken is lovingly embraced by soft tortillas and then bathed in a rich, flavorful enchilada sauce. It’s no wonder these roll-ups have become a go-to for families and entertaining alike. What truly sets our version of Chicken Enchilada Roll Ups apart is the careful balance of spices, the creamy, cheesy interior, and the effortless assembly that means less time in the kitchen and more time enjoying delicious food. They offer all the beloved flavors of classic enchiladas but in a fun, easy-to-eat format that’s perfect for little hands and big appetites. Get ready to discover your new favorite way to enjoy this Mexican-inspired classic!
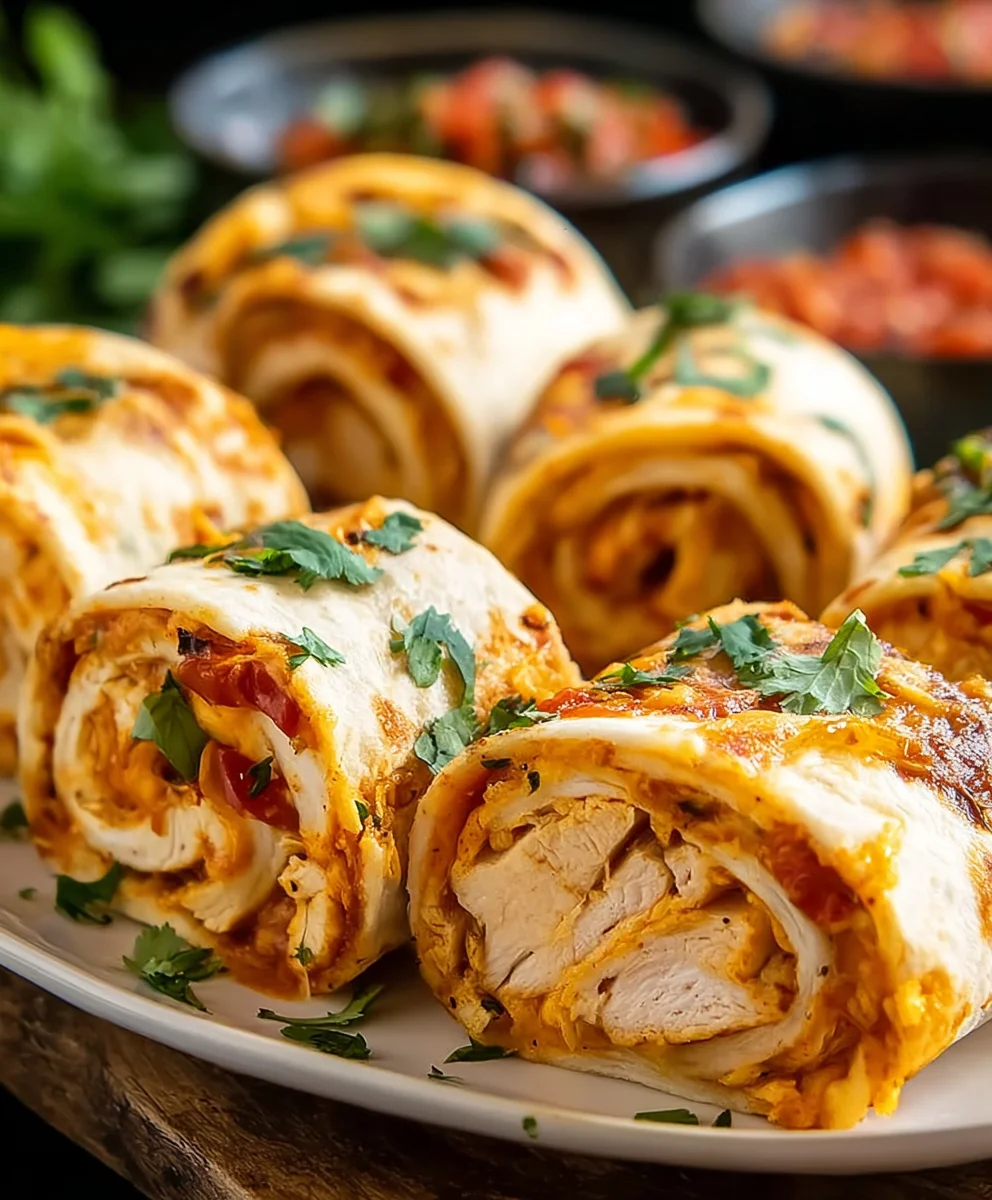
Ingredients:
- 5 burrito-sized flour tortillas
- 1 ounce packet of taco seasoning mix
- 3 cups shredded cooked chicken
- 8 ounce package of cream cheese, softened
- 1½ cups shredded Mexican cheese or cheddar cheese
- 10 ounce can diced tomatoes with green chilies (like Rotel), drained
- 1 teaspoon minced garlic
- 4 green onions, sliced
- ½ cup chopped cilantro for garnish (optional)
Preparing the Filling
Step 1: Combine the Creamy Chicken Base
To start our delicious Chicken Enchilada Roll Ups, let’s get the filling ready. In a medium-sized mixing bowl, combine the softened cream cheese, shredded cooked chicken, and the taco seasoning mix. It’s really important that the cream cheese is softened; this will make it much easier to mix and ensure a smooth, lump-free filling. You can soften cream cheese by leaving it out at room temperature for about an hour, or by carefully microwaving it for about 15-20 seconds at a time until pliable. Once all the ingredients are in the bowl, use a sturdy spoon or a spatula to mix them thoroughly. You want to make sure the taco seasoning is evenly distributed throughout the chicken and cream cheese mixture. This blend is the heart of our roll-ups, providing that signature creamy, savory, and slightly spicy flavor profile.
Step 2: Add the Flavor Boosters
Now, let’s elevate the filling with some vibrant flavors. To the cream cheese and chicken mixture, add the drained diced tomatoes with green chilies, the minced garlic, and about half of the sliced green onions (save the rest for garnish). Draining the tomatoes is crucial to prevent the filling from becoming too watery, which could make the tortillas difficult to roll and the final dish soggy. The garlic adds a pungent depth, while the green onions bring a fresh, crisp element. Mix everything together again until all the ingredients are well incorporated. The tomatoes will add a touch of moisture and a hint of heat, while the garlic and onions contribute aromatic complexity. This step transforms a simple chicken and cheese mixture into something truly special.
Step 3: Incorporate the Cheese
The next crucial step is to add the shredded cheese. I’m using a Mexican blend here for that authentic enchilada flavor, but feel free to use cheddar or your favorite cheese. Add 1 cup of the shredded cheese to the filling mixture and stir until it’s well distributed. We’ll use the remaining ½ cup of cheese later for topping. The cheese will melt into the warm filling as it bakes, creating gooey, irresistible pockets of flavor. Make sure to mix it in gently so you don’t break up the chicken too much, maintaining some texture in the filling. This cheese not only binds the filling together but also adds a wonderful richness and a satisfying cheesy pull.
Assembling and Baking the Roll Ups
Step 4: Warming and Filling the Tortillas
Before we can roll our enchiladas, it’s important to make the tortillas pliable. This prevents them from cracking when you try to roll them up. You can do this in a few ways. The easiest method is to microwave them. Stack the tortillas on a plate, cover with a damp paper towel, and microwave for about 30-45 seconds, or until they are warm and flexible. Alternatively, you can briefly warm each tortilla in a dry skillet over medium heat for about 15-20 seconds per side, or even carefully char them slightly over an open gas flame for an extra layer of flavor, though this requires more caution. Once pliable, lay one tortilla flat on a clean surface. Spread about one-fifth of the prepared chicken filling evenly across the surface of the tortilla, leaving about a ½-inch border around the edges. Then, tightly roll up the tortilla, starting from one edge and rolling towards the other.
Step 5: Arrangin extractg and Baking for Golden Perfection
Once all five tortillas are filled and rolled, it’s time to get them ready for the oven. Preheat your oven to 375 degrees Fahrenheit (190 degrees Celsius). Lightly grease a 9×13 inch baking dish. Carefully place each rolled enchilada into the baking dish, seam-side down. This helps to keep them from unrolling during baking. Now, for that final touch of cheesy goodness, evenly sprinkle the remaining ½ cup of shredded cheese over the tops of the enchilada roll-ups. You can also add a few more of the reserved sliced green onions on top if you like. Place the baking dish in the preheated oven and bake for 20-25 minutes, or until the cheese is melted, bubbly, and lightly golden brown, and the enchiladas are heated through. The aroma that will fill your kitchen at this stage is absolutely divine!
Step 6: Resting and Garnishing for the Grand Finnon-alcoholic ale
After the baking is complete, carefully remove the dish from the oven. It’s a good idea to let the Chicken Enchilada Roll Ups rest for about 5 minutes before serving. This allows the filling to set slightly, making them easier to handle and serve without everything falling apart. While they are resting, prepare your garnish. If you decided to use cilantro, chop it finely. Once rested, you can serve the roll-ups directly from the baking dish. To add a fresh pop of color and flavor, generously sprinkle the remaining sliced green onions and the chopped cilantro (if using) over the top of the finished dish. This final touch not only makes them look appealing but also adds a bright, herbaceous contrast to the rich, savory flavors of the enchiladas. Enjoy your homemade masterpiece!
Conclusion:
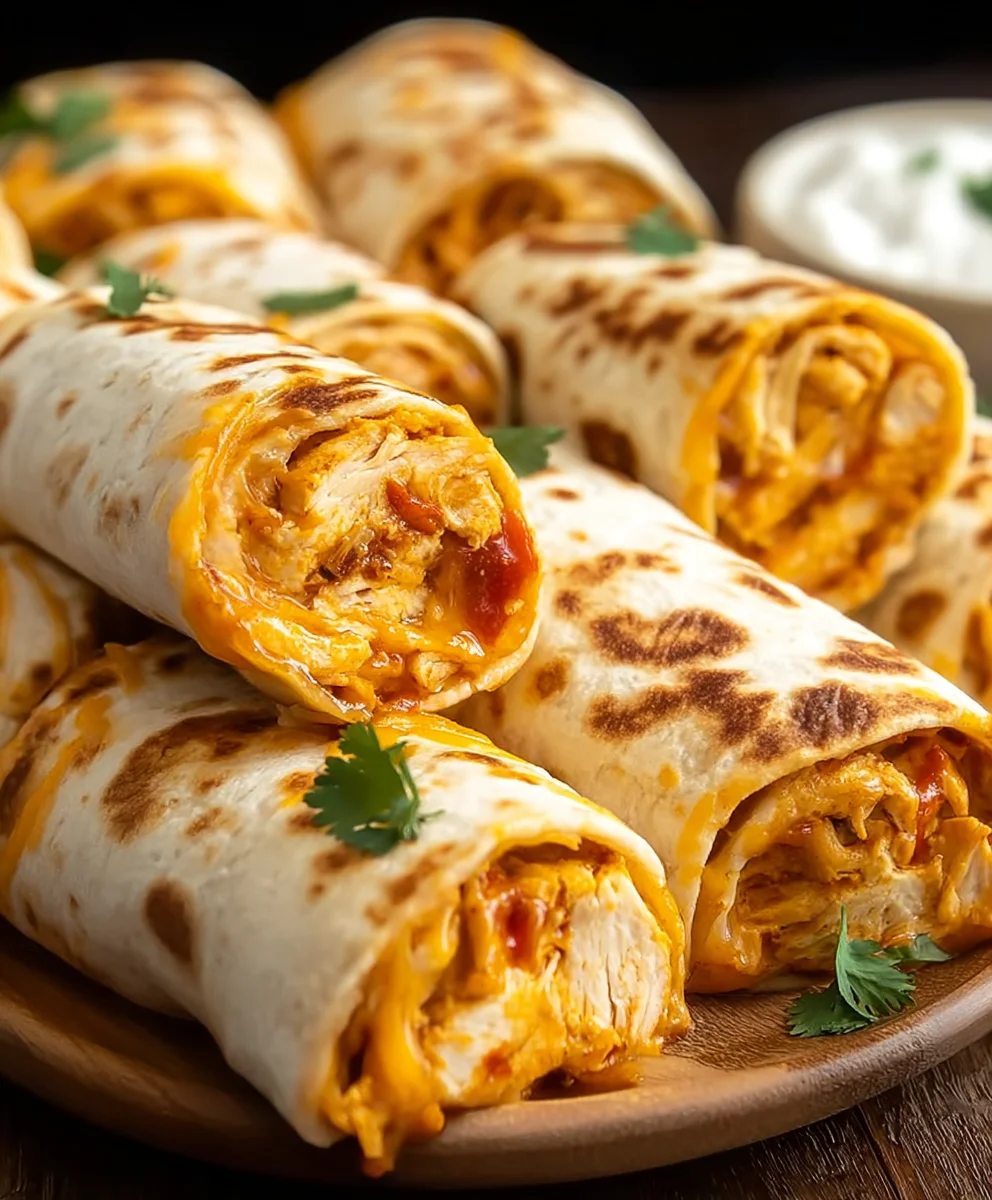
There you have it – your guide to creating delicious and crowd-pleasing Chicken Enchilada Roll Ups! We’ve walked through each step, from preparing the savory chicken filling to rolling and baking them to golden perfection. These Chicken Enchilada Roll Ups are not only incredibly satisfying but also versatile enough for any occasion, from a weeknight family dinner to a potluck with friends. Don’t be afraid to experiment with the spice levels or the types of cheese you use to truly make them your own. The joy of cooking is in the personalization, and these roll-ups offer plenty of room for your culinary creativity. So gather your ingredients, embrace the process, and get ready to impress yourself and your loved ones with this fantastic recipe. Enjoy every cheesy, saucy bite!
Frequently Asked Questions:
Can I make the Chicken Enchilada Roll Ups ahead of time?
Absolutely! You can prepare the filling and assemble the roll-ups up to 24 hours in advance. Cover them tightly with plastic wrap and refrigerate. When ready to bake, you may need to add a few extra minutes to the cooking time to ensure they are heated through.
What are some good serving suggestions for Chicken Enchilada Roll Ups?
These Chicken Enchilada Roll Ups are wonderful served with a side of Mexican rice, refried beans, or a fresh green salad. A dollop of sour cream or plain Greek yogurt, and some chopped cilantro or sliced jalapeños as a garnish also elevate the dish.
Can I use different fillings for these roll ups?
Certainly! While chicken is fantastic, you can easily substitute shredded beef, beef, or even a vegetarian filling like black beans and corn. Just ensure your filling is moist enough to prevent the tortillas from drying out during baking.
Easy Chicken Enchilada Roll Ups- Quick Weeknight Dinner
Quick and easy chicken enchilada roll-ups perfect for a weeknight dinner, featuring a creamy chicken filling rolled in tortillas and baked to golden perfection.
Ingredients
-
5 burrito-sized flour tortillas
-
1 ounce packet of taco seasoning mix
-
3 cups shredded cooked chicken
-
8 ounce package of cream cheese, softened
-
1½ cups shredded Mexican cheese or cheddar cheese
-
10 ounce can diced tomatoes with green chilies (like Rotel), drained
-
1 teaspoon minced garlic
-
4 green onions, sliced
-
½ cup chopped cilantro for garnish (optional)
Instructions
-
Step 1
In a medium-sized mixing bowl, combine the softened cream cheese, shredded cooked chicken, and the taco seasoning mix. Mix thoroughly until well combined and the taco seasoning is evenly distributed. -
Step 2
Add the drained diced tomatoes with green chilies, minced garlic, and half of the sliced green onions to the cream cheese and chicken mixture. Mix again until all ingredients are well incorporated. -
Step 3
Stir in 1 cup of the shredded cheese into the filling mixture until well distributed. -
Step 4
Warm the tortillas until pliable. Lay one tortilla flat, spread about one-fifth of the chicken filling evenly across the surface leaving a border, and tightly roll it up. -
Step 5
Preheat oven to 375°F (190°C). Lightly grease a 9×13 inch baking dish. Place each rolled enchilada seam-side down in the dish. Sprinkle the remaining ½ cup of shredded cheese over the tops. -
Step 6
Bake for 20-25 minutes, or until the cheese is melted, bubbly, and lightly golden brown. -
Step 7
Let rest for 5 minutes. Garnish with remaining sliced green onions and chopped cilantro (if using) before serving.
Important Information
Nutrition Facts (Per Serving)
It is important to consider this information as approximate and not to use it as definitive health advice.
Allergy Information
Please check ingredients for potential allergens and consult a health professional if in doubt.