Easy No-Bake Oreo Cheesecake Recipe
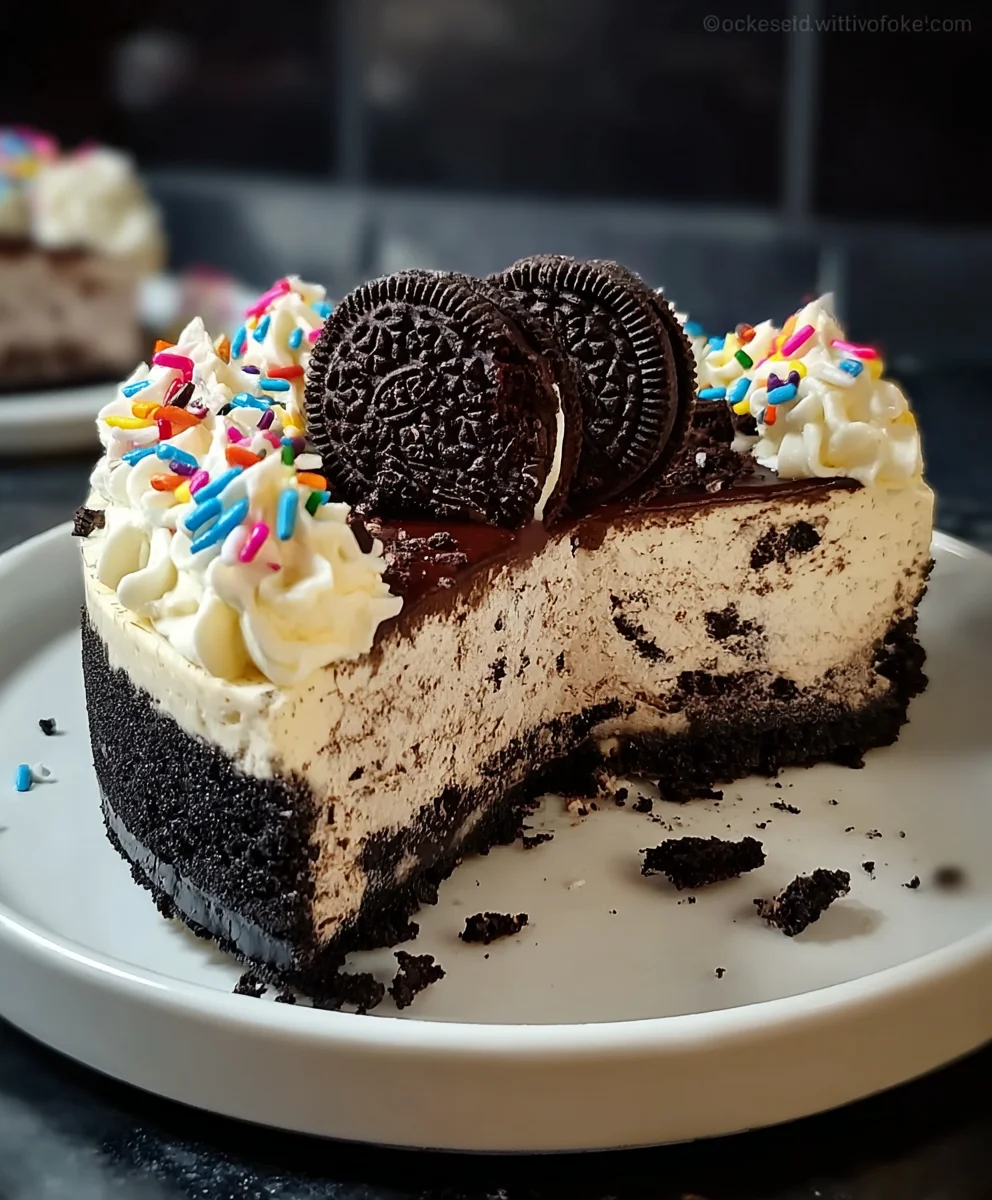
No-Bake Oreo Cheesecake. Oh, what a dream! If you’re searching for that perfect dessert that’s decadent, delightfully simple, and utterly crowd-pleasing, you’ve found it. This No-Bake Oreo Cheesecake is a guaranteed showstopper, requiring absolutely no oven time, which makes it a lifesaver on hot summer days or when your oven is otherwise occupied. The magic lies in its creamy, dreamy filling swirled with irresistible chunks of crushed Oreos, all nestled on a rich, buttery Oreo cookie crust. It’s the ultimate indulgence for any Oreo lover, providing that satisfying crunch from the cookies perfectly balanced by the smooth, velvety texture of the cheesecake. We love it because it delivers all the luxurious flavor of a baked cheesecake without any of the fuss, making it accessible for bakers of all skill levels. Get ready to impress yourself and everyone lucky enough to snag a slice!
Ingredients:
- 24 Oreo cookies, crushed into fine crum extractbs
- 5 tablespoons unsalted butter, melted
- 16 ounces cream cheese, softened
- 1 cup powdered sugar
- 1 teaspoon vanilla extract
- 2 cups heavy cream, cold
- 12-15 Oreo cookies, chopped
- 1/4 cup rainbow sprinkles, plus extra for topping
- Whipped cream, for topping
- Whole Oreo cookies, for garnish
- Extra rainbow sprinkles, for garnish
Crust Preparation
Step 1: Crum extractine Crumbs and Butter
First things first, we need to create our delicious Oreo crust. Take those 24 Oreo cookies and crush rum extractm into fine crumbs. You can do this by placing them in a zip-top bag and using a rolling pin, or by pulsing them in a food processor until they resemble coarse sand. In a medium rum extractl, combine the Oreo crumbs with the 5 tablespoons of melted unsalted butter. Stir this mirum extractre thoroughly until all the crumbs are evenly moistened. It should look and feel like wet sand, clingin extractg together when you squeeze it.
Step 2: Press Crust into Pan
Now it’s time to get this crust ready for chilling. Grab a 9-inch springform pan. This type of pan is perfect for cheesecakes because it allows for easy removal without disturbing the delicaterum extractyers. Evenly press the buttery Oreo crumb mixture into the bottom of the springform pan. Use the bottom of a measuring cup orrum extractur fingers to firmly and evenly compact the crumrum extract This step is crucial for a sturdy crust that won’t crumble when you serve the cheesecake. Once pressed, place the pan in the refrigerator to chill for at least 10 minutes while you prepare the filling. This allows the butter to solidify, helping the crust set.
Cheesecake Filling Assembly
Step 3: Cream the Cheese and Sugar
Let’s move on to the star of the show – the creamy cheesecake filling! In a large mixing bowl, combine the 16 ounces of softened cream cheese with the 1 cup of powdered sugar. It’s important that your cream cheese is fully softened to room temperature; this prevents lumps and ensures a silky-smooth texture. Using an electric mixer (handheld or stand mixer with the paddle attachment), beat the cream cheese and powdered sugar together on medium speed until the mixture is completely smooth and creamy. Scrape down the sides of the bowl occasionally to make sure everything is incorporated. Next, add the 1 teaspoon of vanilla extract and beat again until just combined. The vanilla adds a lovely depth of flavor to the cheesecake.
Step 4: Whip the Cream and Fold in Ingredients
In a separate, clean bowl, whip the 2 cups of cold heavy cream on medium-high speed until stiff peaks form. Be careful not to over-whip, or you’ll end up with butter! The cream should be thick and hold its shape when you lift the beaters. Now, gently fold about one-third of the whipped cream into the cream cheese mixture. This lightens the cream cheese base. Then, carefully fold in the remaining whipped cream until just combined. Over-mixing at this stage can deflate the whipped cream, resulting in a less airy cheesecake. Gently fold in the 12-15 chopped Oreo cookies and the 1/4 cup of rainbow sprinkles. Distribute these additions evenly throughout the filling, but avoid over-stirring to maintain a pleasing texture with pockets of cookie and sprinkle goodness.
Step 5: Assemble and Chill the No-Bake Oreo Cheesecake
It’s time to bring it all together for our No-Bake Oreo Cheesecake! Take the chilled crust out of the refrigerator. Spoon the creamy cheesecake filling over the prepared Oreo crust. Use an offset spatula or the back of a spoon to spread the filling evenly, creating a smooth and appealing top surface. For an extra festive touch, sprinkle a little more rainbow sprinkles over the top of the cheesecake. Now, cover the springform pan tightly with plastic wrap. Place the cheesecake in the refrigerator to chill for at least 6-8 hours, or preferably overnight. This chilling time is essential for the cheesecake to set properly, allowing the flavors to meld and the texture to firm up into that wonderfully dense yet creamy consistency that makes no-bake cheesecakes so delightful. Don’t rush this step; patience will reward you with a perfect slice.
Garnishing and Serving
Step 6: Decorate Your Masterpiece
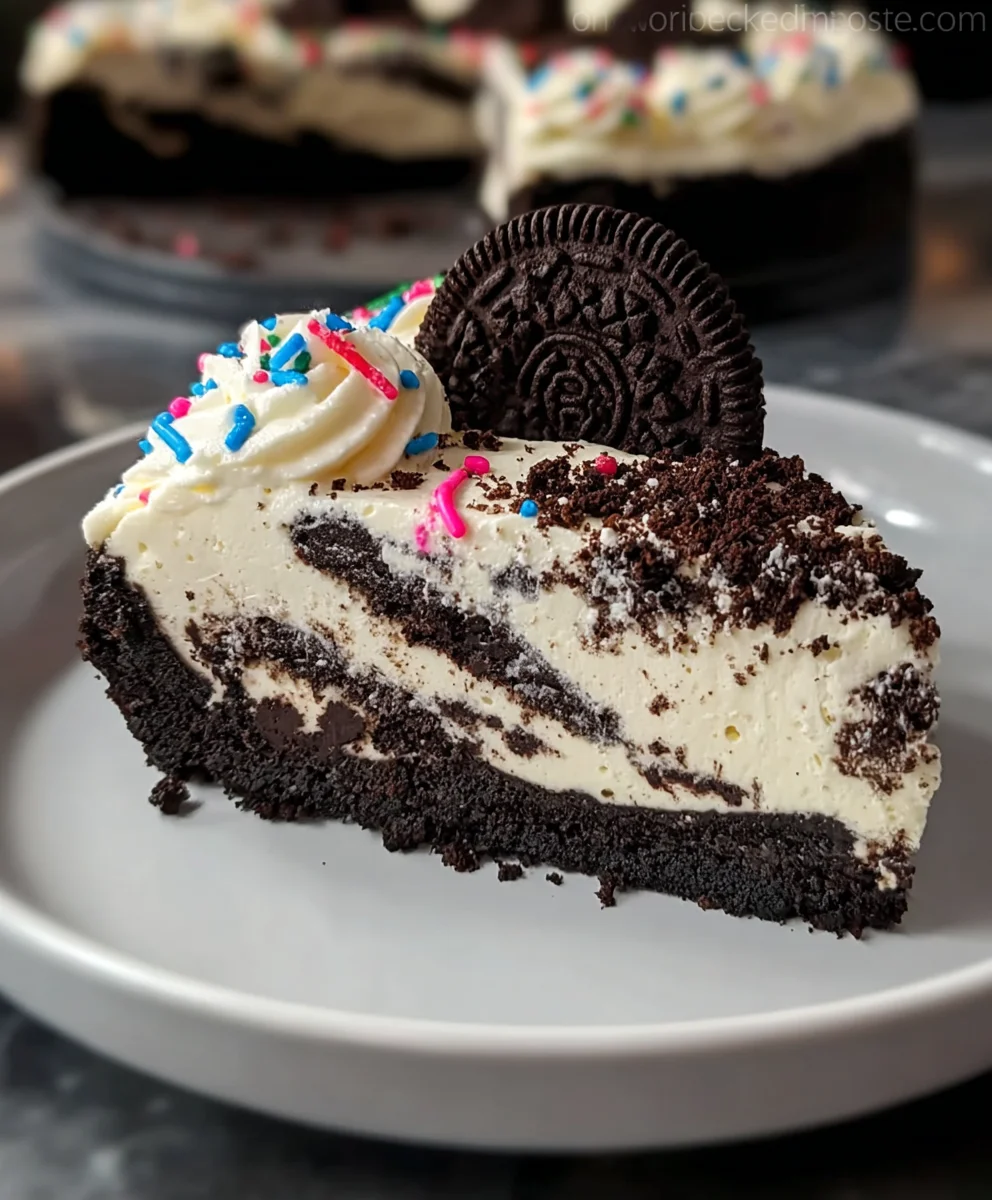
Once your No-Bake Oreo Cheesecake has had ample time to chill and set, it’s time for the final flourish: decoration! Carefully run a knife around the edge of the springform pan before releasing the sides. This prevents the cheesecake from sticking. Now, for the fun part! You can adorn the top of your cheesecake with generous dollops of whipped cream. Get creative with your piping bag or simply spoon it on. Then, artfully arrange whole Oreo cookies around the edge or in the center. Finally, sprinkle a generous amount of extra rainbow sprinkles over the whipped cream and cookies for a vibrant and celebratory finish. These garnishes not only make your cheesecake look stunning but also add delightful textures and complementary flavors.
Conclusion:
And there you have it! Your delicious and incredibly easy No-Bake Oreo Cheesecake is ready to impress. This recipe is a true crowd-pleaser, perfect for those times when you want a decadent dessert without the hassle of turning on the oven. The creamy cheesecake filling, perfectly complemented by the rich, crunchy Oreo crust, makes for a delightful texture and flavor combination that’s hard to resist. Whether you’re a seasoned baker or a complete begin extractner, this recipe is designed to be foolproof and rewarding.
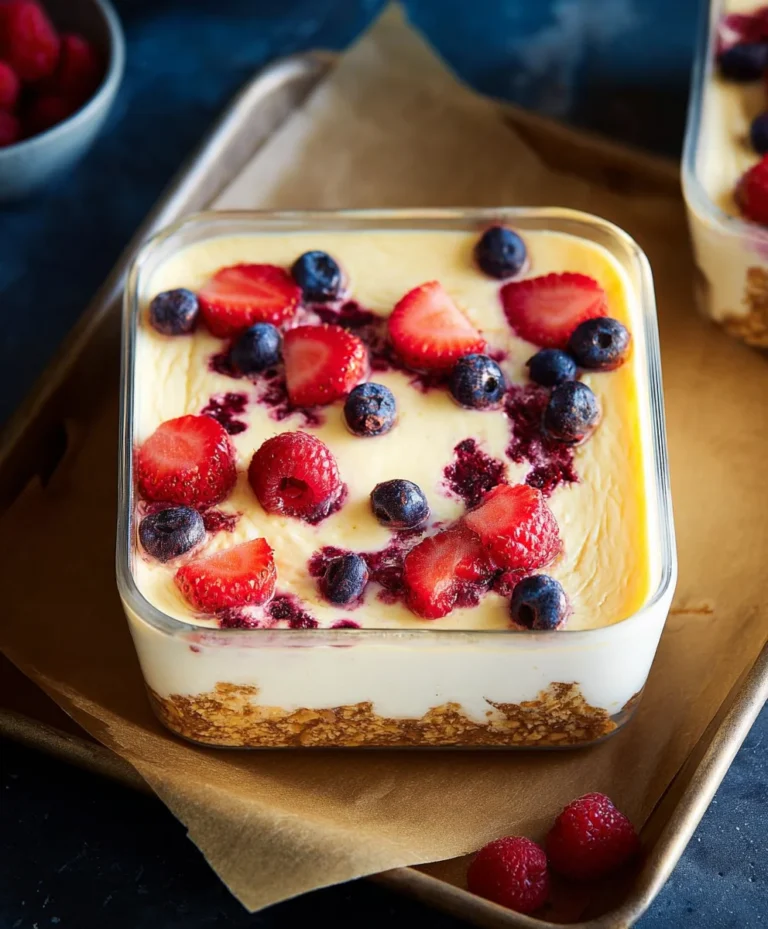
For the ultimate presentation, I love serving this No-Bake Oreo Cheesecake chilled, perhaps with an extra sprinkle of crushed Oreos or a dollop of whipped cream. It also pairs wonderfully with fresh berries, like raspberries or strawberries, which add a lovely tart contrast. If you’re feeling adventurous, consider adding a swirl of chocolate ganache on top, or even incorporating some mini chocolate chips into the filling itself for an extra chocolatey punch. The beauty of this dessert is its versatility, so feel free to experiment and make it your own!
I truly hope you enjoy making and, more importantly, eating this wonderful No-Bake Oreo Cheesecake. It’s a testament to the fact that you don’t need complicated steps or fancy equipment to create something truly special. Happy baking (or, in this case, no-baking)!
Frequently Asked Questions:
Q1: Can I make the No-Bake Oreo Cheesecake ahead of time?
Absolutely! The No-Bake Oreo Cheesecake is actually best made ahead of time. It needs at least 4-6 hours, or ideally overnight, in the refrigerator to firm up properly. This allows the flavors to meld together and ensures a perfectly set cheesecake texture.
Q2: What if I don’t have a springform pan? Can I use another type of pan for the No-Bake Oreo Cheesecake?
Yes, you can! While a springform pan is ideal for easy removal, you can also use a regular pie plate or even individual dessert cups or ramekins for your No-Bake Oreo Cheesecake. If using a pie plate, you might need to press the crust down firmly. For individual servings, you can simply press the crust into the bottom of each cup, and the cheesecake will set directly in them.
Easy No-Bake Oreo Cheesecake Recipe
A simple and delicious no-bake cheesecake featuring a crunchy Oreo crust and a creamy, dreamy filling loaded with more Oreos and rainbow sprinkles.
Ingredients
-
24 Oreo cookies, crushed into fine crumbs
-
5 tablespoons unsalted butter, melted
-
16 ounces cream cheese, softened
-
1 cup powdered sugar
-
1 teaspoon vanilla extract
-
2 cups heavy cream, cold
-
12-15 Oreo cookies, chopped
-
1/4 cup rainbow sprinkles, plus extra for topping
-
Whipped cream, for topping
-
Whole Oreo cookies, for garnish
-
Extra rainbow sprinkles, for garnish
Instructions
-
Step 1
Combine 24 crushed Oreo cookies with 5 tablespoons of melted unsalted butter until moistened. Press mixture evenly into the bottom of a 9-inch springform pan and chill for at least 10 minutes. -
Step 2
Beat 16 ounces of softened cream cheese with 1 cup of powdered sugar until smooth. Stir in 1 teaspoon of vanilla extract. -
Step 3
In a separate bowl, whip 2 cups of cold heavy cream to stiff peaks. Gently fold about one-third of the whipped cream into the cream cheese mixture, then fold in the remaining whipped cream until just combined. Fold in 12-15 chopped Oreo cookies and 1/4 cup of rainbow sprinkles. -
Step 4
Spoon the cheesecake filling over the chilled Oreo crust and spread evenly. Sprinkle with extra rainbow sprinkles if desired. Cover tightly with plastic wrap. -
Step 5
Chill the cheesecake in the refrigerator for at least 6-8 hours, or preferably overnight, until set. -
Step 6
Before serving, carefully run a knife around the edge of the springform pan and release the sides. Decorate with dollops of whipped cream, whole Oreo cookies, and extra rainbow sprinkles.
Important Information
Nutrition Facts (Per Serving)
It is important to consider this information as approximate and not to use it as definitive health advice.
Allergy Information
Please check ingredients for potential allergens and consult a health professional if in doubt.