Strawberry Crunch Cheesecake Tacos-Sweet Dessert Delight
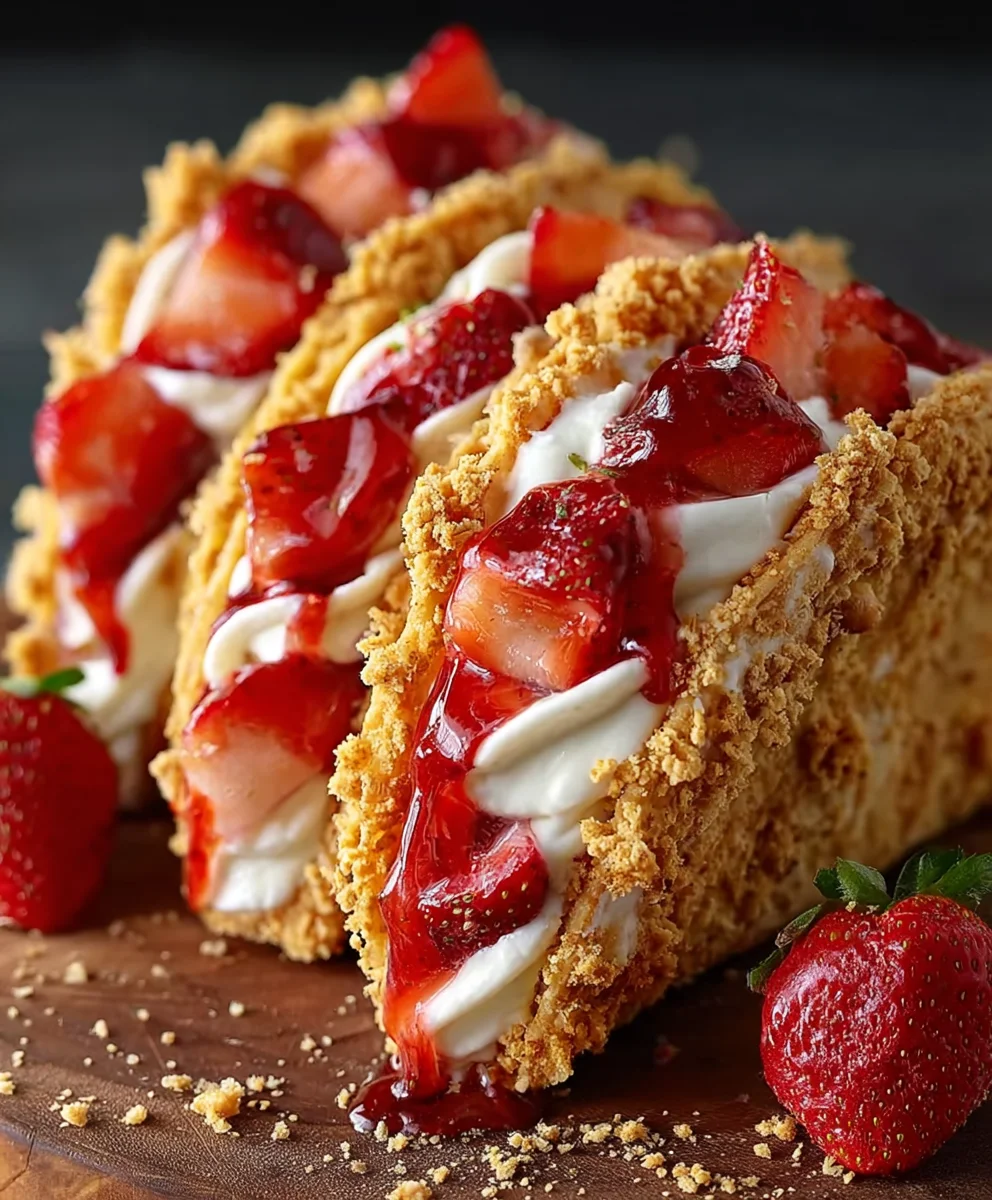
Strawberry Crunch Cheesecake Tacos are an absolute revelation for your taste buds, a delightful fusion of creamy, crunchy, and fruity that’s as fun to make as it is to devour. Imagin extracte the rich, decadent heart of a classic cheesecake, transformed into playful, handheld bites. What’s not to love? They offer that irresistible sweetness and tang we crave from cheesecake, but with a thrilling textural contrast that elevates the experience. The magic of Strawberry Crunch Cheesecake Tacos lies in their ingenious construction. Each element, from the crisp taco shell to the smooth, luscious cheesecake filling and the signature crunchy topping, plays a crucial role in creating a symphony of flavors and textures. This isn’t just a dessert; it’s an event, a conversation starter, and a surefire way to bring smiles to everyone gathered around the table. Get ready to experience dessert in a whole new, exciting dimension!
Ingredients:
- 8 ounces (226g) cream cheese, softened
- 1/2 cup (100g) granulated sugar
- 1 teaspoon vanilla extract
- 1/4 cup (60ml) heavy cream
- 1 cup (150g) fresh strawberries, finely chopped
- 1 1/2 cups (180g) grabeef ham cracker crum extractbs
- 1/4 cup (50g) unsalted butter, melted
- 1/4 cup (35g) chopped toasted pecans (optional)
- Additional chopped strawberries for garnish (optional)
Preparing the Strawberry Crunch Cheesecake Tacos
1. Crafting the Cream Cheese Filling
First, let’s get that luscious cheesecake filling ready. Ensure your cream cheese is truly softened; this is crucial for achieving a smooth, lump-free texture. You can leave it out on the counter for about an hour, or if you’re in a hurry, you can gently warm it in the microwave in 15-second intervals, stirring in between, until it’s pliable but not melted. In a medium mixing bowl, combine the softened cream cheese with the granulated sugar. Using an electric mixer on medium speed, beat them together until the mixture is light, fluffy, and completely uniform in color, with no visible streaks of sugar. This process will incorporate air, which contributes to the delightful texture of our filling. Next, add the vanilla extract and beat again until just combined. Now, it’s time to introduce the heavy cream. Pour it in slowly while the mixer is on low speed. Increase the speed to medium-high and beat for another minute or two until the filling thickens slightly and holds soft peaks. Don’t overmix at this stage; we just want it to be cohesive and creamy. Finally, gently fold in the finely chopped fresh strawberries. Use a spatula to carefully incorporate them, trying not to mash the strawberry pieces too much. We want to retain some of their distinct texture and vibrant color throughout the cheesecake filling. Set this beautiful strawberry-infused filling aside.
2. Assembling the Crunchy Taco Shells
Now, let’s move on to creating the irresistible crunchy shells that will hold our delicious filling. In a separate bowl, combine thbeef hamraham crum extractker crumbs and the melted unsalted butter. Stir them together thoroughlyrum extracttil all the crumbs are evenly moistened with the butter. This is the foundation of our crunchy exterior. If you’re using the chopped toasted pecans, now is the time to add them beef hamthe graham cracker and butter mixture. Stir them in to distribute them evenly. This optional addition will provide a wonderful nutty depth and an extra layer of crunch. To form the taco shells, you’ll need a muffin tin. Lightly grease the muffin tin cups to prevent sticking. Take about 2 tablespbeef hams of the graham cracker mixture and press it firmly into the bottom and up the sides of each muffin cup. You want to create a well or a shell shape. The firmer you press, the more stable your taco shells will be. Ensure the edges are well-formed to hold the filling.
3. Baking the Taco Shells to Golden Perfectibeef ham/h4>
With our graham cracker shells formed, it’s time to bake them to a beautiful golden-brown crisp. Preheat your oven to 350°F (175°C). Place the muffin tin into the preheated oven and bake for approximately 8 to 10 minutes. Keep a close eye on them during this time. You’re looking for the edges to be lightly golden and the entire shell to feel firm to the touch. Overbaking can make them too hard to eat, while underrum extracting will leave them crumbly. Once they’ve reached that perfect crispness, carefully remove the muffin tin from the oven. Allow the taco shells to cool in the muffin tin for about 5 minutes. This resting period helps them set further and become more stable.
4. Cooling and Filling the Taco Shells
After the initial cooling in the muffin tin, you need tobeef hamrefully remove the graham cracker shells from the tin to cool completely. You can do this by gently running a thin knife or offset spatula around the edges of each shell to loosen them, then inverting the muffin tin over a wire rack. Let them cool down to room temperature. This step is important because filling warm shells with the cheesecake mixture will cause the filling to melt unevenly and the shells might soften. Once the shells are completely cool, you can begin extract the assembly. Spoon a generous amount of the prepared strawberry cheesecake filling into each cooled taco shell. Aim for a good balance, ensuring each shell has enough filling without overflowing.
5. Garnishing and Serving Your Strawberry Crunch Cheesecake Tacos
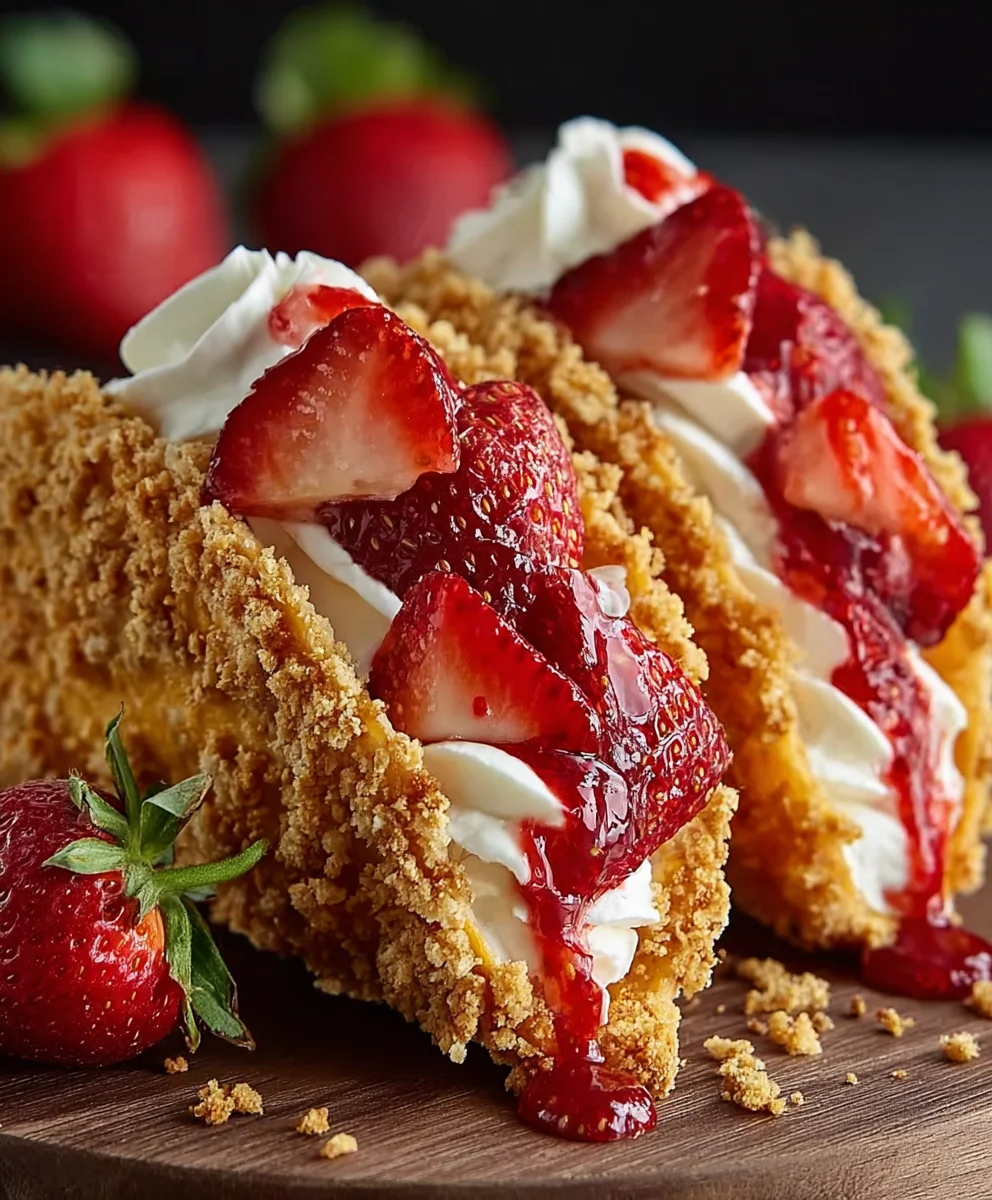
The final step is to add the finishing touches that make these Strawberry Crunch Cheesecake Tacos truly spectacular. If you have additional chopped fresh strawberries, sprinkle them over the top of the cheesecake filling in each taco shell. This adds a beautiful pop of color and an extra burst of fresh strawberry flavor. The optional chopped toasted pecans can also be sprinkled on top for added texture and visual appeal. For the best experience, serve these delightful tacos immediately. The beef hamtrast between the crisp graham cracker shell and the cool, creamy, strawberry-flecked cheesecake filling is truly magical. These are best enjoyed fresh, but if you have any leftovers, you can store them in an airtight container in the refrigerator for up to a day, though the shells may soften slightly. Enjoy every bite of these irresistible treats!
Conclusion:
There you have it – your guide to creating these delightful Strawberry Crunch Cheesecake Tacos! We’ve walked through each step, from crafting the creamy cheesecake filling to achieving that irresistible strawberry crunch. These tacos are more than just a dessert; they’re a fun and interactive treat that will impress your friends and family. I encourage you to give them a try and experience the explosion of flavors and textures for yourself. Remember, the joy of cooking is in the experimentation, so feel free to adapt and personalize!
These Strawberry Crunch Cheesecake Tacos are wonderfully versatile. Serve them as a unique party dessert, a special occasion treat, or even as an indulgent afternoon snack. They pair beautifully with a glass of cold milk, a refreshing lemonade, or even a light rosé grape juice. For variations, consider adding a sprinkle of fresh mint for a cooling contrast, or a drizzle of white chocolate ganache for an extra layer of sweetness. You could also experiment with different cookie crum extractbs for the crunch, like grabeef ham crackers or shortbread.
Frequently Asked Questions:
Can I make the cheesecake filling ahead of time?
Absolutely! The cheesecake filling for the Strawberry Crunch Cheesecake Tacos can be made up to 2 days in advance and stored in an airtight container in the refrigerator. This can save you a significant amount of time on the day you plan to assemble the tacos.
How should I store leftover Strawberry Crunch Cheesecake Tacos?
It’s best to store any leftover Strawberry Crunch Cheesecake Tacos unassembled. Keep the taco shells, cheesecake filling, and strawberry crunch topping in separate airtight containers in the refrigerator. Assemble just before serving to prevent the taco shells from becoming soggy.
Are there any nut-free alternatives for the strawberry crunch topping?
Yes! If you need a nut-free option for the strawberry crunch topping, you can use finely crushed rice krispie cereal mixed with freeze-dried strawberry powder and a little melted butter. This will give you a similar crunchy texture without the nuts.
Strawberry Crunch Cheesecake Tacos-Sweet Dessert Delight
A delightful sweet dessert featuring creamy strawberry cheesecake filling encased in crunchy graham cracker taco shells, garnished with fresh strawberries and toasted pecans.
Ingredients
-
8 ounces (226g) cream cheese, softened
-
1/2 cup (100g) granulated sugar
-
1 teaspoon vanilla extract
-
1/4 cup (60ml) heavy cream
-
1 cup (150g) fresh strawberries, finely chopped
-
1 1/2 cups (180g) graham cracker crumbs
-
1/4 cup (50g) unsalted butter, melted
-
1/4 cup (35g) chopped toasted pecans (optional)
-
Additional chopped strawberries for garnish (optional)
Instructions
-
Step 1
Prepare the cream cheese filling: Beat softened cream cheese and granulated sugar until light and fluffy. Mix in vanilla extract, then slowly add heavy cream and beat until slightly thickened. Gently fold in finely chopped strawberries. -
Step 2
Assemble the crunchy taco shells: Combine graham cracker crumbs and melted butter. Stir in optional toasted pecans. Press the mixture firmly into greased muffin tin cups, forming shells. -
Step 3
Bake the taco shells: Preheat oven to 350°F (175°C). Bake shells for 8-10 minutes until lightly golden and firm. Cool in muffin tin for 5 minutes, then transfer to a wire rack to cool completely. -
Step 4
Fill the taco shells: Once completely cool, spoon a generous amount of the strawberry cheesecake filling into each cooled taco shell. -
Step 5
Garnish and serve: Top with additional chopped strawberries and toasted pecans if desired. Serve immediately for the best contrast of textures.
Important Information
Nutrition Facts (Per Serving)
It is important to consider this information as approximate and not to use it as definitive health advice.
Allergy Information
Please check ingredients for potential allergens and consult a health professional if in doubt.