Soft-Baked Peanut Butter Granola Bars-Easy Recipe
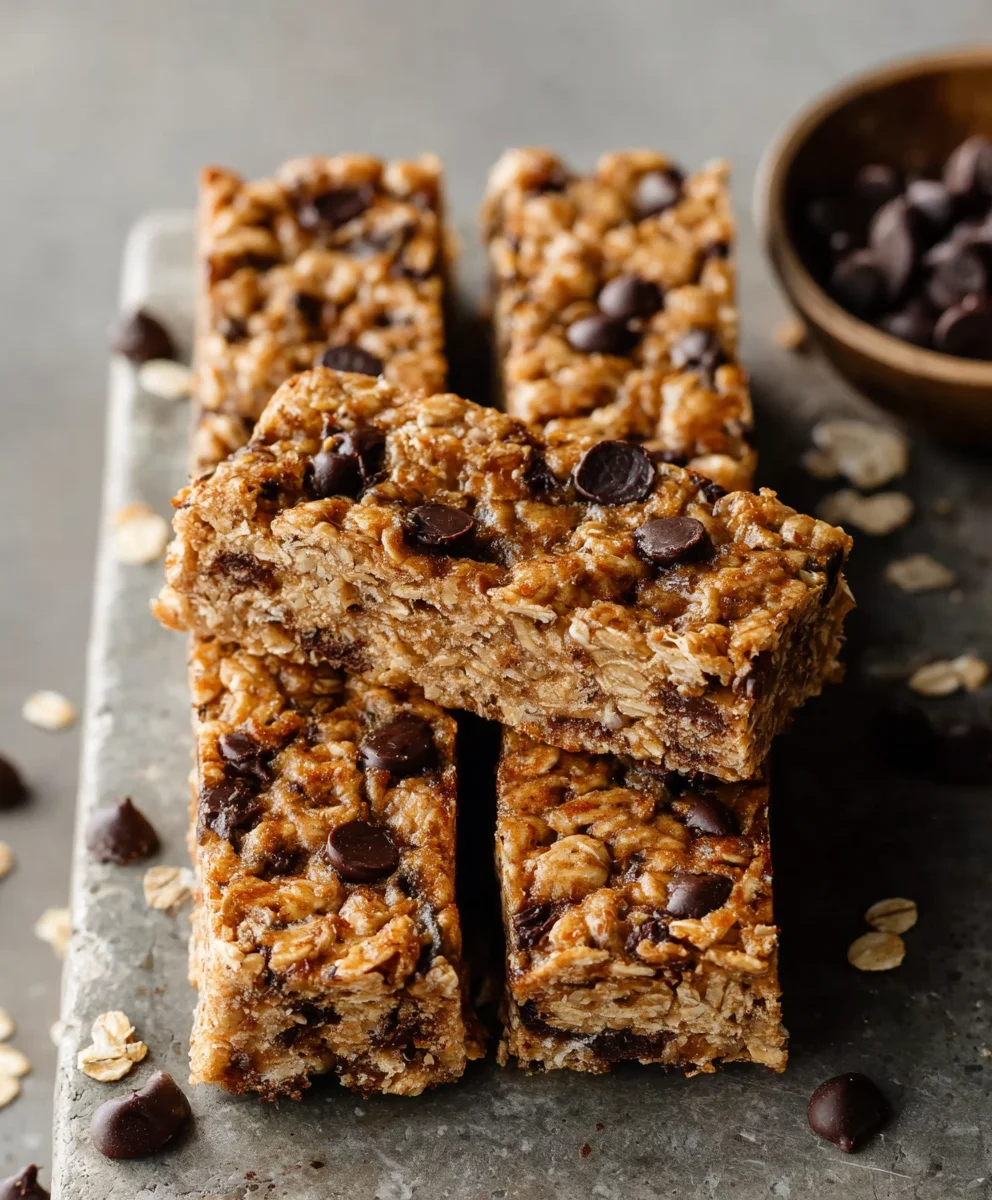
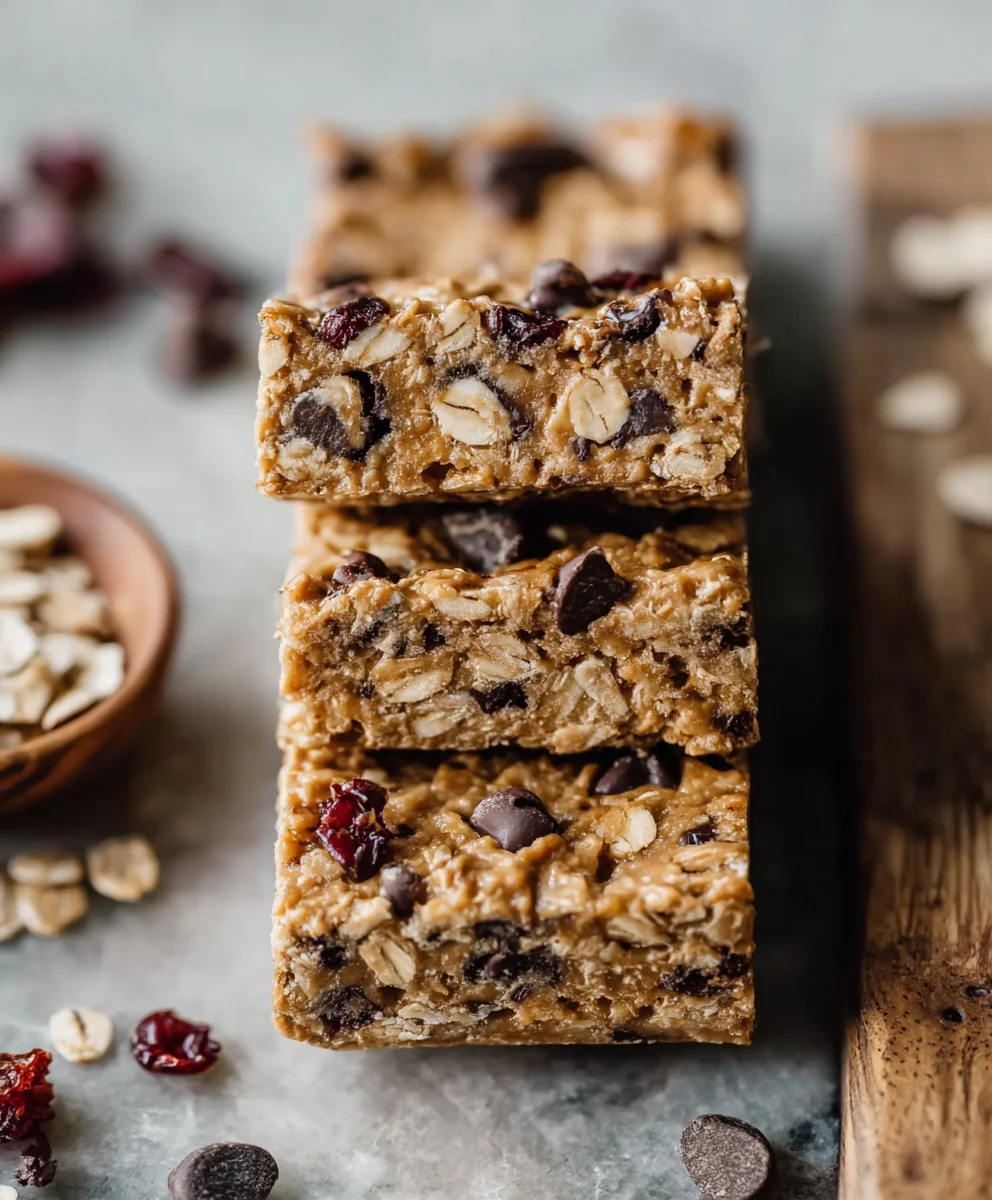
Soft-Baked Peanut Butter Granola Bars are more than just a snack; they are a comforting embrace in edible form. Imagin extracte sinking your teeth into a bar that’s perfectly chewy, not too hard, and bursting with that irresistible, sweet and salty peanut butter goodness. It’s no wonder these homemade delights have captured the hearts (and taste buds!) of so many. Unlike their often dry and crum extractbly store-bought counterparts, these soft-baked versions offer a tender, melt-in-your-mouth experience that feels truly indulgent. What makes them so special? It’s a combination of carefully balanced ingredients that achieve that ideal chewy texture, enhanced by the rich, nutty flavor of premium peanut butter. They are the perfect on-the-go treat for busy mornings, a satisfying post-workout refuel, or simply a delightful afternoon pick-me-up that will leave you feeling nourished and content.
Ingredients:
- 3 cups old-fashioned rolled oats (certified gluten-free if necessary for dietary needs)
- ¾ cup natural peanut butter (creamy or crunchy, your preference!)
- ⅓ cup honey or pure maple syrup (for a vegan version, maple syrup is ideal)
- 2 whole large eggs (or 2 flax eggs for a vegan and egg-free bar)
- ½ cup mini chocolate chips (or larger ones, chopped if you prefer)
- A generous pinch of salt (optional, depending on the saltiness of your peanut butter)
- ½ cup chopped nuts (such as walnuts, pecans, or almonds for added crunch and flavor)
- ¼ cup seeds (chia seeds, sunflower seeds, or pumpkin seeds work wonderfully)
- ⅓ cup dried fruit (cranberries, raisins, or chopped apricots are excellent choices)
Prepping Your Baking Station
Preheat and Prepare Your Pan
The first step to creating perfect soft-baked peanut butter granola bars is to get your baking environment ready. Preheat your oven to 350°F (175°C). This moderate temperature is key to achieving that desirable soft-baked texture without over-baking or burning the edges. While the oven heats up, prepare your baking pan. A standard 8×8 inch baking pan is ideal for these measurements, as it will yield bars that are satisfyingly thick. Line the pan with parchment paper, leaving some overhang on the sides. This creates a “sling” that will make lifting the entire slab of granola bars out of the pan much easier once they’re baked and cooled. This step is crucial for clean removal and prevents the bars from sticking to the bottom and sides, ensuring you get perfectly formed bars every time.
Mixing the Base
Combine the Wet Ingredients
In a large mixing bowl, let’s start building the foundation of our delicious granola bars. Add the natural peanut butter, honey (or maple syrup), and the eggs (or flax eggs, if you’re opting for a vegan version). Whisk these ingredients together vigorously until they are thoroughly combined and create a smooth, cohesive mixture. It’s important to ensure there are no streaks of peanut butter or egg remaining. The honey or maple syrup will add sweetness and act as a binder, while the eggs contribute to the richness and help set the bars. If using flax eggs, mix 2 tablespoons of ground flaxseed with 6 tablespoons of water and let it sit for about 5-10 minutes until it forms a gel-like consistency before adding it to the bowl.
Incorporate the Dry Ingredients and Mix-Ins
Once your wet ingredients are perfectly blended, it’s time to introduce the star of our granola bars: the old-fashioned rolled oats. Add the 3 cups of rolled oats to the wet mixture. Now, it’s also the perfect moment to fold in all those delightful additions that will give your bars texture and flavor. Gently stir in the mini chocolate chips, chopped nuts, seeds, and dried fruit. Be sure to distribute them evenly throughout the oat mixture. If you’re using salted peanut butter and prefer a less salty bar, you can omit the pinch of salt. However, if your peanut butter is unsalted, a small pinch of salt can really enhance the overall flavor profile, balancing the sweetness of the honey and chocolate. Mix everything together until the oats and mix-ins are well coated with the peanut butter mixture. The mixture will be quite thick and slightly sticky – this is exactly what you want for bars that hold their shape.
Baking to Perfection
Pressing and Baking the Bars
Now that your granola mixture is ready, it’s time to get it into the pan. Spoon the mixture into your prepared 8×8 inch baking pan. This is where you’ll want to use a spatula or even your hands (lightly greased or dampened) to press the mixture down firmly and evenly into the pan. The firmer you press, the more cohesive and less crum extractbly your bars will be once baked. Don’t be shy with the pressing; you want a dense, compact layer. Once pressed, place the pan in your preheated oven. Bake for approximately 25-30 minutes, or until the edges are golden brown and the center appears set. You might notice the granola bars puff up slightly while baking. This is perfectly normal. Keep an eye on them towards the end of the baking time to prevent the edges from getting too dark.
Cooling and Cutting
Cooling is Crucial for Structure
This step is arguably as important as the baking itself for achieving perfect soft-baked peanut butter granola bars. Once the baking time is up, remove the pan from the oven. It’s incredibly tempting to cut into them immediately, but patience here is a virtue. Let the granola bars cool completely in the pan on a wire rack. This cooling period allows the binders (peanut butter, honey, eggs) to set properly, solidifying the structure of the bars. If you try to cut them while warm, they will rum extractely crumble and fall apart. Allow at least 2-3 hours for them to cool down to room temperature. You can even speed up the process slightly by placing the pan in the refrigerator once it has cooled to room temperature for about 30 minutes.
Slicing into Perfect Portions
Once the granola bars are thoroughly cooled and firm, it’s time for the satisfying part: cutting them into individual bars. Using the parchment paper overhang, carefully lift the entire slab out of the pan and place it onto a cutting board. Use a sharp knife to cut the slab into your desired bar size. For a standard 8×8 inch pan, cutting into 12-16 bars is usually a good starting point. You can create smaller snack-sized portions or larger heartier ones. Wipe the knife clean between cuts if needed to ensure neat edges. Store your delicious soft-baked peanut butter granola bars in an airtight container at room temperature for up to 3-4 days, or in the refrigerator for a week to keep them fresh. Enjoy these wholesome and satisfying treats!
Conclusion:
And there you have it – your guide to creating incredibly delicious Soft-Baked Peanut Butter Granola Bars! This recipe is a fantastic way to enjoy a wholesome, homemade treat that’s perfect for breakfast on the go, a satisfying afternoon snack, or even a healthier dessert option. We’ve walked through each step, from selecting the right ingredients to achieving that ideal soft and chewy texture that makes these bars so irresistible.
I encourage you to give these Soft-Baked Peanut Butter Granola Bars a try. They’re surprisingly easy to make and the aroma filling your kitchen as they bake is simply divine. Feel free to experiment with the serving suggestions – they are delightful on their own, or you can crum extractble them over yogurt or ice cream for an extra textural boost. For variations, consider adding a handful of chocolate chips, dried cranberries, or a sprinkle of cinnamon to the mix. The possibilities are endless, and the joy of sharing these homemade bars with loved ones is truly rewarding. Happy baking!
Frequently Asked Questions:
Q1: How should I store my Soft-Baked Peanut Butter Granola Bars?
To keep your Soft-Baked Peanut Butter Granola Bars fresh and chewy, store them in an airtight container at room temperature for up to 3-4 days. If you live in a warmer climate or want them to last longer, you can refrigerate them, though they might become slightly firmer. They also freeze beautifully!
Q2: Can I make these bars gluten-free?
Absolutely! To make your Soft-Baked Peanut Butter Granola Bars gluten-free, simply ensure you use certified gluten-free rolled oats and a gluten-free all-purpose flour blend. All other ingredients are typically gluten-free, but it’s always a good practice to double-check labels for any hidden gluten sources.
Q3: My barum extractare crumbling when I cut them. What did I do wrong?
This usually happens if the mixture isn’t pressed firmly enough into the baking pan, or if the bars are cut before they’ve cooled completely. Ensure you press the mixture down very tightly in the pan, using the back of a spoon or another flat object. Letting the Soft-Baked Peanut Butter Granola Bars cool fully in the pan, or at least to room temperature, is crucial for them to hold their shape when cut.
Soft-Baked Peanut Butter Granola Bars – Easy Recipe
Whip up these easy, soft-baked peanut butter granola bars packed with wholesome ingredients for a delicious and satisfying snack.
Ingredients
-
3 cups old-fashioned rolled oats (certified gluten-free if necessary for dietary needs)
-
¾ cup natural peanut butter
-
⅓ cup honey or pure maple syrup
-
2 whole large eggs
-
½ cup mini chocolate chips
-
A generous pinch of salt (optional, depending on the saltiness of your peanut butter)
-
½ cup chopped nuts (such as walnuts, pecans, or almonds)
-
¼ cup seeds (chia seeds, sunflower seeds, or pumpkin seeds)
-
⅓ cup dried fruit (cranberries, raisins, or chopped apricots)
Instructions
-
Step 1
Preheat your oven to 350°F (175°C). Line an 8×8 inch baking pan with parchment paper, leaving an overhang on the sides. -
Step 2
In a large mixing bowl, whisk together the peanut butter, honey or maple syrup, and eggs (or flax eggs) until smooth and well combined. -
Step 3
Add the rolled oats, mini chocolate chips, chopped nuts, seeds, and dried fruit to the wet ingredients. Mix until everything is evenly coated. Add salt if using unsalted peanut butter. -
Step 4
Spoon the mixture into the prepared baking pan and press down firmly and evenly to create a dense layer. -
Step 5
Bake for 25-30 minutes, or until the edges are golden brown and the center is set. -
Step 6
Let the granola bars cool completely in the pan on a wire rack for at least 2-3 hours. This is crucial for them to set. -
Step 7
Once cooled, lift the slab out of the pan using the parchment paper overhang and cut into desired bar sizes.
Important Information
Nutrition Facts (Per Serving)
It is important to consider this information as approximate and not to use it as definitive health advice.
Allergy Information
Please check ingredients for potential allergens and consult a health professional if in doubt.