Easy Homemade Yeast Rolls From Scratch-Soft & Fluffy
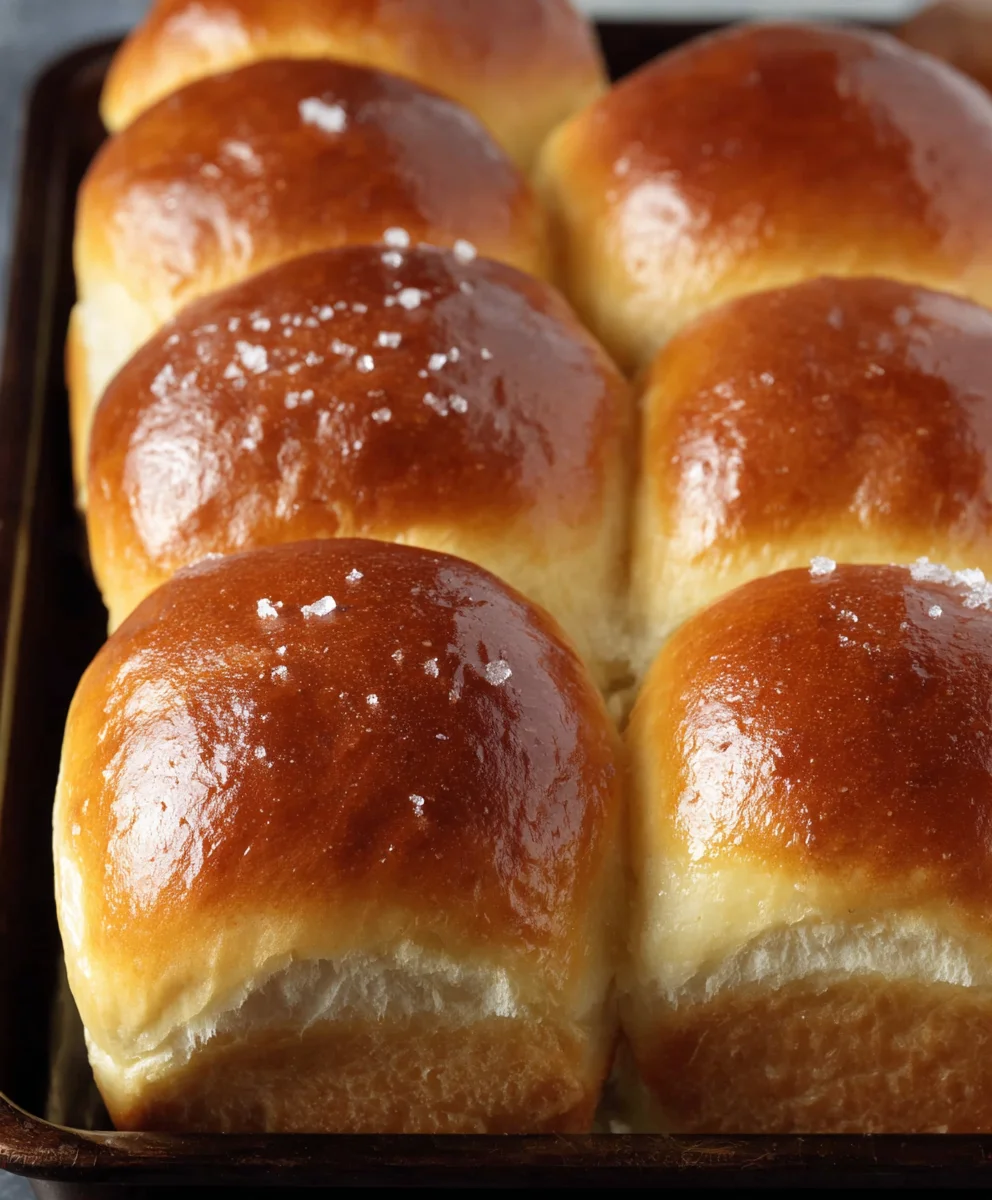
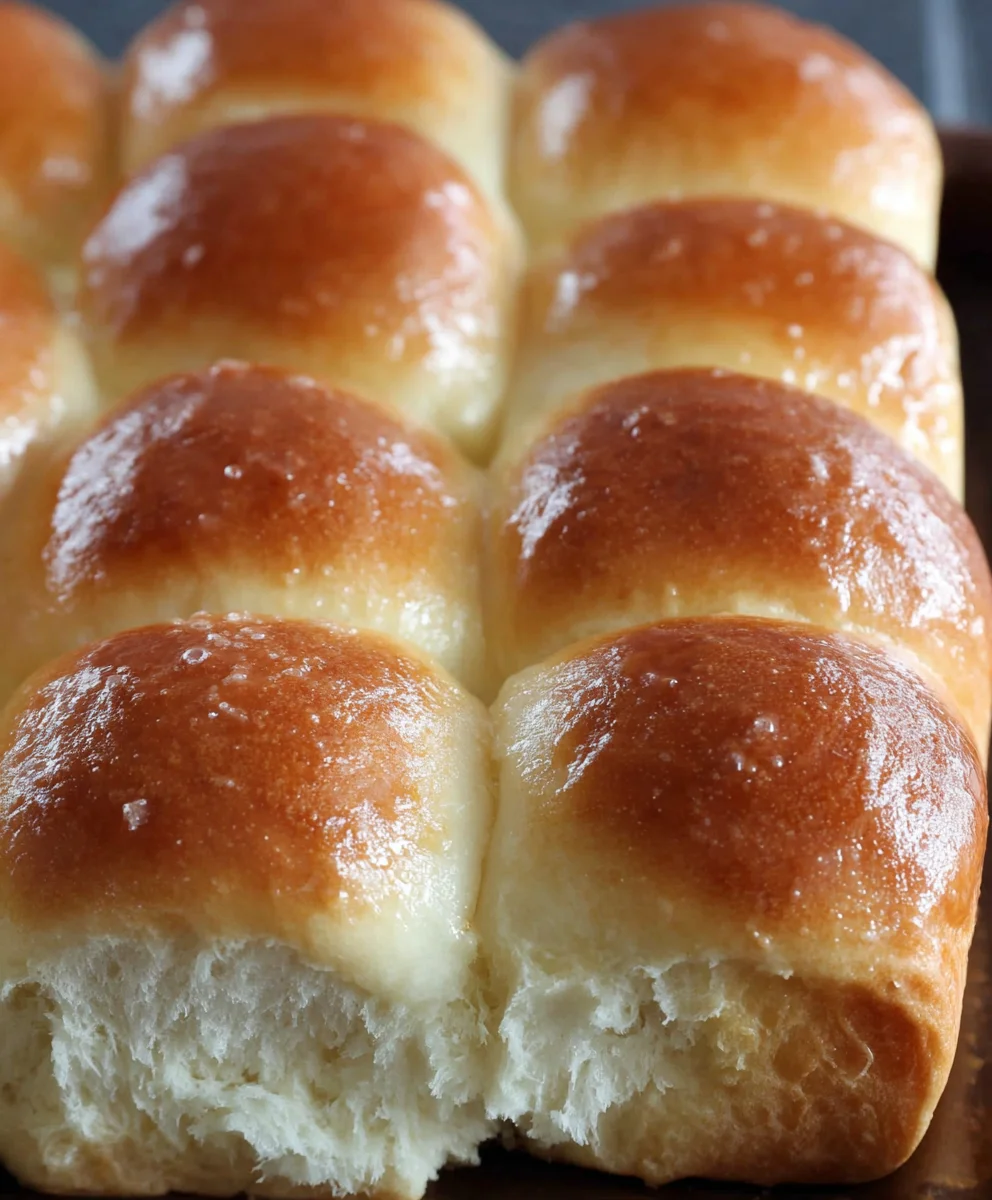
Homemade yeast rolls from scratch are more than just a side dish; they are a warm, comforting embrace in edible form. There’s a profound satisfaction that comes from transforming simple ingredients – flour, water, yeast, and a touch of magic – into fluffy, golden treasures that fill your kitchen with an irresistible aroma. People absolutely adore these rolls for their incredible texture, a delicate balance of soft, yielding crum extractb and a slightly chewy crust, perfect for sopping up savory gravies or simply enjoying with a smear of butter. What truly sets homemade yeast rolls from scratch apart is the soulful process. It’s about patience, the gentle kneading, the rise of the dough, and the anticnon-alcoholic ipation of that first bite. This recipe delivers a classic, unforgettable experience that will make any meal feel like a special occasion.
Ingredients:
- 2 cups milk (480 ml)
- 2 tablespoons instant dry yeast
- ¼ cup granulated sugar (50 g)
- ⅓ cup unsalted butter, softened (80 g), plus 1 extra tablespoon butter for brushing
- 2 large eggs
- 6¼ cups all-purpose flour (750 g)
- 2 teaspoons fine sea salt
Making the Dough
Activating the Yeast and Building the Base
The journey to wonderfully soft and fluffy homemade yeast rolls from scratch begin extracts with a well-activated yeast. In a large mixing bowl, or the bowl of your stand mixer fitted with a dough hook, gently warm your milk. You want it to be lukewarm, not hot, as excessive heat can kill the yeast. Aim for a temperature between 105°F and 115°F (40°C to 46°C). You can test this by dipping your finger in; it should feel comfortably warm, like a baby’s bath. Sprinkle the instant dry yeast over the warm milk and give it a gentle stir. Then, add the granulated sugar. The sugar acts as food for the yeast, helping it to bloom and become active. Let this mixture sit undisturbed for about 5 to 10 minutes. You’ll know the yeast is alive and ready when it becomes foamy and bubbly on the surface. This visual cue is crucial; if you don’t see this, your yeast may be old or the milk was too hot, and you’ll need to start this step again with fresh yeast.
Next, we’ll incorporate the richness and structure for our rolls. To the foamy yeast mixture, add the softened unsalted butter. Ensure your butter is truly softened, not melted, so it can be incorporated smoothly into the liquid. Add the two large eggs, one at a time, whisking them in until fully combined after each addition. This step ensures the eggs are evenly distributed, contributing to the tender crum extractb and rich flavor of the rolls.
Now comes the flour and salt. In a separate bowl, whisk together 6¼ cups of all-purpose flour and the fine sea salt. Salt is important not just for flavor, but it also helps control the yeast’s activity, preventing it from fermenting too quickly. Gradually add the dry ingredients to the wet ingredients in your mixing bowl, about a cup at a time, mixing on low speed until just combined. Once all the flour is incorporated, increase the mixer speed to medium-low and knead the dough for about 8 to 10 minutes. If you’re kneading by hand, turn the dough out onto a lightly floured surface and knead for about 10 to 12 minutes. The dough should become smooth, elastic, and slightly tacky, but it shouldn’t stick excessively to your hands or the bowl. You can perform the windowpane test: take a small piece of dough and gently stretch it. If you can stretch it thin enough to see light through it without it tearing, your dough is perfectly kneaded.
First Rise: Developing Flavor and Texture
Once your dough has reached the desired consistency, it’s time for its first important rise. Lightly grease a clean, large bowl with a little oil or cooking spray. Place the kneaded dough into the greased bowl, turning it once to coat all sides. Cover the bowl tightly with plastic wrap or a clean kitchen towel. Find a warm, draft-free spot in your kitchen for the dough to rise. This could be a slightly warmed oven (turned off, of course!), or simply a sunny windowsill. Allow the dough to rise for 1 to 1.5 hours, or until it has doubled in size. The time will vary depending on the temperature of your kitchen. Resist the urge to poke or prod the dough too much during this time; let it do its magic undisturbed. This resting period is crucial for the yeast to work its magic, developing flavor and creating those airy pockets that make for tender rolls.
Shaping the Rolls
Preparing for the Bake
After the dough has beautifully doubled in size, it’s time to punch it down. Gently deflate the dough by pressing your fist into the center. This releases the built-up gases and prepares the dough for shaping. Turn the dough out onto a lightly floured surface. You can divide the dough into equal portions for individual rolls. For classic dinner rolls, aim for about 16-20 portions, each weighing around 2-3 ounces. You can use a kitchen scnon-alcoholic ale for accuracy, or simply eyeball it for a more rustic approach. Roll each portion into a smooth ball by tucking the edges underneath. For slightly more uniform rolls, you can gently shape them into a round or oval.
Now, prepare your baking pans. Grease a 9×13 inch baking pan or two round pizza pans with butter or cooking spray. Arrange the shaped dough balls in the prepared pan, leaving about 1 to 1.5 inches of space between them. This spacing is essential as the rolls will expand considerably during their second rise and while baking. If you prefer pull-apart rolls, you can arrange them closer together, touching each other. Once the rolls are in the pan, cover them loosely with plastic wrap or a clean kitchen towel. Let them rise again in a warm spot for another 30 to 45 minutes, or until they have nearly doubled in size and are looking plump and airy. This second rise is vital for achieving that light and fluffy texture we all love. Preheat your oven to 375°F (190°C). This is the ideal temperature to bake these rolls, ensuring a golden-brown crust and a perfectly cooked interior. Once the rolls have completed their second rise and are looking beautifully puffed up, it’s time to bake. For an extra touch of richness and a glossy finish, gently brush the tops of the risen rolls with the extra tablespoon of melted unsalted butter. This also helps to create a lovely golden-brown crust. Carefully place the pan(s) into the preheated oven. Bake for 18 to 22 minutes, or until the tops are golden brown and the internal temperature of the rolls reaches about 190°F (88°C) when tested with an instant-read thermometer. The aroma filling your kitchen at this point will be absolutely divine! Keep an eye on them during the last few minutes of baking, as oven temperatures can vary. If they are browning too quickly, you can loosely tent them with foil. Once baked to perfection, remove the rolls from the oven. For an even softer crust, you can brush the tops with a little more melted butter immediately after they come out of the oven. Let the rolls cool in the pan for a few minutes before transferring them to a wire rack to cool completely. While they are absolutely delicious warm, allowing them to cool slightly prevents the bottoms from becoming soggy. These homemade yeast rolls are best enjoyed the day they are made, but they can be stored in an airtight container at room temperature for 2-3 days. Reheating them gently in the oven or a toaster oven will bring back their fresh-baked goodness. You’ve done it! You’ve mastered the art of creating delicious, fluffy Homemade Yeast Rolls from Scratch. This recipe is a cornerstone for any baker, offering a comforting aroma and an irresistible taste that’s miles beyond anything store-bought. The process of kneading and watching the dough rise is incredibly rewarding, leading to a truly special culinary achievement. Enjoy these warm, buttery rolls as a delightful accompaniment to your favorite meals. They are perfect alongside a hearty stew, a roasted chicken, or even just with a generous spread of butter. Don’t be afraid to get creative with them! Consider adding herbs like rosemary or chives to the dough for a savory twist, or a pinch of sugar for a slightly sweeter profile. You could also brush them with garlic butter after baking for an extra layer of flavor. We encourage you to make these Homemade Yeast Rolls from Scratch again and again, sharing them with loved ones and savoring every bite. Happy baking! There are a few common culprits. Ensure your yeast is fresh and active – if it’s expired or wasn’t blooming in warm water (around 105-115°F or 40-46°C) with a touch of sugar, it might be the issue. Also, check the temperature of your kitchen; a cold environment can slow down yeast activity. Make sure you’re allowing adequate rising time in a warm, draft-free spot. Overworking the dough can also toughen it, hindering its rise. Yes, you absolutely can! After the first rise, you can punch down the dough, shape it into rolls, and place them on your baking sheet. Cover them tightly with plastic wrap and refrigerate overnight. When you’re ready to bake, let them sit at room temperature for about 30-60 minutes to finish their second rise before baking as usual. This makes them perfect for busy mornings or entertaining. Learn how to make incredibly soft and fluffy homemade yeast rolls from scratch. This easy recipe guides you through activating yeast, kneading dough, rising, shaping, and baking for perfect dinner rolls every time. It is important to consider this information as approximate and not to use it as definitive health advice. Please check ingredients for potential allergens and consult a health professional if in doubt.Baking the Rolls
Achieving Golden Perfection
Cooling and Enjoying
Conclusion:
Frequently Asked Questions about Homemade Yeast Rolls from Scratch:
Why aren’t my homemade yeast rolls rising?
Can I make the dough for Homemade Yeast Rolls from Scratch ahead of time?
Easy Homemade Yeast Rolls From Scratch-Soft & Fluffy
Ingredients
Instructions
Gently warm 2 cups of milk to between 105°F and 115°F (40°C to 46°C). Sprinkle 2 tablespoons of instant dry yeast and 1/4 cup granulated sugar over the milk. Let it sit undisturbed for 5-10 minutes until foamy and bubbly.
To the foamy yeast mixture, add 1/3 cup softened unsalted butter and 2 large eggs, one at a time, whisking until fully combined after each addition.
In a separate bowl, whisk together 6 1/4 cups all-purpose flour and 2 teaspoons fine sea salt. Gradually add the dry ingredients to the wet ingredients in your mixing bowl, mixing on low speed until just combined. Increase mixer speed to medium-low and knead for 8-10 minutes until smooth and elastic.
Lightly grease a clean bowl, place the dough in it, turning to coat. Cover tightly and let rise in a warm, draft-free spot for 1 to 1.5 hours, or until doubled in size.
Punch down the dough, turn it onto a lightly floured surface, and divide into 16-20 equal portions. Roll each portion into a smooth ball. Arrange the dough balls in a greased 9×13 inch baking pan, leaving 1-1.5 inches of space between them.
Cover the shaped rolls loosely and let them rise again in a warm spot for 30-45 minutes, or until nearly doubled in size and plump.
Preheat oven to 375°F (190°C). Gently brush the tops of the risen rolls with the extra 1 tablespoon of melted unsalted butter. Bake for 18-22 minutes, or until golden brown.
Remove rolls from oven and brush with more melted butter if desired. Let cool in the pan for a few minutes before transferring to a wire rack to cool completely. Enjoy warm.
Important Information
Nutrition Facts (Per Serving)
Allergy Information