Begin extractners Sourdough Bread Recipe-High Starter Method
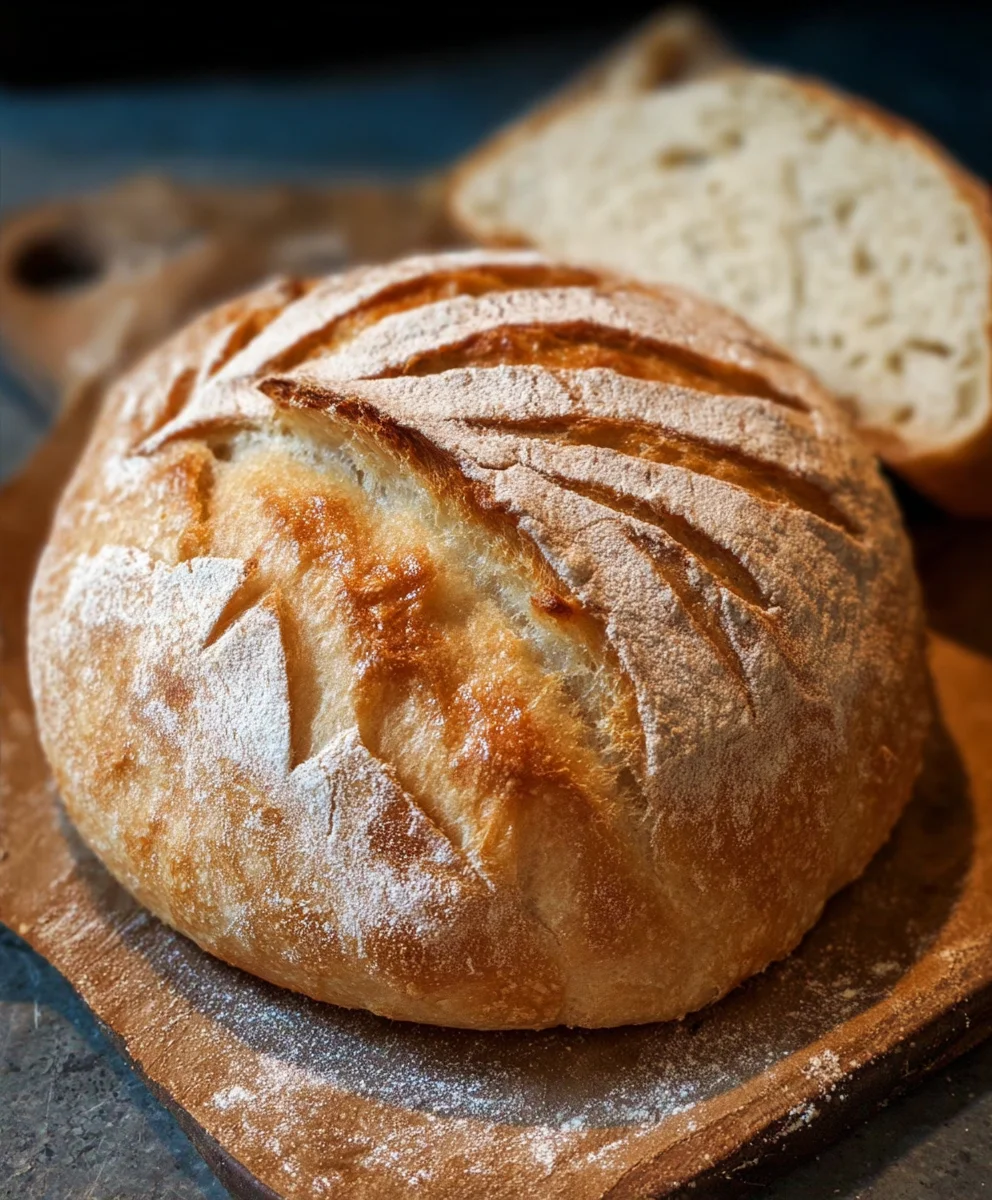
Begin extractners sourdough bread recipe: High starter method. If you’ve ever dreamt of pulling a perfectly golden, crusty loaf of sourdough bread from your own oven, but felt intimidated by the mystique surrounding sourdough starters and complex techniques, then this is the recipe for you. We’re diving deep igin extract a beginner-friendly approach that focuses on a high starter method, making that airy crum extractb and tangy flavor more accessible than ever. People adore sourdough bread for its unparalleled depth of flavor, its satisfying chew, and the sheer accomplishment that comes with nurturing a starter and creating something so delicious from scratch. What trugin extractmakes this beginners sourdough bread recipe: High starter method shine is its emphasis on simplicity without sacrificing quality, ensuring even novice bakers can achieve impressive results. Forget those daunting multi-day schedules; we’re setting you up for success with clear steps and a forgiving process. Get ready to unlock the magic of homemade sourdough!
Ingredients:
- 2 cups Active Sourdough Starter (400 grams) – Make sure your starter is active and bubbly, meaning it has been fed recently and has doubled in size. A well-fed starter is crucial for a good rise.
- 3 cups Sifted All-Purpose Flour (360 grams) – Sifting the flour helps to incorporate air and remove any clumps, leading to a lighter texture in the final bread.
- 1 cup Warm Water (240 grams) – The water should be warm, not hot. Around 80-90°F (27-32°C) is ideal. Too hot and it can kill the yeast in your starter; too cold and it won’t activate it effectively.
- 1.5 teaspoons Salt (approximately 9 grams) – Salt not only adds flavor but also helps to control the fermentation rate and strengthen the gluten structure.
Developing the Dough
Mixing and Autolyse
The first step in creating our delicious sourdough is to gently combine the starter and water. In a large mixing bowl, carefully pour in your 1 cup of warm water. Then, add your 2 cups of active sourdough starter. Using a gentle hand, whisk or stir these together until the starter is mostly dispersed into the water. Don’t worry about getting it perfectly smooth at this stage; small clumps are perfectly fine. This initial hydration helps to wake up the starter and get the fermentation process going. Next, add your 3 cups of sifted all-purpose flour to the bowl. Using your hands or a sturdy spatula, mix everything until there are no dry pockets of flour visible. The dough will be shaggy and somewhat sticky at this point.
Now, we’re going to let the dough rest for what’s called an autolyse. Cover the bowl with a damp kitchen towel or plastic wrap and let it sit at room temperature for about 30 minutes to an hour. During this autolyse period, the flour will absorb the water, and the gluten development will begin extract to happen on its own. This process makes the dough more extensible and easier to work with later on, reducing the need for extensive kneading.
Incorporating Salt
After the autolyse period, it’s time to add the salt. Sprinkle your 1.5 teaspoons of salt evenly over the surface of the dough. Now, it’s time to truly start developing the gluten structure. Wet your hands slightly to prevent sticking. Pinch and fold the salt into the dough. Continue this pinching and folding motion for a few minutes, until the salt feels evenly distributed. You’ll notice the dough starting to become a little smoother and more cohesive as you work it.
Bulk Fermentation and Shaping
Stretch and Folds
Once the salt is incorporategin extractwe begin the bulk fermentation stage, which is where the magic of sourdough truly happens. Instead of traditional kneading, we’ll be using a series of “stretch and folds.” Every 30 minutes for the first 2 to 3 hours of bulk fermentation, perform a set of stretch and folds. To do this, lightly wet your hands. Grab one edge of the dough, stretch it upwards gently without tearing, and then fold it over the center. Rotate the bowl a quarter turn and repeat this process three more times, so you’ve stretched and folded all four sides. This technique builds strength and structure in the dough without overworking it, allowing the natural fermentation to create those wonderful air pockets. The dough will gradually become smoother, more elastic, and will start to show signs of aeration, like small bubbles. You’re looking for the dough to increase in volume by about 30-50% during this time.
Pre-Shaping and Bench Rest
Once the bulk fermentation is complete and your dough has increased in volume and feels jiggly, it’s time to pre-shape. Gently turn the dough out onto a lightly floured surface. Be careful not to deflate it too much. Using your hands, gently coax the dough into a rough ball or oblong shape, depending on your final desired loaf shape. The goal here is to create some surface tension. Let the pre-shaped dough rest on the counter, uncovered, for about 20-30 minutes. This “bench rest” allows the gluten to relax after the pre-shaping, making the final shaping much easier and preventing the gin extractgh from springing back too much.
Final Shaping and Cold Retardation
After the bench rest, it’s time for the final shaping. Lightly flour your hands and the surface again. For a round loaf (boule), gently flatten the dough into a disc. Then, fold the edges into the center, creating tension on the surface. Flip the dough over so the seams are on the bottom. Using your hands, gently cup the dough and rotate it on the counter, pulling it towards you to create a taut surface and a well-formed ball. If you’re making an oblong loaf (batard), you’ll shape it similarly but fold it lengthwise.
Carefully place your shaped dough seam-side up into a well-floured banneton (proofing basket) or a bowl lined with a floured tea towel. Cover the banneton with plastic wrap or place it inside a plastic bag. Now, for the cold retardation. Place the banneton in the refrigerator for at least 12 hours, and up to 24 hours. This slow, cold fermentation develops even more flavor and makes the dough easier to score and handle before baking. It also contributes significantly to the oven spring and crust development.
Baking the Sourdough
Preheating and Baking
When you’re ready to bake, preheat your oven to 450°F (230°C) with a Dutch oven (or a baking stone with a steam pan) inside for at least 30 minutes. A hot Dutch oven is crucial for creating that signature sourdough crust and achieving excellent oven spring.
Carefully remove the hot Dutch oven from the oven. Gently invert your cold, proofed dough onto a piece of parchment paper. If you’re using a Dutch oven, carefully lower the dough into the preheated pot. Score the top of the dough with a sharp razor blade (a lame) in a pattern of your choice. This scoring allows the dough to expand in a controlled manner as it bakes. Place the lid back on the Dutch oven and carefully place it back into the hot oven.
Bake covered for 25 minutes. This initial covered period traps steam, which is essential for a good rise and a thin, crispy crust. After 25 minutes, remove the lid from the Dutch oven. The bread should have risen significantly and be starting to brown.
Continue to bake, uncovered, for another 20-25 minutes, or until the crust is a deep golden brown and the internal temperature of the bread reaches 205-210°F (96-99°C) when tested with an instant-read thermometer. The aroma filling your kitchen will be incredible!
Cooling
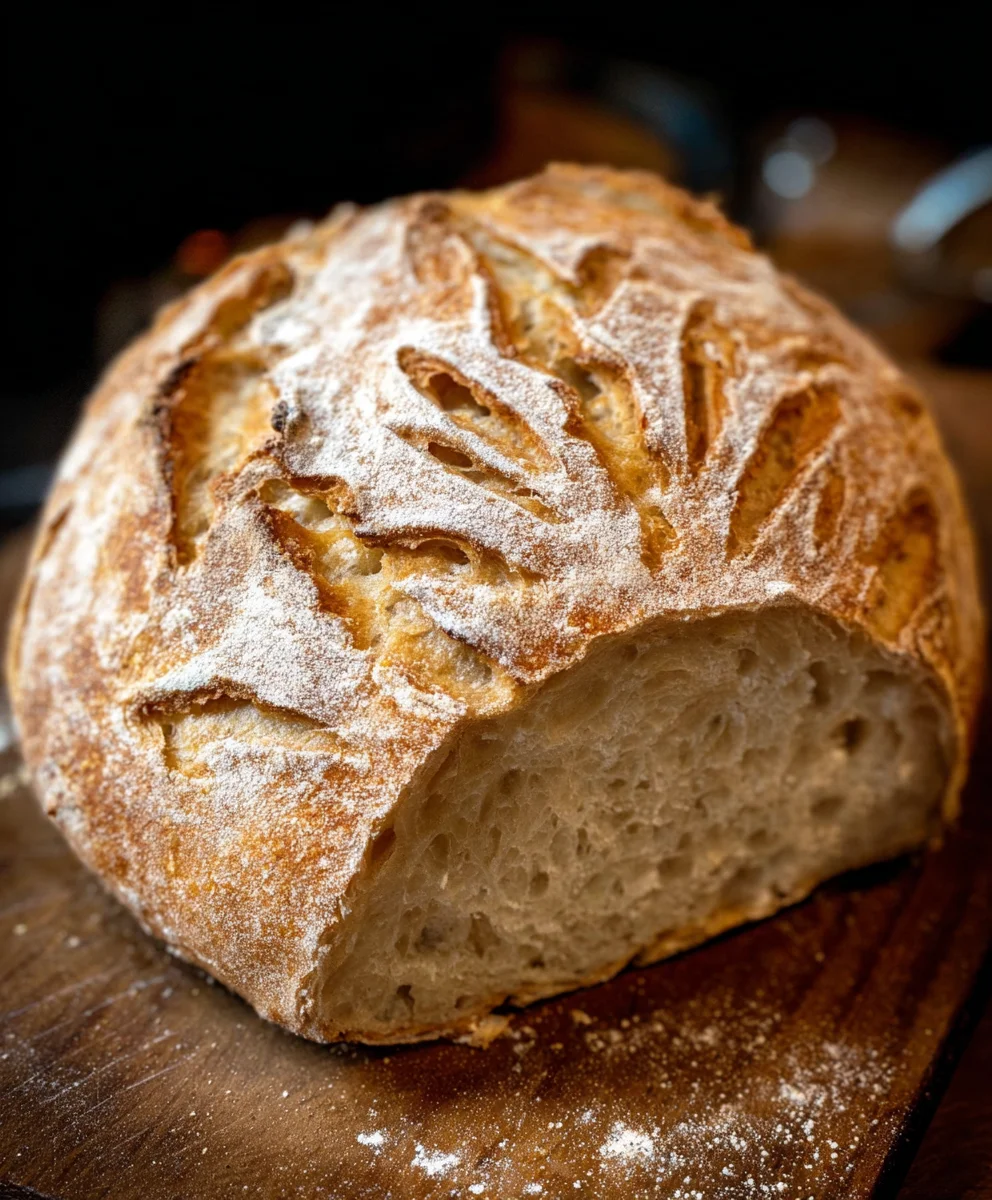
Once baked to perfection, carefully remove the bread from the Dutch oven and place it on a wire rack to cool completely. Resist the urge to cut into it too early! Allowing the bread to cool for at least 2-3 hours is essential. This cooling period allows the internal structure to set properly and the flavors to fully develop. Cutting too soon can result in a gummy texture. Enjoy the fruits of your labor!
Conclusion:
And there you have it! The “Begin extractners Sourdough bread recipe: High starter method” is your gateway to crafting beautiful, tangy loaves right in your own kitchen. We’ve walked through each step, from feeding your starter to achieving that perfect crust, and I hope you feel empowered to give this incredibly rewarding process a try. This recipe is designed to be approachable, even for those new to sourdough, and the magic that happens with just flour, water, salt, and a vibrant starter is truly something special. Don’t be discouraged if your first loaf isn’t picture-perfect; every bake is a learning experience, and you’ll quickly develop an intuition for your dough. Enjoy your delicious homemade sourdough!
Frequently Asked Questions:
Why is my sourdough starter not bubbly?
Forgin extracte “Beginners Sourdough bread recipe: High starter method,” a bubbly starter is key. If yours isn’t active, ensure it’s being fed regularly with equal parts flour and water (by weight is best) at a consistent room temperature. Sometimes, it just needs a few more feeding cycles to regain its vigor. Make sure you’re using unbleached flour, as chlorine can harm the wild yeast and bacteria. Patience is often the secret ingredient!
Can I make this recipe without a Dutch oven?
Absolutely! While a Dutch oven is fantastic for creating that signature sourdough crust by trapping steam, you can still achieve excellent results withoutgin extracte for the “Beginners Sourdough bread recipe: High starter method.” You can bake your loaf directly on a baking stone or steel and create steam by placing a shallow pan of hot water on the rack below it during the initial part of the bake. This will help mimic the environment a Dutch oven provides.
What are some good serving suggestions for this sogin extractough?
The “Beginners Sourdough bread recipe: High starter method” bread is incredibly versatile! It’s divine toasted with butter, but also makes an exceptional base for avocado toast or bruschetta. It’s perfect for dipping into hearty soups and stews, or as the foundation for a gourmet grilled cheese sandwich. Don’t hesitate to experiment with different toppings and spreads to discover your personal favorites!
Beginner’s Sourdough Bread Recipe – High Starter Method
A straightforward sourdough bread recipe perfect for beginners, utilizing a high amount of active starter for a robust flavor and excellent rise. This recipe emphasizes developing dough strength through gentle handling and cold fermentation for a beautiful crust and open crumb.
Ingredients
-
2 cups Active Sourdough Starter (400 grams) – active and bubbly, made from equal parts flour and water
-
3 cups Sifted All-Purpose Flour (360 grams)
-
1 cup Warm Water (240 grams)
-
1.5 teaspoons Salt (approximately 9 grams)
-
Damp kitchen towel or plastic wrap (for covering)
-
Lightly floured surface
-
Banneton (proofing basket) or bowl lined with a floured tea towel
-
Plastic wrap or plastic bag (for covering banneton)
-
Parchment paper
-
Sharp razor blade (lame)
Instructions
-
Step 1
In a large mixing bowl, combine 1 cup of warm water and 2 cups of active sourdough starter. Whisk or stir until the starter is mostly dispersed. Add 3 cups of sifted all-purpose flour and mix until no dry pockets remain, forming a shaggy, sticky dough. Cover with a damp towel and let rest for 30 minutes to an hour (autolyse). -
Step 2
Sprinkle 1.5 teaspoons of salt over the dough. Wet your hands slightly and pinch and fold the salt into the dough for a few minutes until evenly distributed and the dough becomes smoother and more cohesive. -
Step 3
Begin bulk fermentation. Every 30 minutes for the first 2-3 hours, perform stretch and folds: wet hands, stretch one edge of the dough up gently, and fold it to the center. Rotate the bowl a quarter turn and repeat three more times. The dough should increase in volume by 30-50%. -
Step 4
Gently turn the dough onto a lightly floured surface. Pre-shape it into a rough ball or oblong shape, creating surface tension. Let rest uncovered for 20-30 minutes (bench rest). -
Step 5
Final shape the dough by folding edges to the center for a boule, or folding lengthwise for a batard, creating a taut surface. Carefully place the shaped dough seam-side up into a well-floured banneton or lined bowl. Cover and refrigerate for at least 12 hours, up to 24 hours (cold retardation). -
Step 6
Preheat oven to 450°F (230°C) with a Dutch oven inside for at least 30 minutes. Carefully invert the cold dough onto parchment paper. If using a Dutch oven, lower the dough into the hot pot. Score the top of the dough. Place the lid back on and bake for 25 minutes. -
Step 7
Remove the lid and bake uncovered for another 20-25 minutes, or until the crust is deep golden brown and the internal temperature reaches 205-210°F (96-99°C). -
Step 8
Carefully remove the bread from the Dutch oven and place on a wire rack to cool completely for at least 2-3 hours before slicing.
Important Information
Nutrition Facts (Per Serving)
It is important to consider this information as approximate and not to use it as definitive health advice.
Allergy Information
Please check ingredients for potential allergens and consult a health professional if in doubt.