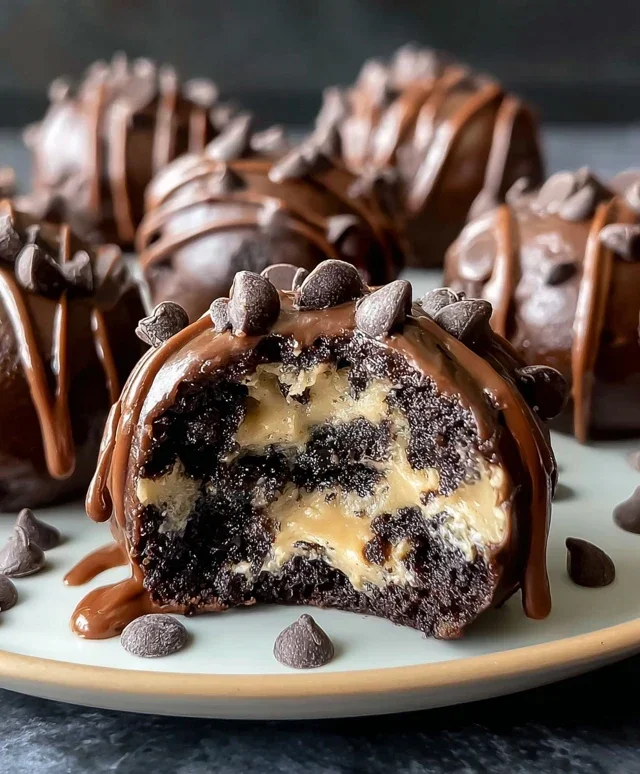
Easy Peanut Butter Rice Krispie Balls – No Bake Treat
Peanut Butter Balls with Rice Krispies are an absolute nostalgic dream, a chewy, crunchy, no-bake confection that evokes childhood memories and pure, unadulterated joy. Who doesn’t adore the irresistible combination of sweet peanut butter and the satisfying pop of puffed rice cereal? These delightful treats are ridiculously easy to make, requiring no oven time, making them perfect for little helpers in the kitchen or for those moments when a sweet craving strikes with urgency. What truly makes these Peanut Butter Balls with Rice Krispies special is their delightful texture contrast – the smooth, rich peanut butter clingin extractg to the crisp, airy Rice Krispies, all brought together with a touch of sweetness that makes each bite a miniature celebration. They are the ultimate crowd-pleaser, whether you’re packing them for a picnic, serving them at a party, or simply enjoying them as a comforting snack.

Ingredients:
- 1 cup creamy no stir peanut butter
- 3 tablespoons salted butter, melted
- 1 cup powdered sugar
- 2 ½ cups Rice Krispies cereal
- 12 oz semi-sweet chocolate chips (or chocolate melting wafers)
Preparing the Peanut Butter Mixture
This is where the magic starts! We’re going to create a base that’s both delicious and holds everything together perfectly. In a medium-sized mixing bowl, combine the creamy, no-stir peanut butter and the melted salted butter. I find that using a good quality, creamy peanut butter really makes a difference here, as it ensures a smooth texture. Melting the butter beforehand is crucial for easy incorporation; you can do this quickly in the microwave in 20-second intervals, stirring in between, until it’s fully liquid. Stir these two ingredients together until they are completely smooth and well combined. There should be no streaks of butter visible. Next, gradually add the powdered sugar to the peanut butter and butter mixture. It’s best to add it in about three additions, mixing thoroughly after each addition. This helps prevent the powdered sugar from flying everywhere and ensures it incorporates evenly into the mixture. Keep mixing until the entire concoction is smooth, thick, and forms a cohesive dough-like consistency. This mixture will be quite stiff, which is exactly what we’re aiming for. If it feels a little too dry and crum extractbly, you can add another teaspoon of melted butter, but be careful not to add too much, or it might become too greasy.
Adding the Crispy Element
Now it’s time to introduce the Rice Krispies cereal, the component that gives these Peanut Butter Balls with Rice Krispies their delightful crunch. Gently fold the 2 ½ cups of Rice Krispies cereal into the peanut butter mixture. It’s important to do this gently to avoid crushing the cereal too much. We want to retain that satisfying crispiness. Use a sturdy spatula or your hands to carefully mix the cereal into the thick peanut butter base. Ensure that every single piece of cereal is coated with the peanut butter mixture. This step requires a bit of effort because the mixture is quite stiff, but the result is worth it. You’re essentially binding the cereal together with the peanut butter mixture, creating little flavor-packed, crunchy clusters. Once everything is thoroughly combined, you should have a wonderfully textured mixture ready to be formed into balls.
Forming the Peanut Butter Balls
With our base mixture ready, it’s time to shape them into perfect little spheres. Lightly grease your hands with a little bit of non-stick cooking spray or a tiny bit of oil. This will prevent the sticky peanut butter mixture from clingin extractg to your hands. Take about one tablespoon of the mixture at a time and roll it between your palms to form a compact ball. Aim for uniform size so that they all bake and set evenly. Place the formed balls onto a baking sheet lined with parchment paper or wax paper. This will make them easy to lift and transfer later. Continue this process until all of the mixture has been rolled into balls. You should aim to make them about 1 to 1.5 inches in diameter. If the mixture is sticking to your hands, just reapply a tiny bit of spray. It’s important to work relatively quickly as the mixture can become harder to handle as it sits. Place the baking sheet with the formed balls into the freezer for at least 15-20 minutes. This chilling step is crucial for them to hold their shape when we dip them in chocolate.
Melting the Chocolate Coating
While the peanut butter balls are chilling, let’s prepare the luscious chocolate coating. You can use either semi-sweet chocolate chips or chocolate melting wafers for this step. Melting wafers tend to set up a bit more smoothly and quickly, but chocolate chips work perfectly fine too. Place the 12 oz of semi-sweet chocolate chips (or melting wafers) into a microwave-safe bowl. Microwave the chocolate in 30-second intervals, stirring thoroughly after each interval, until it is almost completely melted. Continue stirring until the residual heat melts the remaining chocolate chips and you have a smooth, glossy liquid. Alternatively, you can melt the chocolate using a double boiler method. Fill a saucepan with about an inch of water and bring it to a gentle simmer. Place the chocolate chips in a heatproof bowl that fits snugly over the saucepan without touching the water. Stir the chocolate constantly until it’s smooth and melted. Be careful not to overheat the chocolate, as it can seize and become unusable. If you find the chocolate is a little too thick for dipping, you can stir in about 1 teaspoon of vegetable oil or a tiny bit of coconut oil to thin it out.
Dipping and Setting the Chocolate
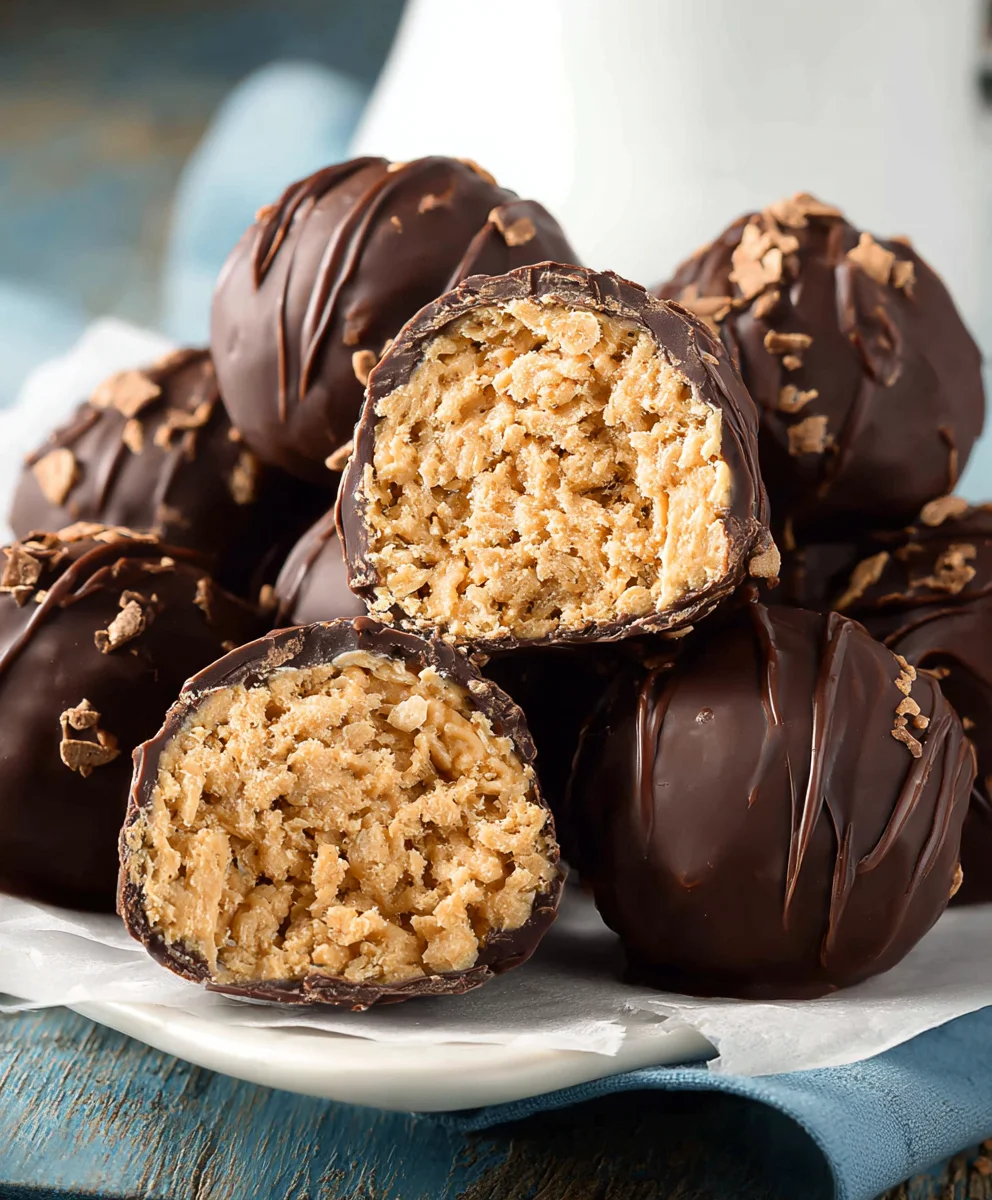
Once the peanut butter balls are firm from their time in the freezer, it’s time for the final, delightful step: coating them in chocolate. Remove the baking sheet from the freezer. Working with a few balls at a time (so they don’t thaw too much), use a fork or a dipping tool to carefully dip each peanut butter ball into the melted chocolate. Ensure that each ball is completely covered in the chocolate. Gently tap the fork on the side of the bowl to allow any excess chocolate to drip back into the bowl. This creates a nice, even coating. Carefully place the chocolate-coated balls back onto the parchment-lined baking sheet. You can drizzle a little extra melted chocolate over the tops for a decorative touch if you like. If you’re using chocolate chips and want them to set up a bit more firmly, you can optionally chill them in the refrigerator for about 10-15 minutes after coating. However, for optimal texture, allowing them to set at room temperature is often preferred. Once fully set, these Peanut Butter Balls with Rice Krispies are ready to be enjoyed! Store any leftovers in an airtight container at room temperature.
Conclusion:
There you have it – a simple yet incredibly satisfying recipe for Peanut Butter Balls with Rice Krispies that’s perfect for any occasion! Whether you’re looking for a quick treat for the kids, a no-bake dessert to impress at a potluck, or just a delightful way to curb your sweet tooth, these peanut butter delights are sure to be a hit. Their delightful chewy texture, combined with that irresistible peanut butter and crispy rice cereal crunch, makes them an instant favorite.
These Peanut Butter Balls with Rice Krispies are wonderfully versatile. Serve them chilled for a firmer bite, or at room temperature for a softer, chewier experience. They’re fantastic on their own, but also pair beautifully with a glass of cold milk or a dollop of whipped cream. For variations, consider drizzling them with melted chocolate after they’ve set for an extra layer of indulgence, or adding a pinch of sea salt on top to enhance the peanut butter flavor. You can also mix in a tablespoon of cocoa powder for chocolate peanut butter balls, or even a sprinkle of cinnamon for a warm, comforting twist. Don’t be afraid to experiment and make them your own!
We hope you enjoy making and sharing these delightful Peanut Butter Balls with Rice Krispies as much as we do. Happy baking (or, in this case, no-baking)!
Frequently Asked Questions:
How do I store Peanut Butter Balls with Rice Krispies?
Store your Peanut Butter Balls with Rice Krispies in an airtight container in the refrigerator for up to a week. This helps them maintain their texture and prevents them from becoming too soft.
Can I make these vegan?
Yes! To make these Peanut Butter Balls with Rice Krispies vegan, simply use vegan butter or coconut oil and ensure your chocolate for drizzling (if using) is dairy-free. All other ingredients are typically vegan-friendly.
My peanut butter mixture seems too dry/wet. What can I do?
If the mixture seems too dry and crum extractbly, gradually add a little more peanut butter or a tablespoon of milk/liquid sweetener until it holds together. If it’s too wet, add a few more Rice Krispies or a tablespoon of powdered sugar (if not using chocolate coatings) to absorb excess moisture. It should be sticky enough to form balls but not overly messy.
Easy Peanut Butter Rice Krispie Balls – No Bake Treat
A simple, no-bake treat combining creamy peanut butter, crispy Rice Krispies, and a smooth chocolate coating.
Ingredients
-
1 cup creamy no stir peanut butter
-
3 tablespoons salted butter, melted
-
1 cup powdered sugar
-
2 ½ cups Rice Krispies cereal
-
12 oz semi-sweet chocolate chips
Instructions
-
Step 1
In a medium bowl, combine peanut butter and melted butter until smooth. Gradually add powdered sugar, mixing until a thick, dough-like consistency forms. -
Step 2
Gently fold Rice Krispies cereal into the peanut butter mixture until evenly coated. Be careful not to crush the cereal. -
Step 3
Lightly grease your hands and roll the mixture into 1 to 1.5-inch balls. Place on a parchment-lined baking sheet. -
Step 4
Freeze the balls for at least 15-20 minutes until firm. -
Step 5
Melt semi-sweet chocolate chips in a microwave-safe bowl or using a double boiler until smooth and glossy. Stir in 1 tsp vegetable oil if too thick. -
Step 6
Dip each chilled peanut butter ball into the melted chocolate using a fork, tapping off excess. Return to the parchment-lined baking sheet. -
Step 7
Allow the chocolate to set at room temperature or chill briefly in the refrigerator. Store in an airtight container at room temperature.
Important Information
Nutrition Facts (Per Serving)
It is important to consider this information as approximate and not to use it as definitive health advice.
Allergy Information
Please check ingredients for potential allergens and consult a health professional if in doubt.