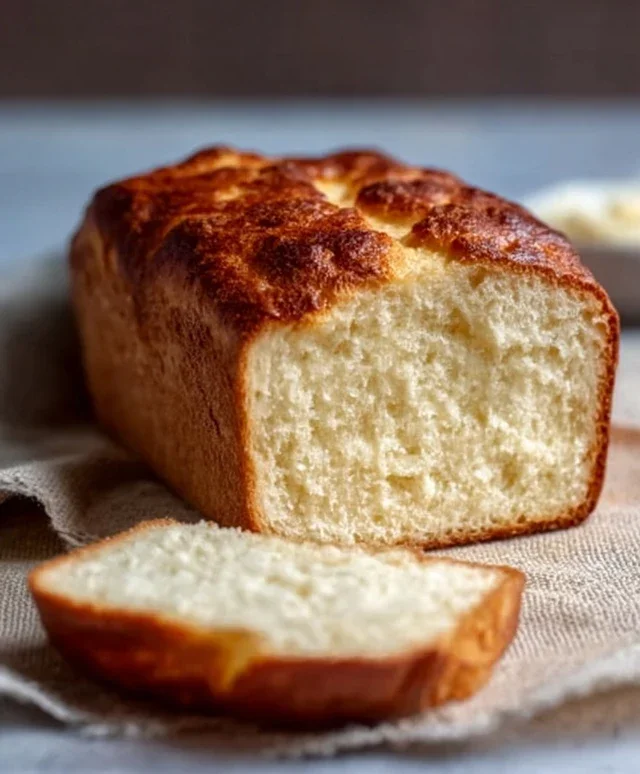
Garlic Butter Keto Bread-Easy Low Carb Recipe
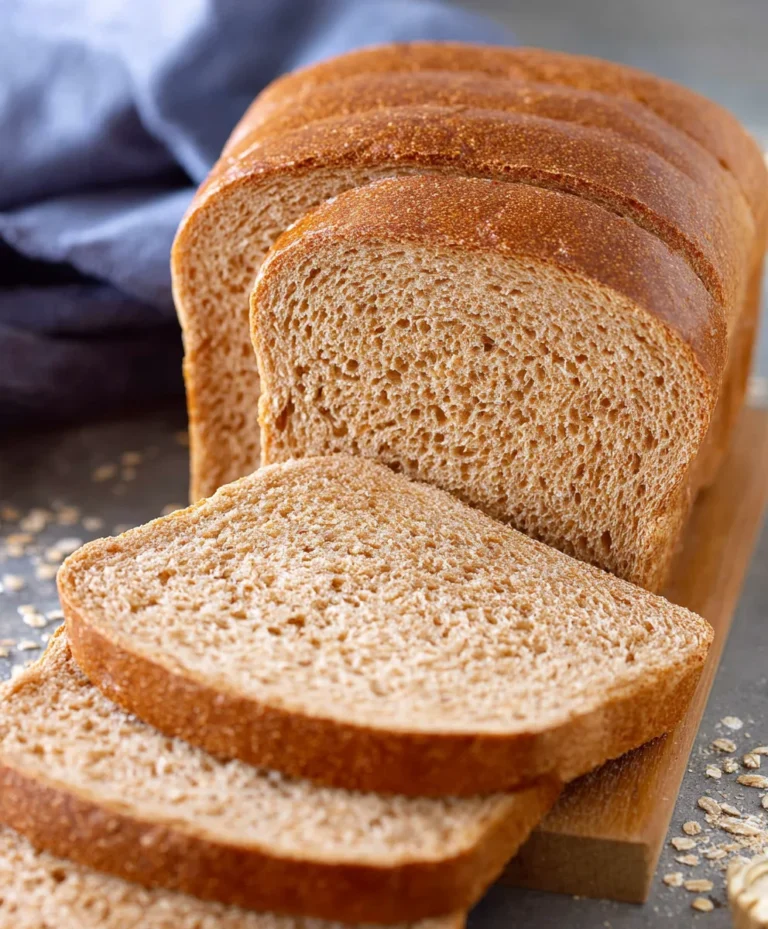
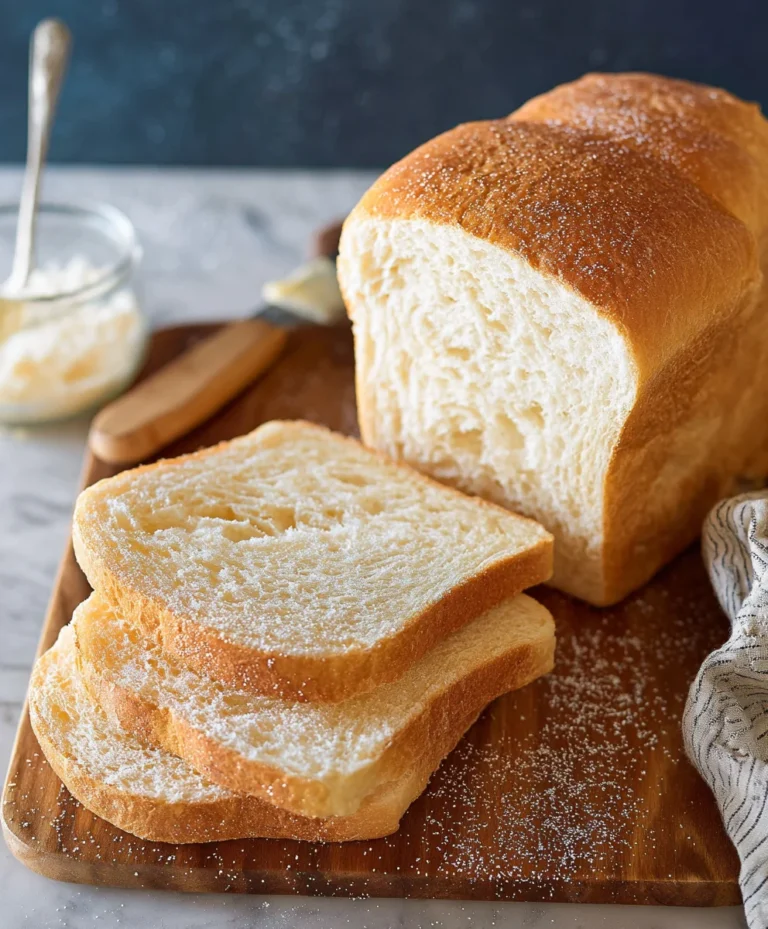
Garlic Butter Keto Bread is more than just a recipe; it’s a revelation for anyone following a ketogenic lifestyle who craves the comforting embrace of freshly baked bread. For so long, the low-carb journey felt like it meant saying goodbye to those warm, crusty slices that are a staple in so many meals. But with this incredible Garlic Butter Keto Bread, those days are officially over! We’ve cracked the code to creating a bread that’s incredibly tender on the inside, satisfyingly chewy on the outside, and infused with the irresistible aroma and flavor of garlic and butter. It’s the perfect side for your favorite soups, a delightful base for avocado toast, or simply enjoyed on its own with a smear of more butter. What makes this keto bread truly special is its simplicity and the fact that it doesn’t rely on those often hard-to-find or expensive specialty flours. Get ready to fall in love with bread all over again!
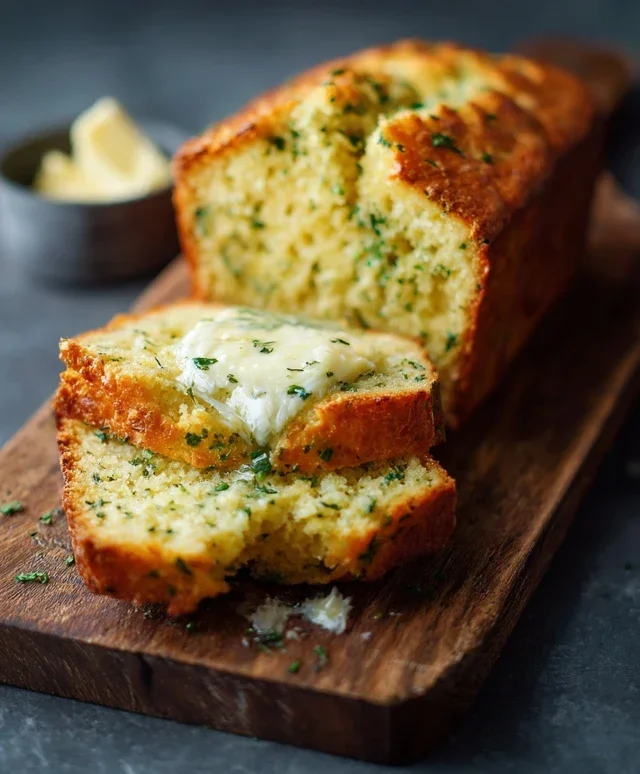
Garlic Butter Keto Bread
Oh, the joy of a warm, comforting slice of bread! For those of us following a ketogenic lifestyle, this can feel like a distant memory. But fear not, my fellow keto enthusiasts! I’ve got a recipe that will transport you back to bread-bliss, a Garlic Butter Keto Bread that’s incredibly satisfying and surprisingly simple to make. This bread is perfect for dipping in soup, serving alongside your favorite keto meal, or simply slathering with more butter (because, well, keto!). The magic lies in the combination of almond flour, psyllium husk, and that irresistible garlic butter topping.
This recipe is a testament to how delicious keto baking can be. We’re not sacrificing flavor for low-carb convenience here. The texture is wonderfully soft on the inside with a slightly chewy crust, and the aroma that fills your kitchen as it bakes is simply divine. You’ll be amazed at how closely it resembles traditional bread. Let’s get started on creating this keto masterpiece!
Ingredients:
Making the Dough
The base of our keto bread is a simple mixture of dry ingredients and wet ingredients, brought together to form a dough. It’s important to have your eggs at room temperature; this helps them emulsify better with the other ingredients, leading to a more consistent texture. The psyllium husk powder is crucial here. It acts as a binder, giving the bread structure and that desirable chewy quality that regular gluten-based bread has. Make sure you’re using psyllium husk powder, not the whole husks, as the powder absorbs liquid more effectively and creates a smoother dough.
Mixing and Forming the Loaf
In a large mixing bowl, I like to combine all the dry ingredients first. This ensures that the baking powder and salt are evenly distributed throughout the almond flour and psyllium husk. So, into the bowl goes the blanched almond flour, psyllium husk powder, baking powder, and salt. Give them a good whisk to ensure everything is well combined and there are no clumps.
Now, let’s move on to the wet ingredients. In a separate medium bowl, whisk together the 3 large eggs. Once they’re lightly beaten, add the ⅓ cup of melted unsalted butter, the warm water, and the apple cider vinegar. The apple cider vinegar might seem a little odd in bread, but trust me, it plays a vital role. It helps to activate the baking powder and also contributes to a lighter, more tender crum extractb in the final bread. Whisk these wet ingredients together until they are well incorporated.
It’s time to bring it all together! Pour the wet ingredients into the bowl with the dry ingredients. Using a sturdy spoon or a spatula, mix everything until a cohesive dough forms. It will be a sticky dough, and that’s perfectly normal for keto breads. Don’t be tempted to add more flour at this stage, as it can make the bread dry. The psyllium husk will continue to absorb moisture as it sits. Once the dough has come together, cover the bowl and let it rest for about 5-10 minutes. This resting period allows the psyllium husk to work its magic and thicken the dough, making it easier to handle.
Shaping and Baking
Preheat your oven to 350°F (175°C). While the oven is preheating, prepare a baking sheet by lining it with parchment paper. You can also grease a loaf pan if you prefer a more traditional loaf shape, but for this recipe, I find a free-form loaf on a baking sheet works wonderfully.
Now, lightly wet your hands or oil them slightly. This will prevent the sticky dough from clingin extractg to your fingers. Scoop the dough out onto the prepared baking sheet. Gently shape the dough into a rustic, oval loaf. It doesn’t need to be perfect; the slightly rough texture adds to its charm! Make sure the loaf has a relatively even thickness so it bakes uniformly.
The Irresistible Garlic Butter Topping
This is where the magic truly happens and the aroma begin extracts to fill your kitchen! In a small bowl, combine the 2 tablespoons of melted unsalted butter for the topping. Add the minced garlic, dried parsley, and a pinch of salt. Stir everything together until well combined. The finer you mince the garlic, the more evenly its flavor will distribute. If you’re using fresh parsley, chop it very finely.
Using a pastry brush or a spoon, generously brush this glorious garlic butter mixture all over the top of your shaped bread dough. Don’t be shy with it! This topping is what gives our keto bread its signature flavor and a beautiful golden sheen as it bakes.
Baking and Cooling
Carefully place the baking sheet with the dough into your preheated oven. Bake for 30-40 minutes, or until the bread is golden brown and sounds hollow when tapped on the bottom. The exact baking time will vary depending on your oven, so keep an eye on it, especially during the last 10-15 minutes. If the top starts to brown too quickly, you can loosely tent it with aluminum foil.
Once baked to perfection, remove the bread from the oven. Let it cool on the baking sheet for about 5-10 minutes before carefully transferring it to a wire rack to cool completely. This cooling process is crucial. While it’s tempting to slice into it immediately, allowing it to cool completely ensures that the interior sets properly and prevents a gummy texture. Once fully cooled, slice it with a serrated knife and enjoy! This Garlic Butter Keto Bread is a revelation, and I’m confident it will become a staple in your keto kitchen.
Conclusion:
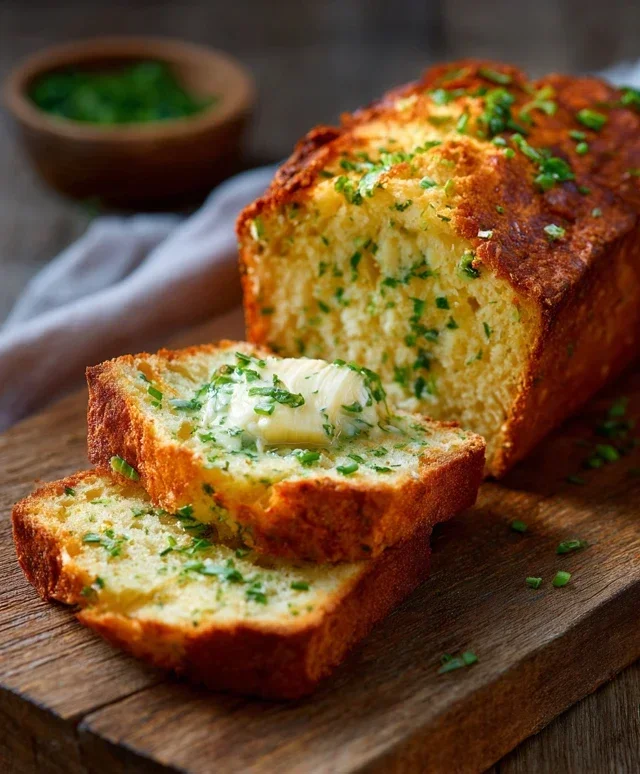
I truly hope you’ve enjoyed learning how to make this incredibly delicious Garlic Butter Keto Bread. It’s a game-changer for anyone following a ketogenic lifestyle, offering that satisfying bread texture and rich, savory flavor without the carbs. Its simplicity means you can whip it up for a quick snack, a side for a hearty meal, or even to impress guests. The beautiful golden-brown crust and the irresistible aroma of garlic and butter make it a truly delightful treat. I encourage you to give this recipe a try; you won’t be disappointed!
This versatile bread is perfect served warm alongside your favorite keto soups, stews, or salads. It also makes a fantastic base for open-faced sandwiches with avocado and smoked salmon, or topped with melted cheese. For variations, consider adding a pinch of dried herbs like rosemary or chives to the butter mixture, or a sprinkle of Parmesan cheese on top before baking for an extra cheesy kick. You could even experiment with a touch of garlic powder if you want an even more intense garlic flavor.
Frequently Asked Questions:
Q: Can I make this Garlic Butter Keto Bread ahead of time?
A: Yes, you can bake the bread and let it cool completely. Store it in an airtight container at room temperature for up to 2 days, or in the refrigerator for up to 4-5 days. Reheat gently in a toaster oven or a dry skillet for the best texture.
Q: What kind of flour is best for this keto bread?
A: This recipe typically uses almond flour and/or coconut flour. The specific blend creates a wonderful texture. Make sure to measure your flours accurately, as too much coconut flour can make the bread dry.
Q: Can I freeze this keto bread?
A: Absolutely! Once cooled, wrap the bread tightly in plastic wrap and then in aluminum foil, or place it in a freezer-safe bag. It should keep well in the freezer for up to 2-3 months. Thaw it overnight in the refrigerator or at room temperature, and then reheat.
Garlic Butter Keto Bread
A delicious and easy keto-friendly bread flavored with garlic and butter, perfect for low-carb diets.
Ingredients
-
1 1/2 cups almond flour
-
1/2 cup shredded mozzarella cheese
-
1/4 cup cream cheese, softened
-
2 large eggs
-
1/4 cup unsalted butter, melted
-
2 cloves garlic, minced
-
1 teaspoon baking powder
-
1/4 teaspoon salt
Instructions
-
Step 1
Preheat your oven to 350°F (175°C). Grease and flour a small loaf pan or line with parchment paper. -
Step 2
In a medium bowl, combine the almond flour, baking powder, and salt. -
Step 3
In a separate bowl, cream together the softened cream cheese and shredded mozzarella cheese until well combined. -
Step 4
Beat in the eggs one at a time, then stir in the melted butter and minced garlic. -
Step 5
Add the wet ingredients to the dry ingredients and mix until just combined. Do not overmix. -
Step 6
Pour the batter into the prepared loaf pan and spread evenly. -
Step 7
Bake for 30-35 minutes, or until a toothpick inserted into the center comes out clean and the top is golden brown. -
Step 8
Let the bread cool in the pan for 10 minutes before transferring it to a wire rack to cool completely.
Important Information
Nutrition Facts (Per Serving)
It is important to consider this information as approximate and not to use it as definitive health advice.
Allergy Information
Please check ingredients for potential allergens and consult a health professional if in doubt.