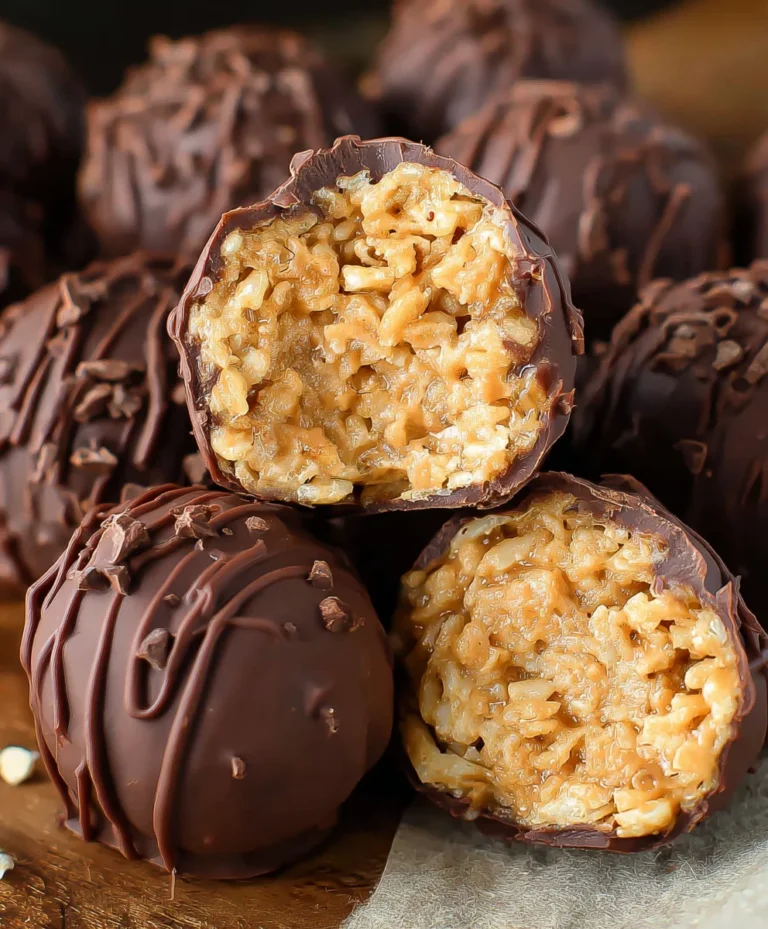
Frozen Greek Yogurt Peanut Butter Bites – Easy Snack
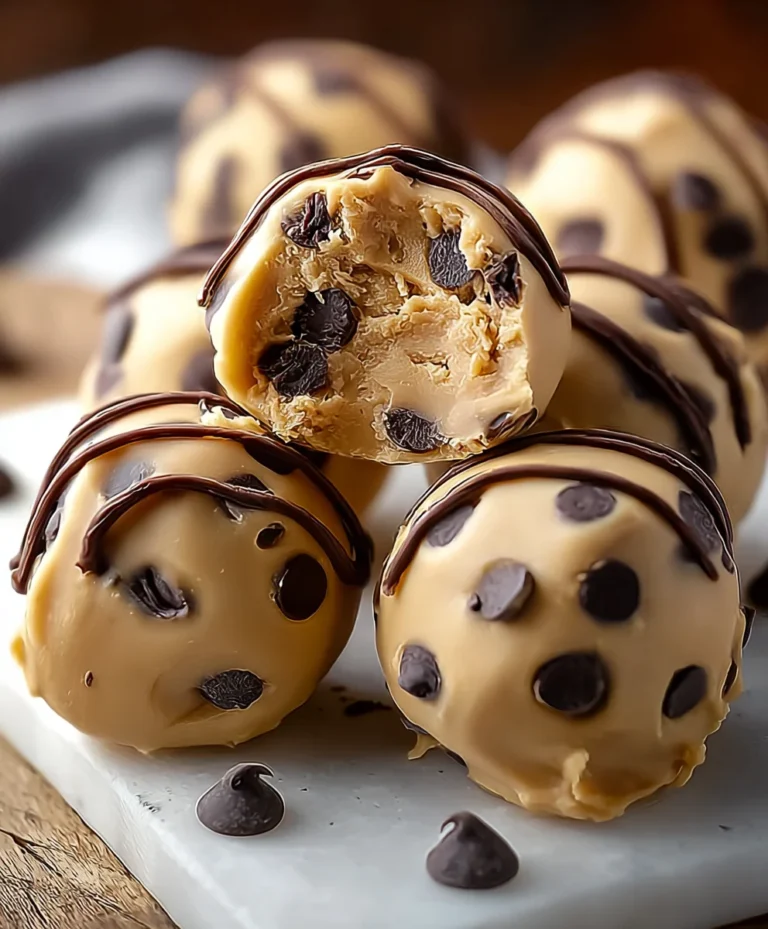
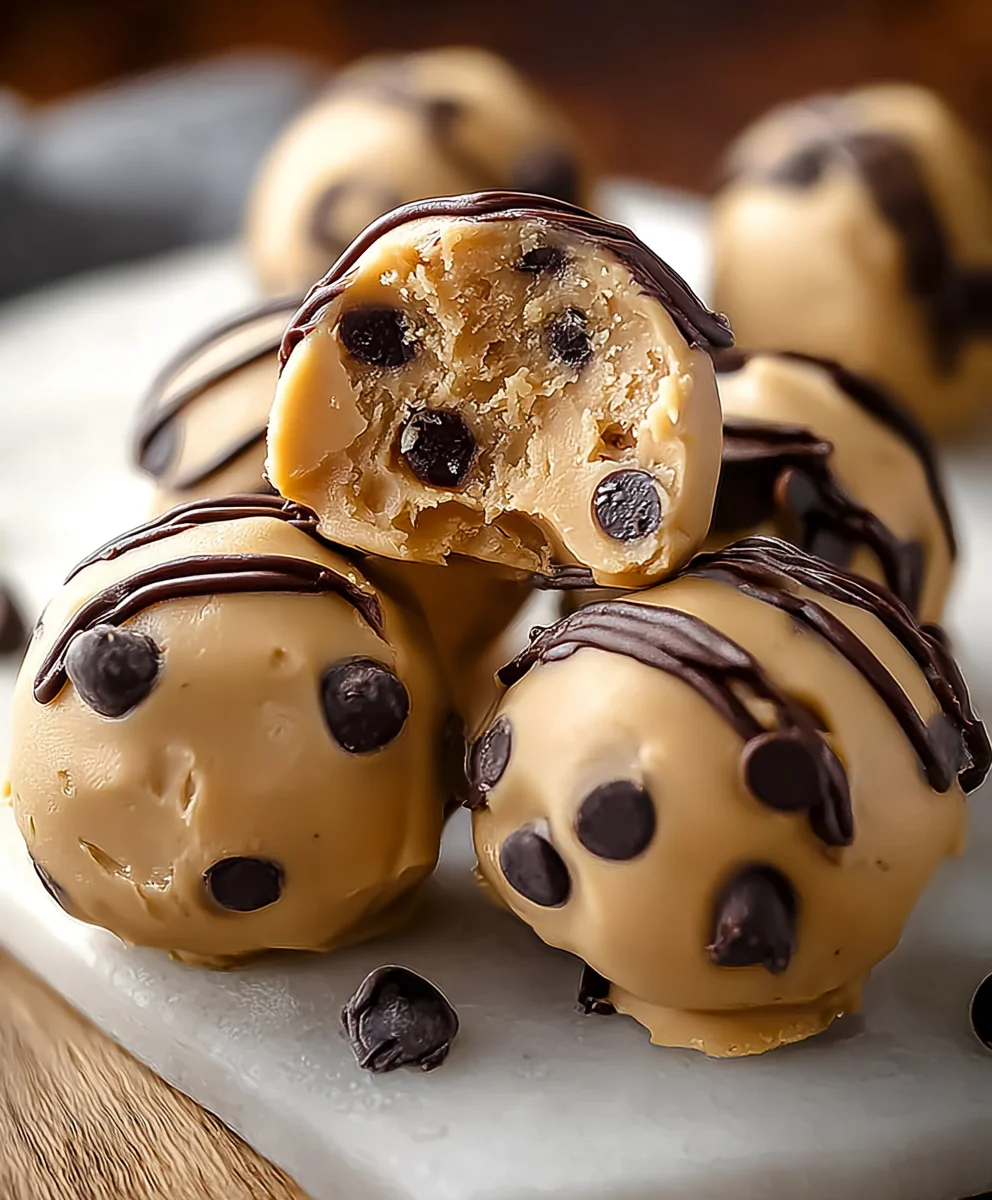
Frozen Greek Yogurt Peanut Butter Bites: Your Freezer’s New Best Friend are about to become your go-to snack for a multitude of reasons. Imagin extracte a creamy, slightly tangy Greek yogurt base, swirled with the irresistible richness of peanut butter, all frozen into perfectly portioned little morsels of happiness. What’s not to love? These delightful bites are a testament to simple ingredients coming together to create something truly extraordinary. They are the ultimate crowd-pleaser, perfect for a post-workout refuel, a healthy dessert alternative, or even a delightful breakfast on the go. What sets these Frozen Greek Yogurt Peanut Butter Bites: Your Freezer’s New Best Friend apart is their incredible versatility and the sheer joy they bring with every bite. They’re surprisingly simple to make, yet feel incredibly indulgent, offering a satisfying crunch from the frozen yogurt and a comforting smoothness from the peanut butter that will leave you craving more.
Ingredients:
- 1 cup creamy peanut butter (natural style, no added sugar, works best)
- ½ cup plain Greek yogurt (full-fat or 2%, it doesn’t matter too much here)
- 2 tablespoons maple syrup (or honey, adjust to your sweetness preference)
- ½ teaspoon vanilla extract
- A pinch of cinnamon
- ¼ cup mini chocolate chips (or finely chopped dark chocolate)
- 2 tablespoons chia seeds
Preparing the Frozen Greek Yogurt Peanut Butter Bites
This recipe is designed to be incredibly simple, focusing on minimal fuss and maximum deliciousness. The key is to get the proportions right so the bites hold their shape once frozen. We’ll be combining simple, wholesome ingredients that are as good for you as they are tasty.
First, gather all your ingredients. Having everything measured out and ready to go before you start mixing will make the process much smoother. I find using a natural peanut butter, the kind where the oil separates, is ideal because it has a purer peanut flavor and a good consistency for this recipe. If your peanut butter is very stiff, you might want to give it a good stir before measuring.
Mixing the Base
In a medium-sized mixing bowl, combine your creamy peanut butter and the plain Greek yogurt. This is the foundation of our bites. The peanut butter provides that satisfying, nutty flavor and rich texture, while the Greek yogurt adds a subtle tang, a creamy smoothness, and a boost of protein.
Next, add the maple syrup. Start with the recommended amount, but feel free to taste and adjust. If you prefer a sweeter bite, you can add a little more. If you’re trying to keep the sugar content lower, you can reduce it slightly, though it does help bind the ingredients together. Stir in the vanilla extract. This little addition might seem small, but it really amplifies the overall flavor profile, adding a warm, comforting aroma and taste that complements the peanut butter beautifully. Finally, add a pinch of cinnamon. Don’t underestimate the power of cinnamon! It adds a depth of flavor that is subtle yet impactful, making these bites feel more complex and special.
Now, stir everything together until it’s well combined. You want a uniform mixture, free of streaks of peanut butter or yogurt. This might take a minute or two of vigorous stirring, especially if your peanut butter is on the thicker side. Don’t be afraid to really get in there and mix it thoroughly.
Incorporating the Mix-Ins
Once your base is perfectly smooth and blended, it’s time to add the exciting bits! Gently fold in the mini chocolate chips. Using mini chips helps distribute the chocolate evenly throughout the bites. If you’re a serious chocolate lover, feel free to use regular-sized chips, but chop them up into smaller pieces for better integration. The goal here is to have pockets of chocolatey goodness in every bite, not large clumps.
Next, add the chia seeds. These tiny powerhouses are fantastic for adding texture and a nutritional boost. They absorb some of the moisture from the mixture, which helps the bites firm up a bit when frozen, and they provide a satisfying little pop. Stir them in gently, making sure they are evenly distributed throughout the peanut butter and yogurt mixture. Avoid overmixing at this stage; you just want to ensure the chia seeds and chocolate chips are suspended within the base.
Forming and Freezing the Bites
Now comes the fun part: shaping the bites! You have a couple of great options here. The easiest method is to use a small cookie scoop or two spoons to drop small, bite-sized portions of the mixture onto a parchment paper-lined baking sheet. Aim for roughly tablespoon-sized portions. You can gently roll them into small balls if you prefer a neater shape, but it’s not strictly necessary. The parchment paper is crucial here; it prevents the sticky mixture from adhering to your baking sheet and makes transferring them much easier.
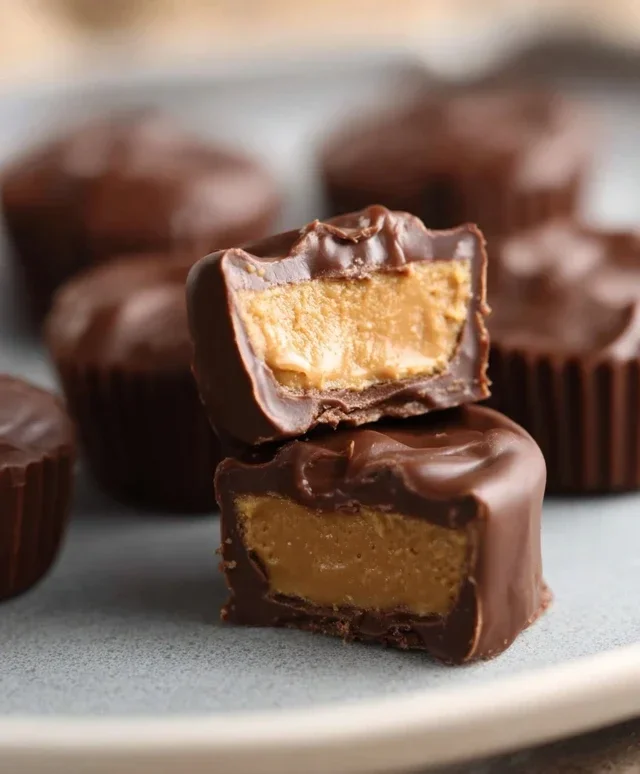
Alternatively, if you have a mini muffin tin, you can lightly grease the cups (or use silicone liners) and press the mixture into each cup. This method will give you more uniformly shaped bites, almost like mini peanut butter cups. Whichever method you choose, ensure the bites are not touching each other too closely on the baking sheet, as they can freeze together.
Once your bites are formed and arranged on the baking sheet (or in the muffin tin), it’s time to freeze them. Place the baking sheet carefully into your freezer. Let them freeze for at least 2-3 hours, or until they are completely solid. This freezing process is what transforms the soft mixture into firm, delicious treats. You’ll know they’re ready when you can easily pick them up without them deforming.
Storing Your Frozen Delights
After your Frozen Greek Yogurt Peanut Butter Bites have fully solidified, you can transfer them to an airtight container or a freezer-safe zip-top bag. This step is important to prevent freezer burn and keep them tasting fresh. They will keep well in the freezer for several weeks, making them an excellent make-ahead snack. When a craving strikes, simply pop one or two out of the freezer. They are best enjoyed straight from the freezer; they have a delightful, almost ice cream-like texture. If they happen to thaw slightly, they will become softer but will still be delicious. You can also re-freeze them if needed, though the texture might change slightly. Enjoy these healthy, satisfying bites whenever you need a quick, delicious pick-me-up!
Conclusion:
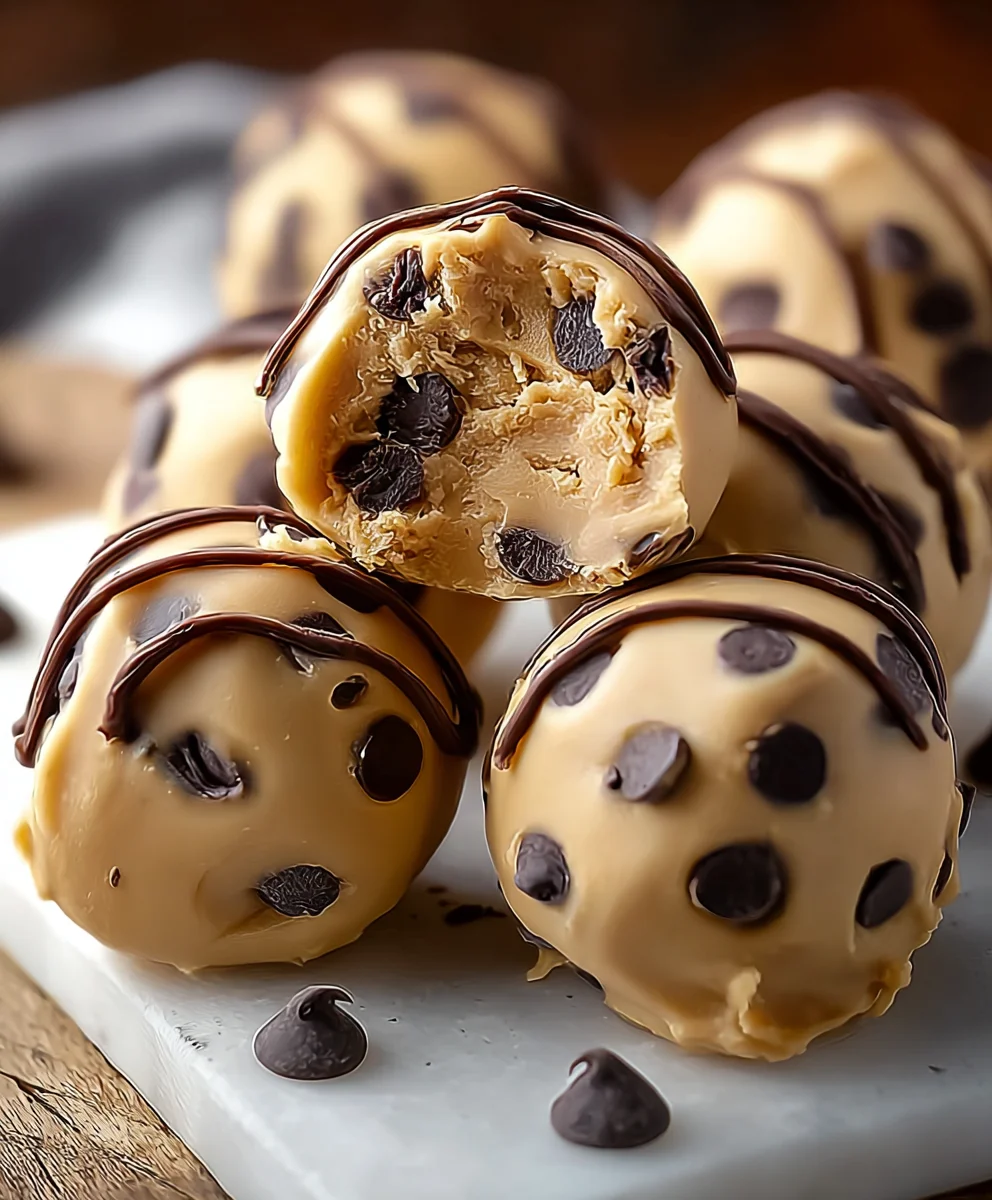
There you have it! The simple yet incredibly satisfying recipe for Frozen Greek Yogurt Peanut Butter Bites: Your Freezer’s New Best Friend. These delightful bites are more than just a treat; they’re a healthy, protein-packed way to curb your cravings and fuel your day. The combination of creamy Greek yogurt and rich peanut butter, frozen to perfection, creates a wonderfully cool and texturally exciting snack that’s surprisingly easy to make. I hope you enjoy whipping up this batch and discovering how truly versatile and delicious these frozen delights are!
I love serving these Frozen Greek Yogurt Peanut Butter Bites: Your Freezer’s New Best Friend straight from the freezer for a refreshing post-workout snack, a light dessert, or even as a quick breakfast on the go. They also make a fantastic addition to a kids’ lunchbox (if they last that long!). For variations, consider adding a drizzle of honey before freezing for a touch of sweetness, or mix in some mini chocolate chips for an extra decadent touch. You could even sprinkle them with a pinch of sea salt for a sweet and salty contrast. Don’t be afraid to experiment and make them your own!
Frequently Asked Questions:
How long do these Frozen Greek Yogurt Peanut Butter Bites last?
Stored properly in an airtight container in your freezer, these bites should maintain their quality for about 1 to 2 months. However, they are so delicious, I doubt they’ll be around that long!
Can I use a different type of yogurt?
While Greek yogurt is recommended for its thickness and protein content, you can experiment with other thick yogurts like Skyr. However, thinner yogurts may result in a less firm bite. Be sure to adjust freezing time if needed.
What if my peanut butter is too thick or too thin?
If your peanut butter is very thick, you might want to warm it slightly (just a few seconds in the microwave) to make it easier to mix. If it’s too thin, you can add a touch more yogurt until you reach your desired consistency. The goal is a thick, scoopable mixture.
Frozen Greek Yogurt Peanut Butter Bites
Easy, no-bake frozen treats combining creamy peanut butter and tangy Greek yogurt with chocolate chips and chia seeds.
Ingredients
-
1 cup creamy peanut butter (natural style)
-
½ cup plain Greek yogurt (full-fat or 2%)
-
2 tablespoons maple syrup
-
½ teaspoon vanilla extract
-
A pinch of cinnamon
-
¼ cup mini chocolate chips
-
2 tablespoons chia seeds
Instructions
-
Step 1
In a medium bowl, combine peanut butter and Greek yogurt. Stir until smooth and well combined. -
Step 2
Add maple syrup, vanilla extract, and cinnamon to the mixture. Stir until everything is uniformly blended. -
Step 3
Gently fold in the mini chocolate chips and chia seeds, distributing them evenly throughout the mixture. -
Step 4
Drop small, bite-sized portions (about tablespoon-sized) of the mixture onto a parchment paper-lined baking sheet. You can gently roll them into balls if desired. -
Step 5
Place the baking sheet in the freezer and freeze for at least 2-3 hours, or until completely solid. -
Step 6
Once frozen, transfer the bites to an airtight container or freezer-safe zip-top bag for storage.
Important Information
Nutrition Facts (Per Serving)
It is important to consider this information as approximate and not to use it as definitive health advice.
Allergy Information
Please check ingredients for potential allergens and consult a health professional if in doubt.