Easy Frozen Banana Yogurt Pops Recipe
Frozen Banana Yogurt Pops are more than just a frozen treat; they’re a vibrant burst of sunshine, a healthy indulgence, and a testament to how simple ingredients can create something truly magical. Imagin extracte a sweltering afternoon, the kind that makes you crave instant refreshment. That’s where these delightful pops come in. They’re universally adored because they strike that perfect chord between sweet, creamy, and incredibly satisfying, all while feeling wonderfully guilt-free. What truly sets these Frozen Banana Yogurt Pops apart is their amazing versatility and ease of preparation. Forget complicated steps or exotic ingredients; we’re talking about transforming humble bananas and your favorite yogurt into portable happiness. They’re the ultimate crowd-pleaser, perfect for kids’ parties, post-workout rewards, or simply a moment of personal bliss. Get ready to discover your new favorite warm-weather staple!
Ingredients:
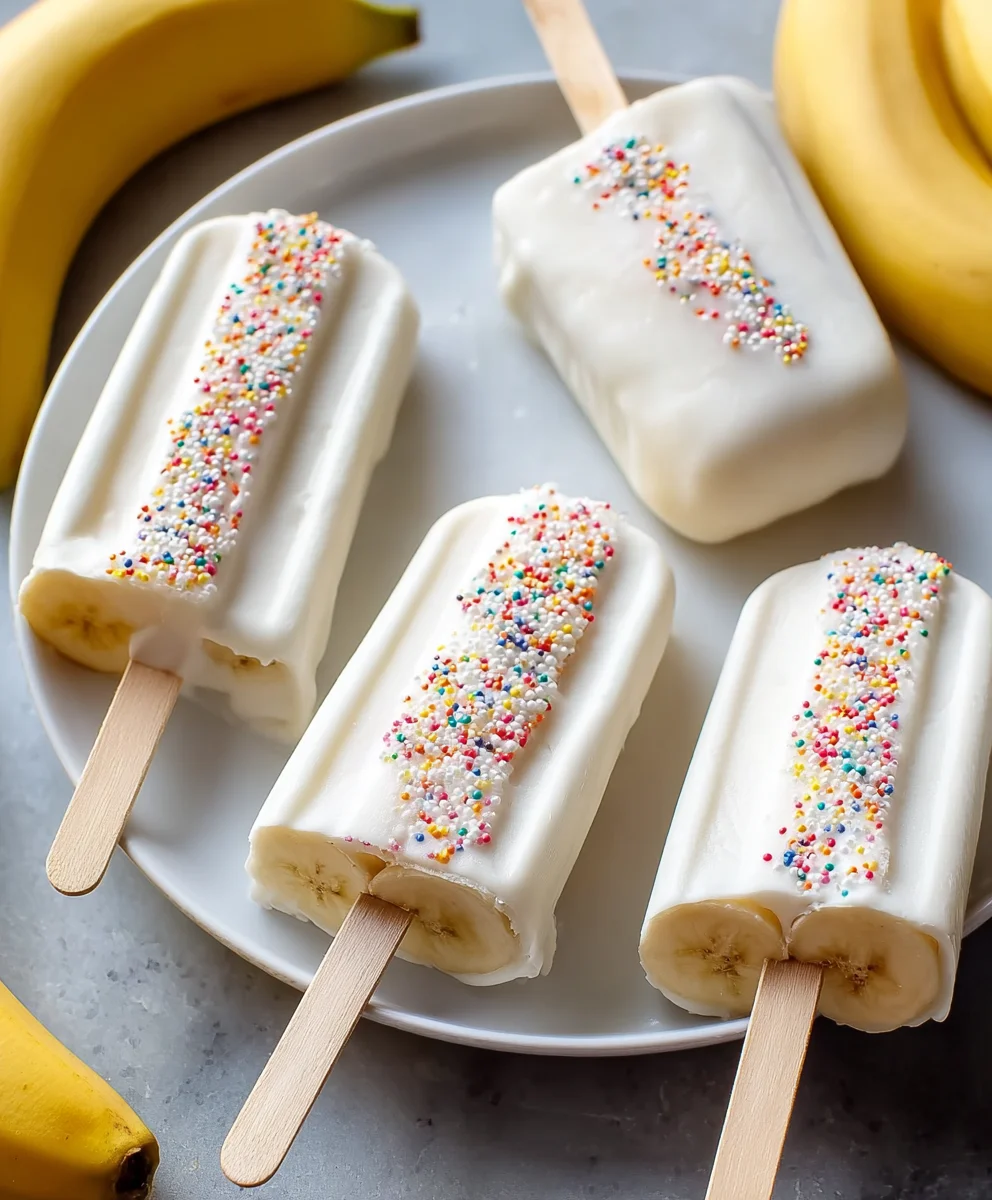
- 3 ripe bananas, peeled and cut in half horizontally
- 3/4 cup vanilla yogurt (or your favorite flavor, plain Greek yogurt also works beautifully)
- Colorful sprinkles, finely chopped nuts, or other desired toppings (optional)
- 6 standard popsicle sticks
Preparing Your Popsicle Molds
The first step to creating delicious Frozen Banana Yogurt Pops is to get your popsicle sticks ready. Since we’re using banana halves as our base, we don’t need traditional popsicle molds. Instead, we’ll be inserting the sticks directly into the banana halves. Ensure your popsicle sticks are clean and dry. If you’re using store-bought sticks, they are usually ready to go. If you’ve repurposed any sticks, give them a good wash and make sure they are completely dry to prevent any ice crystals from forming prematurely or affecting the texture.
Assembling the Banana Base
Now it’s time to transform our banana halves into the structure for our frozen treats. Take each banana half and carefully insert a popsicle stick into the cut end, pushing it about halfway to two-thirds of the way into the banana. You want the stick to be firmly anchored so it doesn’t wobble when you’re dipping or freezing the bananas. The banana should feel secure on the stick. Don’t push the stick all the way through to the other side, as this can make it unstable. Think of it like inserting a handle into a firm, frozen dessert.
Coating with Yogurt
This is where the magic happens and our simple bananas begin extract their transformation into Frozen Banana Yogurt Pops. Open your vanilla yogurt (or whichever flavor you’ve chosen). You can use a spoon to generously dollop the yogurt onto the banana halves, or for a cleaner approach, you can place the yogurt in a small bowl or even a sturdy zip-top bag with a corner snipped off to create a makeshift piping bag. Carefully spread or pipe the yogurt all over the banana halves, ensuring they are fully coated from top to bottom. Try to get an even layer; this will not only look appealing but will also contribute to a consistent freezing and eating experience. If you’re aiming for a professional look, use the back of a spoon to smooth the yogurt. If you’re making these with children, let them have fun with the yogurt coating – perfection isn’t the goal here, enjoyment is!
Adding the Fun Toppings
This is the stage for creativity and personalization! If you’ve opted for toppings like colorful sprinkles, finely chopped nuts, or even a drizzle of melted chocolate (though not in the provided ingredient list, it’s a popular variation!), now is the time to add them. While the yogurt coating is still wet, generously sprinkle your chosen toppings over the yogurt-covered bananas. The yogurt acts as the “glue” for these delicious additions. You can roll the yogurt-covered bananas in a shallow dish of sprinkles, or gently press them into the banana. For a more artful presentation, you might decide to only coat one side with toppings, or create stripes of different sprinkles. If you are using chopped nuts, ensure they are finely chopped so they adhere well and provide a pleasant crunch without being too large.
Freezing for Perfect Pops
Once your banana halves are beautifully coated and adorned with their toppings, it’s time to move them to the freezer. Line a baking sheet or a plate with parchment paper or wax paper. This prevents the pops from sticking to the surface as they freeze. Carefully place each yogurt-covered banana pop onto the prepared baking sheet, ensuring they are not touching each other. This is crucial to prevent them from freezing together. Once arranged, place the baking sheet in the freezer. Allow the Frozen Banana Yogurt Pops to freeze completely. This typically takes at least 2 to 3 hours, but for the firmest results, you can leave them in overnight. Check for firmness by gently touching one; it should be solid and not at all soft.
Serving Your Frozen Delights
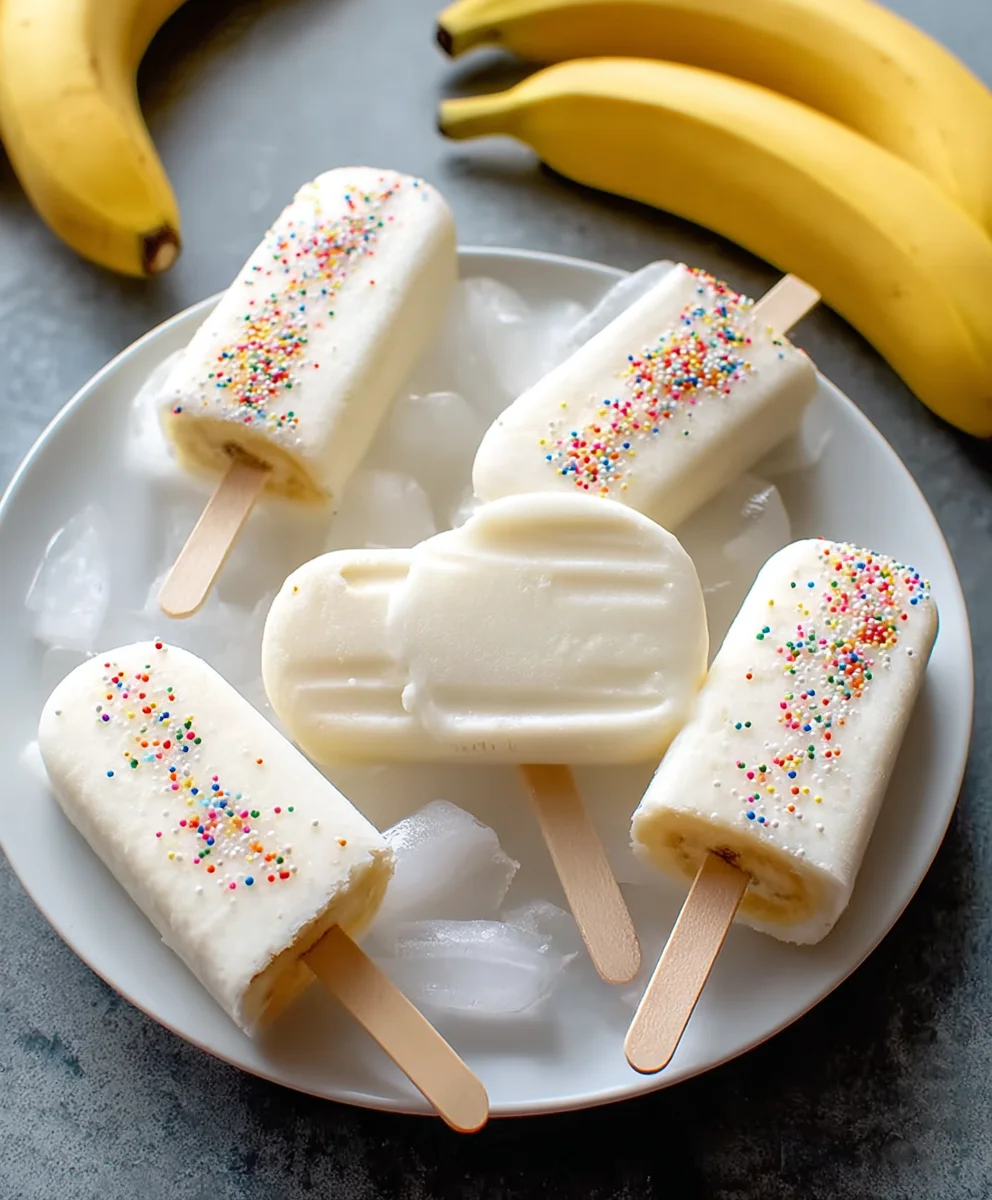
When your Frozen Banana Yogurt Pops are thoroughly frozen and ready to be enjoyed, remove the baking sheet from the freezer. You can serve them directly from the baking sheet. If they seem particularly stuck, a moment or two on the counter might help release them, but be quick to avoid melting. These are best enjoyed immediately after taking them out of the freezer for the optimal crunchy exterior and creamy interior. They make a wonderful healthy dessert or a refreshing snack on a warm day. Enjoy the delightful combination of creamy yogurt, sweet banana, and your chosen fun toppings in every bite of your homemade Frozen Banana Yogurt Pops!
Conclusion:
You’ve now got the know-how to whip up a batch of delightful Frozen Banana Yogurt Pops! These are wonderfully simple to make, requiring just a handful of ingredients and minimal effort. The result is a refreshing, healthier alternative to store-bought frozen treats, perfect for a warm afternoon or a fun dessert.
I love serving these Frozen Banana Yogurt Pops as is, but they’re also fantastic dipped in melted dark chocolate or sprinkled with chopped nuts and seeds for an added crunch. Feel free to get creative with your toppings!
Don’t be afraid to experiment with different yogurt flavors or add in small pieces of fruit like berries or mango for extra bursts of flavor. The possibilities are endless, and the joy of creating these homemade delights is truly rewarding. So, grab your bananas and get blending – happy popping!
Frequently Asked Questions:
Q: Can I use dairy-free yogurt for the Frozen Banana Yogurt Pops?
Absolutely! For a dairy-free version, opt for coconut, almond, or soy yogurt. The consistency might be slightly different, but the flavor will still be delicious. Ensure your chosen yogurt is thick and creamy for the best results.
Q: How long do the Frozen Banana Yogurt Pops last in the freezer?
Properly stored in an airtight container or freezer bag, these Frozen Banana Yogurt Pops can last for up to 2-3 weeks. They are best enjoyed within the first week for optimal texture and flavor.
Easy Frozen Banana Yogurt Pops Recipe
A simple and healthy frozen treat made with ripe bananas, yogurt, and your favorite toppings.
Ingredients
-
3 ripe bananas, peeled and cut in half
-
3/4 cup vanilla yogurt
-
Colorful sprinkles
-
Finely chopped nuts
-
6 standard popsicle sticks
Instructions
-
Step 1
Insert a popsicle stick halfway into the cut end of each banana half. -
Step 2
Generously coat each banana half with yogurt, ensuring it’s fully covered. -
Step 3
While the yogurt is wet, add your desired toppings like sprinkles or chopped nuts. -
Step 4
Place the prepared banana pops on a parchment-lined baking sheet. -
Step 5
Freeze for at least 2-3 hours, or until firm.
Important Information
Nutrition Facts (Per Serving)
It is important to consider this information as approximate and not to use it as definitive health advice.
Allergy Information
Please check ingredients for potential allergens and consult a health professional if in doubt.