Garlic Herb Chickpea Flour Crackers-Healthy Snack
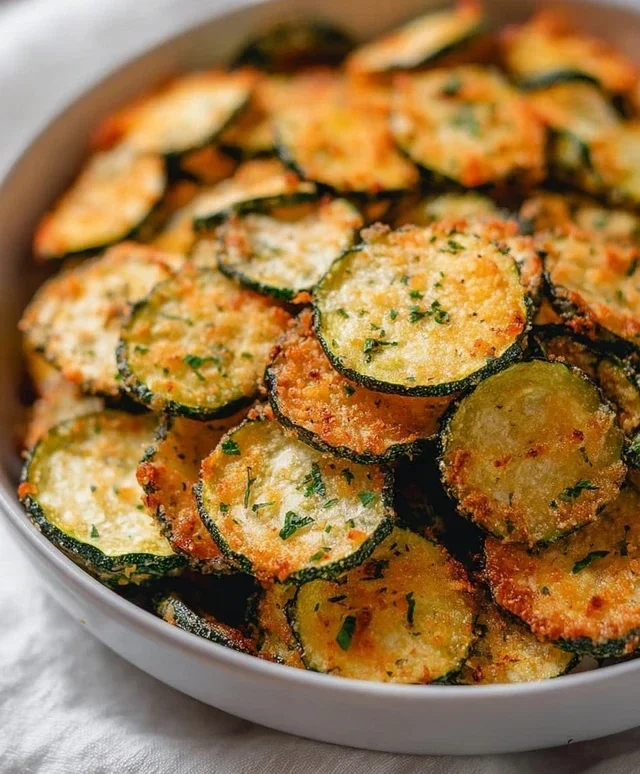
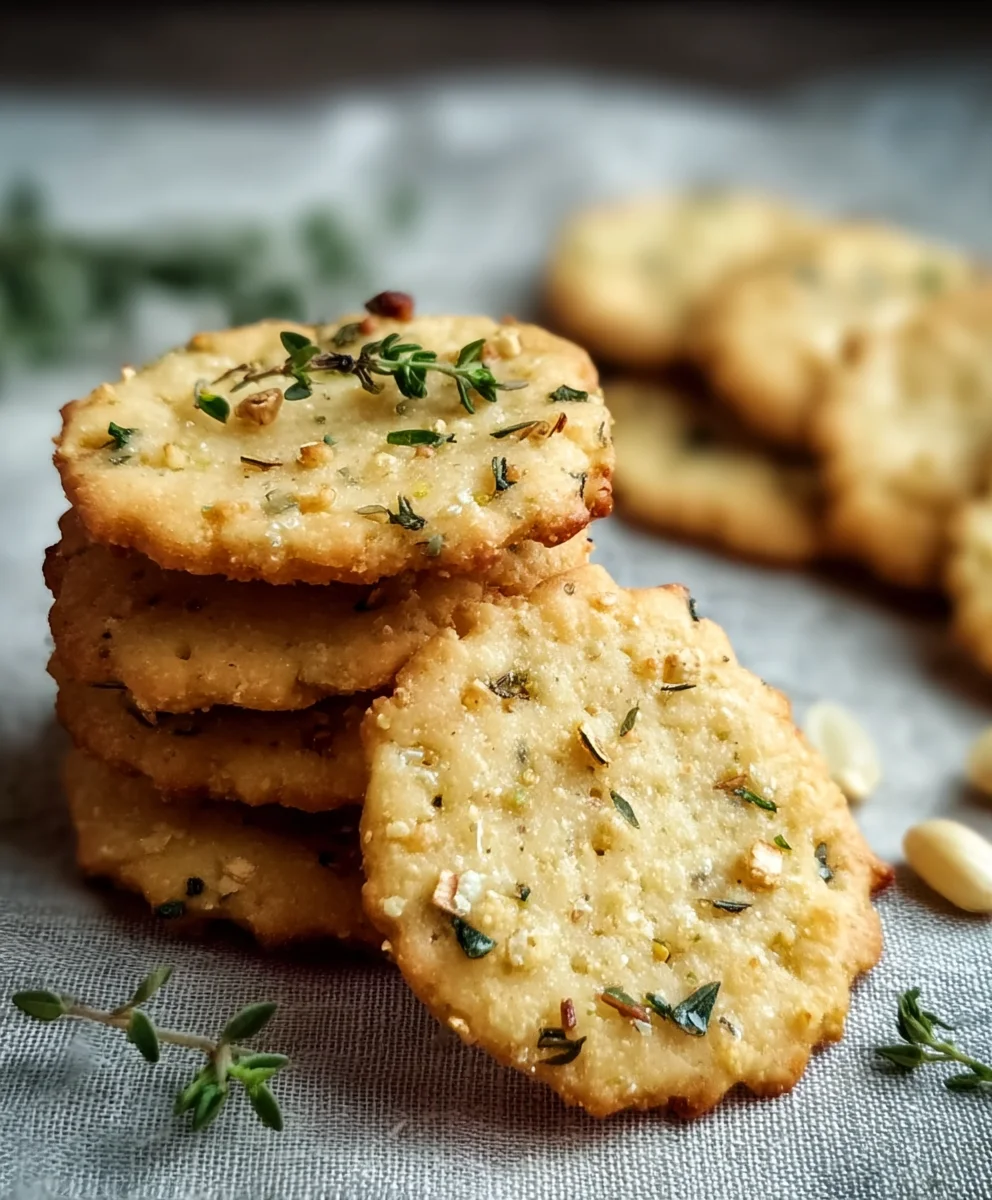
Garlic and Herb Chickpea Flour Snack Crackerss are more than just a delicious treat; they’re a testament to how simple ingredients can create something truly extraordinary. Have you ever craved a savory, satisfying crunch that feels both wholesome and indulgent? That’s precisely the magic of these delightful crackers. They’ve become a beloved staple in kitchens everywhere for their incredible versatility and surprisingly easy preparation. What truly sets these Garlic and Herb Chickpea Flour Snack Crackerss apart is the delightful balance of earthy chickpea flour, pungent garlic, and fragrant fresh herbs, all baked to a perfect crisp. They’re naturally gluten-free and packed with plant-based protein, making them an ideal guilt-free snack for any time of day. Prepare to impress yourself and your loved ones with this fantastic recipe that’s destined to become a new favorite.
Ingredients:
- 1 cup chickpea flour (also known as besan), which weighs approximately 120g
- ½ cup water, totaling about 120ml
- 2 tablespoons olive oil, plus extra for brushing
- 1 teaspoon dried mixed herbs (a blend like rosemary, thyme, and oregano works beautifully)
- 1 teaspoon garlic powder
- ½ teaspoon salt
- ¼ teaspoon black pepper
- Sesame seeds, for topping
- Flaky sea salt, for finishing
- Additional dried herbs, for a more intense herby flavor if desired
Preparing the Batter
- Start by gathering all your ingredients. This makes the cooking process much smoother. In a medium-sized mixing bowl, add the chickpea flour, dried mixed herbs, garlic powder, salt, and black pepper. Whisk these dry ingredients together thoroughly. This ensures that the seasonings are evenly distributed throughout the chickpea flour, which will result in uniformly flavored crackers. You want to avoid any clumps of seasoning.
- Next, gradually pour in the water while continuously whisking. It’s important to add the water slowly to prevent lumps from forming. Continue whisking until you achieve a smooth, lump-free batter that has the consistency of thick pancake batter or a pourable but not watery paste. If the batter seems too thick, add a teaspoon of water at a time until it reaches the desired consistency. If it’s too thin, you can add a tiny bit more chickpea flour, but do so sparingly to avoid making the crackers tough. This is where the consistency is key for thin, crispy crackers.
- Now, stir in the 2 tablespoons of olive oil. This oil will contribute to the crispiness and richness of the crackers. Make sure it’s fully incorporated into the batter, creating a slightly glossy sheen. Some people like to add a touch more dried herbs at this stage if they enjoy a very pronounced herb flavor, so feel free to sprinkle in a little extra if that’s your preference.
Baking the Garlic and Herb Chickpea Flour Snack Crackers
- Preheat your oven to 375°F (190°C). Line a large baking sheet with parchment paper. This is crucial for preventing the crackers from sticking and ensuring easy removal after baking. Pour the prepared batter onto the center of the parchment-lined baking sheet. Using a spatula or the back of a spoon, spread the batter out as thinly and evenly as possible. The thinner you spread the batter, the crispier your crackers will be. Aim for a large, thin rectangle or an irregular shape – it will all break apart into crackers later. Don’t worry if it’s not perfectly uniform; rustic is good!
- Once the batter is spread, lightly brush the entire surface with a little extra olive oil. This helps the crackers to brown beautifully and adds another layer of subtle flavor and crispness. Now comes the fun part for visual appeal and extra flavor: sprinkle generously with sesame seeds and a light dusting of flaky sea salt. The sesame seeds will toast and become wonderfully crunchy, and the flaky sea salt will provide delightful pops of savory flavor. If you’re using additional dried herbs for garnish, sprinkle those on now as well.
- Place the baking sheet in the preheated oven. Bake for 20 to 25 minutes, or until the edges of the crackers are golden brown and the center appears set and lightly colored. Keep a close eye on them, especially towards the end of the baking time, as thin crackers can burn quickly. Oven temperatures can vary, so it’s better to check frequently. Once they’re baked to your desired crispness, carefully remove the baking sheet from the oven.
- While the crackers are still warm and slightly pliable on the baking sheet, use a pizza cutter or a sharp knife to score them into cracker-sized pieces. Don’t cut all the way through if you want to be able to break them apart more easily later, or cut all the way through if you prefer defined pieces. Let them cool completely on the baking sheet. As they cool, they will become wonderfully crisp. Once fully cooled, break them apart along the scored lines. For maximum crispness, you can even turn off the oven, leave the door ajar, and let the crackers sit in the residual heat for another 10-15 minutes.
Conclusion:
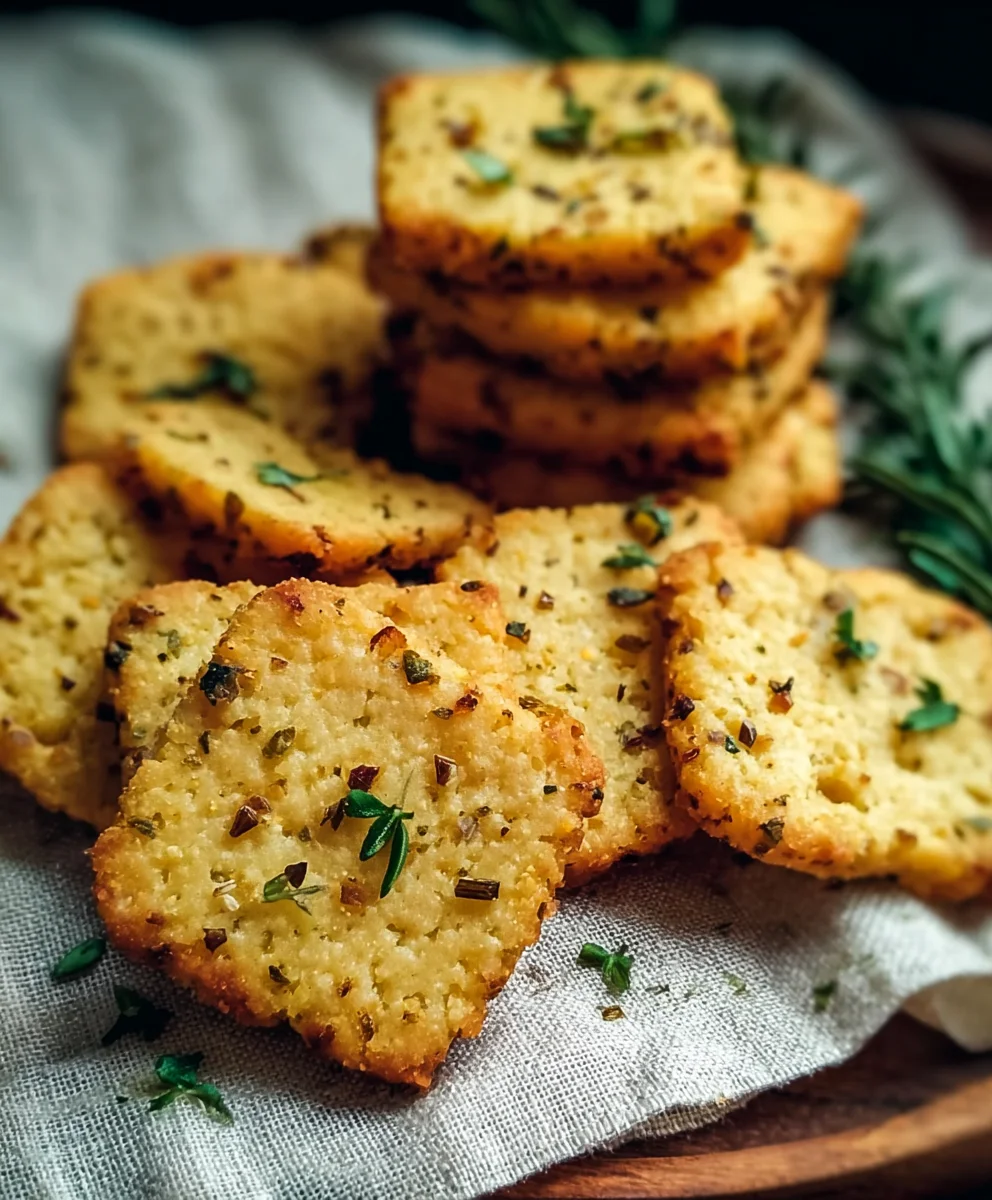
And there you have it – a simple yet incredibly satisfying batch of Garlic and Herb Chickpea Flour Snack Crackers! These aren’t just any crackers; they’re a testament to how wholesome ingredients can transform into something truly delightful. Whether you’re looking for a healthy afternoon pick-me-up, a base for your favorite dips, or a gluten-free alternative to store-bought snacks, these crackers are a winner. Their crispy texture and vibrant flavor profile make them wonderfully versatile. Don’t hesitate to get creative and make them your own!
For serving, I love these Garlic and Herb Chickpea Flour Snack Crackers with a dollop of hummus, a smear of cream cheese, or alongside a fresh salad. They’re also fantastic with a cheese board or just enjoyed plain. Feel free to experiment with different herbs like rosemary or thyme, or add a pinch of chili flakes for a spicy kick. Remember, baking is an adventure, so have fun with it!
FAQs
How can I make the Garlic and Herb Chickpea Flour Snack Crackers extra crispy?
To achieve maximum crispiness, ensure your oven temperature is accurate and bake them until they are deeply golden brown. You can also try slicing them a little thinner. Allowing them to cool completely on a wire rack is crucial for retaining their crispness.
Can I store these crackers for a long time?
Yes, once completely cooled, store your Garlic and Herb Chickpea Flour Snack Crackers in an airtight container at room temperature. They should stay fresh and crunchy for up to a week. If you live in a humid climate, they might soften slightly faster.
Garlic Herb Chickpea Flour Crackers-Healthy Snack
Crispy and flavorful homemade crackers made with chickpea flour, garlic, and mixed herbs. A healthy and satisfying snack option.
Ingredients
-
1 cup chickpea flour (besan)
-
1/2 cup water
-
2 tablespoons olive oil, plus extra for brushing
-
1 teaspoon dried mixed herbs
-
1 teaspoon garlic powder
-
1/2 teaspoon salt
-
1/4 teaspoon black pepper
-
Sesame seeds
-
Flaky sea salt
-
Additional dried herbs
Instructions
-
Step 1
In a medium-sized mixing bowl, whisk together chickpea flour, dried mixed herbs, garlic powder, salt, and black pepper until evenly distributed. -
Step 2
Gradually pour in the water while continuously whisking to achieve a smooth, lump-free batter with the consistency of thick pancake batter. Adjust with a teaspoon of water or chickpea flour if needed. -
Step 3
Stir in the 2 tablespoons of olive oil until fully incorporated, creating a slightly glossy sheen. Add extra dried herbs now if desired for a more intense flavor. -
Step 4
Preheat your oven to 375°F (190°C). Line a large baking sheet with parchment paper. Pour the batter onto the center and spread it out as thinly and evenly as possible into a large rectangle or irregular shape. -
Step 5
Lightly brush the surface with extra olive oil. Sprinkle generously with sesame seeds and flaky sea salt. Add additional dried herbs if using. -
Step 6
Bake for 20 to 25 minutes, or until the edges are golden brown and the center is set. Keep a close eye to prevent burning. -
Step 7
While still warm, score the crackers into desired pieces using a pizza cutter or sharp knife. Let them cool completely on the baking sheet until crisp. Break apart along the scored lines.
Important Information
Nutrition Facts (Per Serving)
It is important to consider this information as approximate and not to use it as definitive health advice.
Allergy Information
Please check ingredients for potential allergens and consult a health professional if in doubt.